AWS Lambda is an event-driven computing service of AWS that allows its users to execute their code without providing or managing the servers. Lambda efficiently handles all the computing infrastructure and administration of the resources. There are multiple development languages that are supported by Lambda service e.g., Go, Ruby, Python, etc. Lambda is also considered a cost-efficient service as it only incurs charges for the computing time consumed by the user. There are no additional charges when the code provided to the Lambda function is not in the executing state.
Read more: Getting Started With AWS Lambda
Quick Outline
This article illustrates the following aspects:
- What is a Serverless Framework?
- What is an API?
- What is API Gateway?
- What are the Different Types of API in API Gateway?
- How to Deploy a Serverless Node.js API With API Gateway?
- Conclusion
What is a Serverless Framework?
The term “Serverless” refers to the terminology where the provision and maintenance of the servers are managed by either third-party software or cloud providers. Such Frameworks allow users to focus on core business logic instead of maintaining the servers. Today, Serverless Frameworks have attracted the attention of Tech giants and are offering enormous benefits.
Furthermore, this is also a cost-effective solution because the servers are provided and managed by the service providers. In AWS, Lambda is considered a Serverless service as it only requires the code from the user to operate on. With AWS Lambda, users can easily build and scale the applications in different runtime environments in a cost-effective manner.
What is an API?
API is an acronym for “Application Programming Interface”. The formal introduction of API includes that it is a set of definitions and protocols that allow the two components of software or an application to exchange useful information for communication.
A real-time application of API is by using a web browser. Whenever a user searches for a website, the request is delivered to the server where the website resides. This communication between the server and browser occurs through the API.
What is API Gateway?
API Gateway is a fully managed service of AWS which is similar to an API Management tool. By using the API gateway, developers can easily create, manage, publish, and scale different APIs. Similarly, the API gateway allows users to communicate with the other microservices running on the server side. It takes the input from the user, processes it, and then directs it to the appropriate microservices. These microservices will then process this input for output generation.
What are the Different Types of API in API Gateway?
API gateway provides management services for three different types of APIs as mentioned below:
HTTP API: This API is extensively used in web development which is limited to client-side only. Such APIs can be either classified as private or public.
Rest API: The term REST stands for “Representation State Transfer API”. It is one of the most commonly used approaches that separate the frontend and backend of the application. REST APIs are stateless in nature and are flexible for development and implementation.
WebSocket API: Such APIs are used when socket communication is involved. WebSocket API allows users to create sockets for bi-directional full duplex communication in Web development. These APIs are written in JavaScript.
How to Deploy a Serverless Node.js API With API Gateway?
For the deployment of a Serverless Node.js API with API Gateway, we will be using the S3 bucket, Lambda Function, and API gateway. The S3 bucket will contain the code of the application. The unique URI of the bucket will be provided to the Lambda Function as a handler. The API gateway will be added as the trigger to the Lambda Function which will process the user’s input and provide the appropriate output.
Below are the steps for deploying a Serverless Node.js API with the API gateway:
- Step 1: Create a Lambda Function
- Step 2: Create API Gateway
- Step 3: Create Bucket
- Step 4: Verification
Step 1: Create a Lambda Function
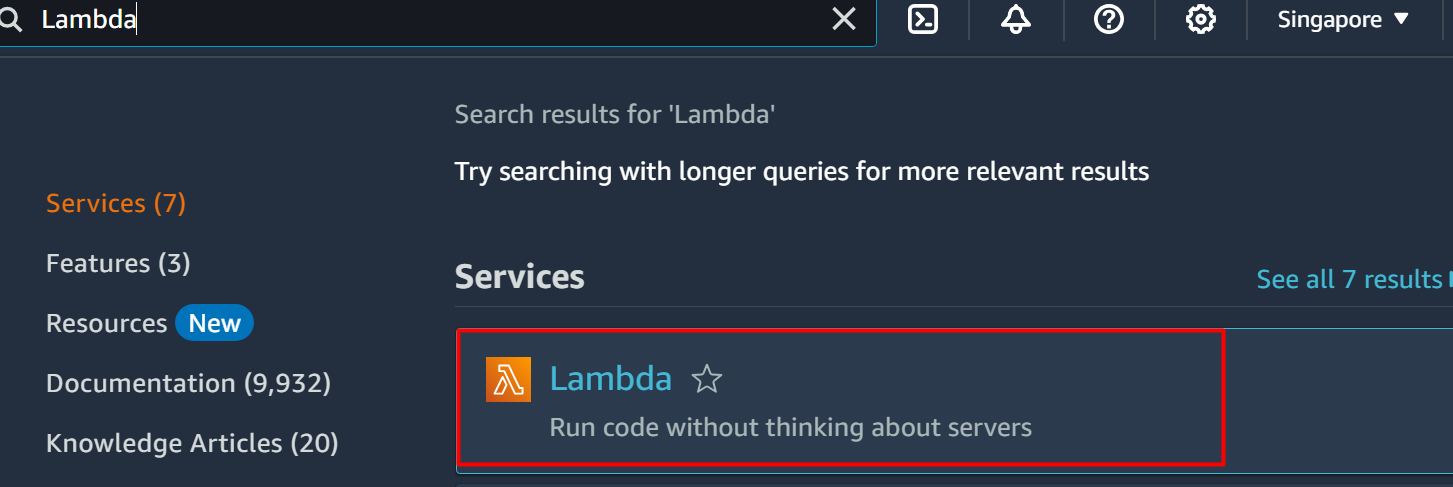
To create a Lambda Function, access the “Lambda” service from the AWS Management Console:
Learn more: “How to Create a Lambda Function With Python Runtime”.
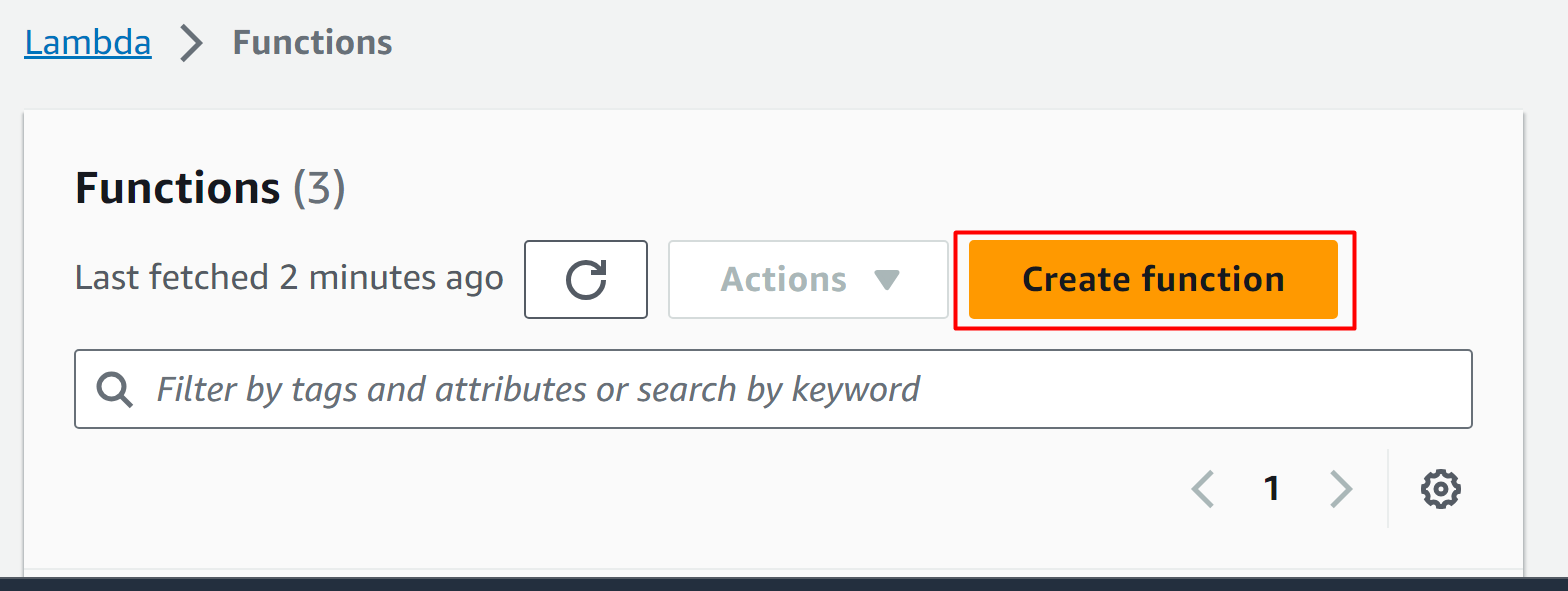
On the Lambda Function interface, click on the “Create function” button:
From the Create Function interface, select the “Author from scratch” option:
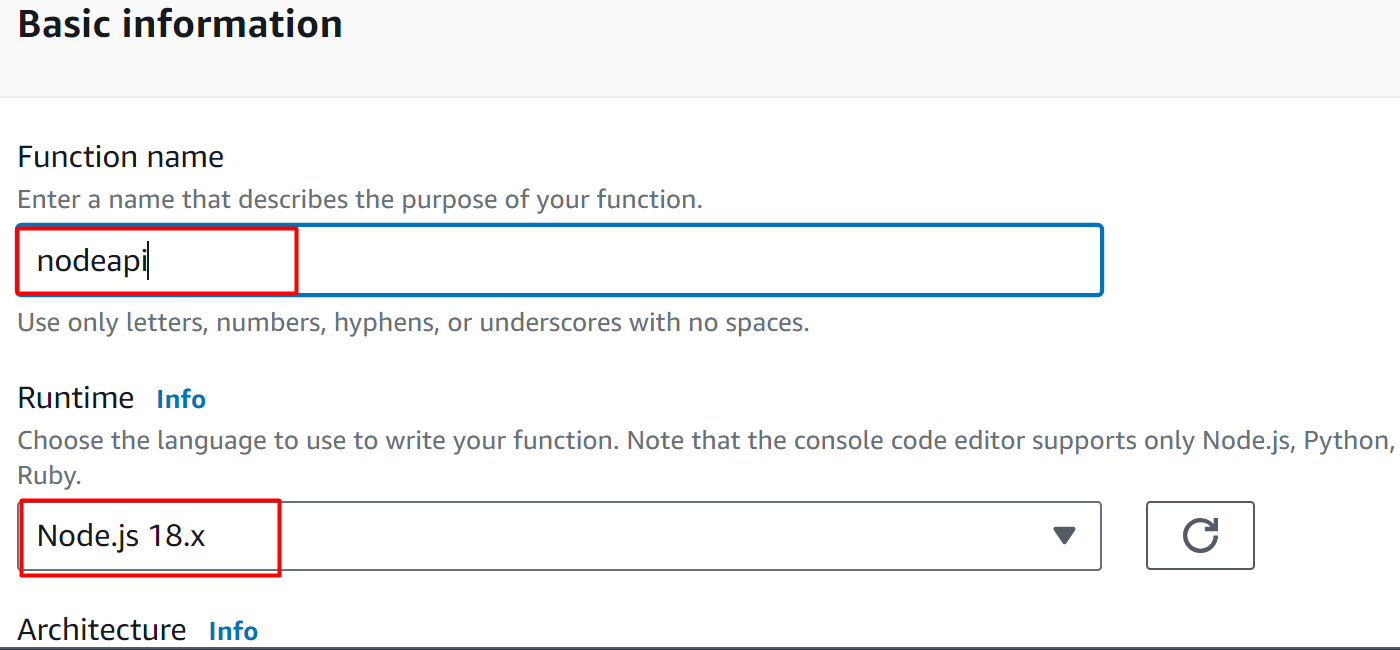
Next comes the “Basic information” section. In this section, provide the name for the Lambda function in the “Function name”:
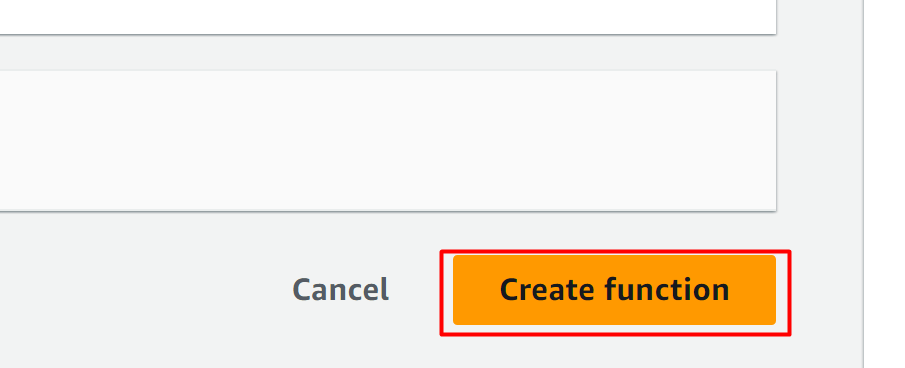
Click on the “Create function” button located at the bottom of the interface:
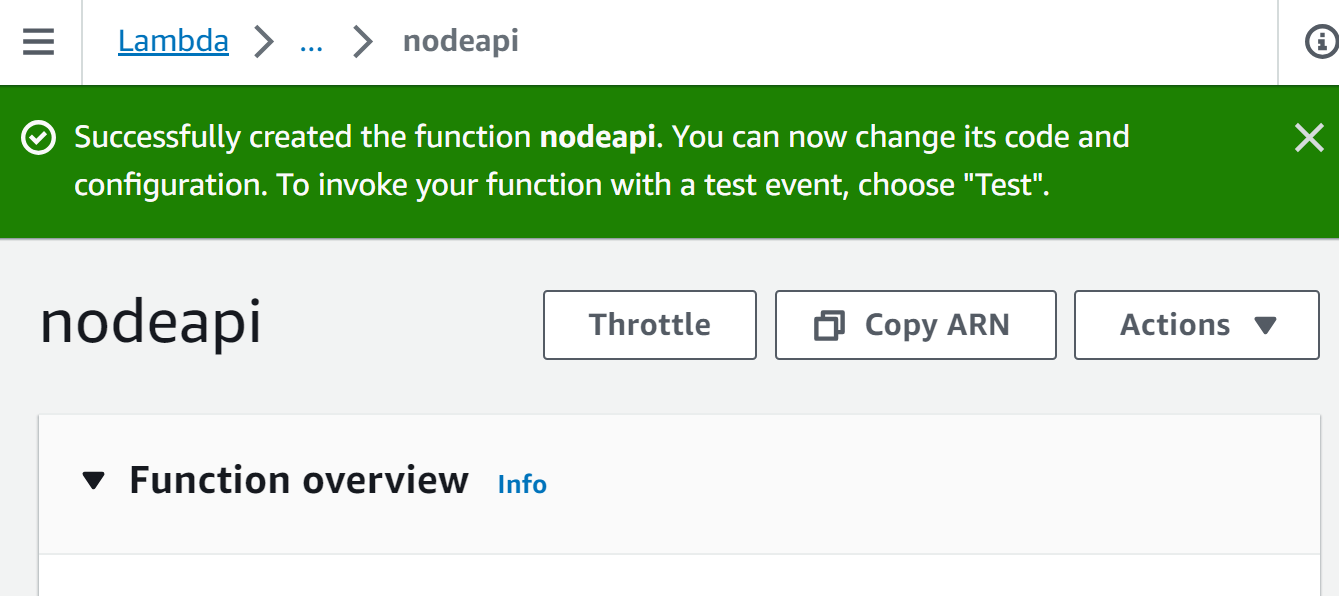
Here, the function has been created successfully:
Step 2: Create API Gateway
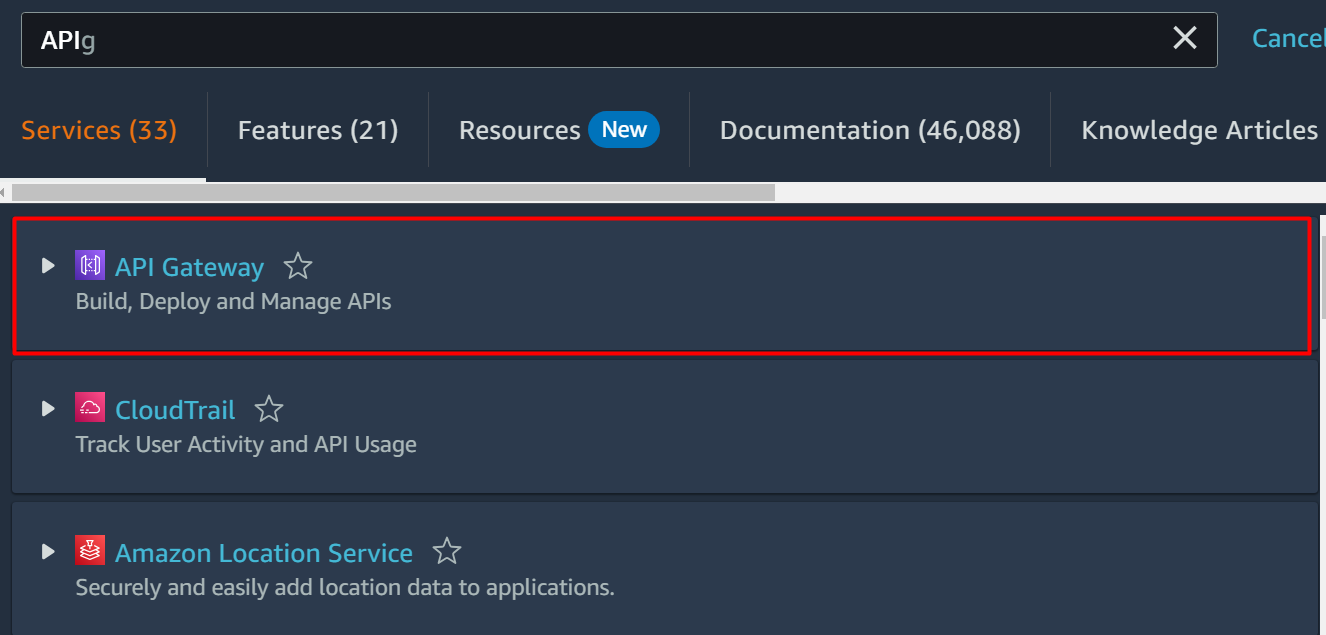
The next step is to create an API Gateway. For this purpose, access the “API Gateway” service from the AWS Management Console:
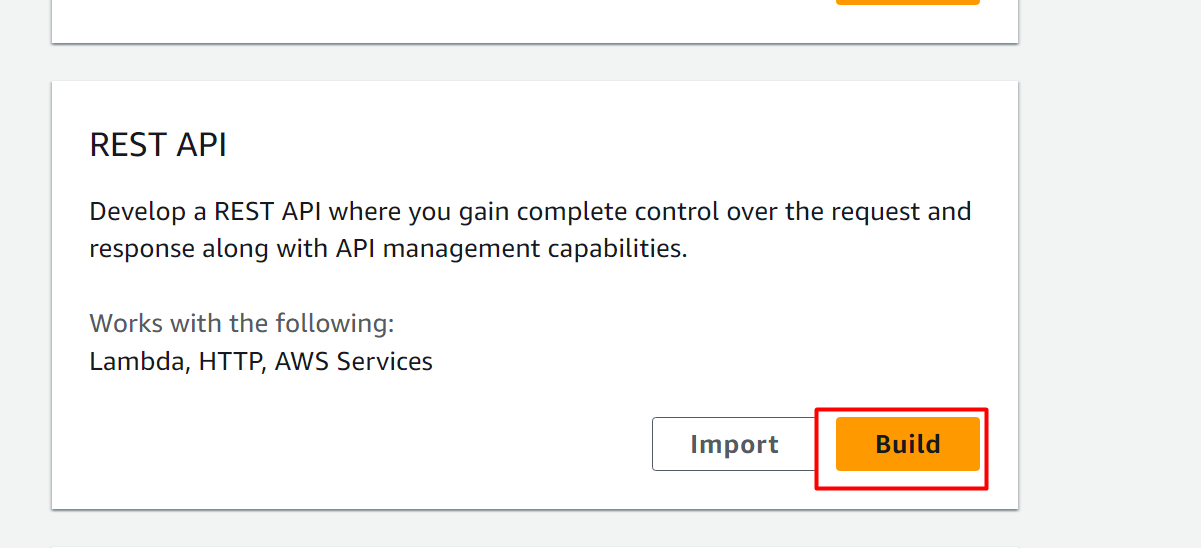
Scroll down the API Gateway interface and click on the “Build” option from the REST API block:
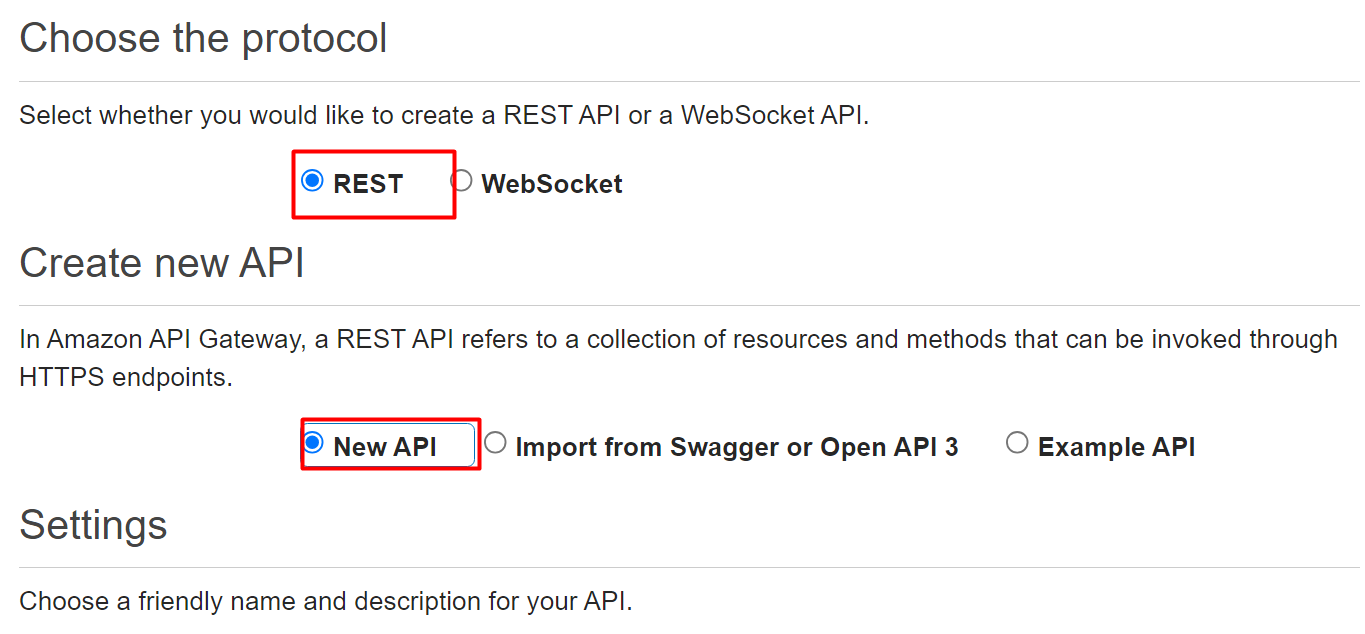
On the “Create API” interface, select the following highlighted option. As we are building a Rest API from scratch, we have chosen the following options:
In the Settings section on the same interface, provide the name for the API in the “API name” text field:
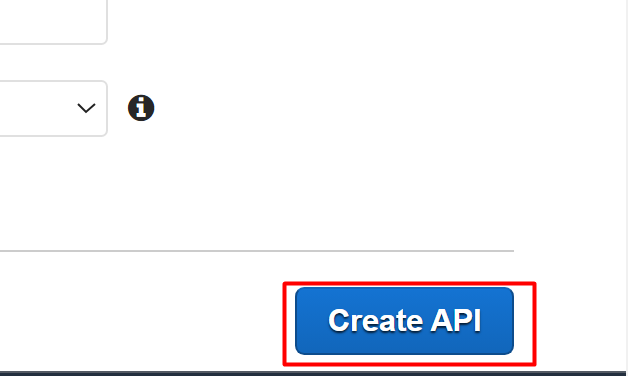
Click on the “Create API” button:
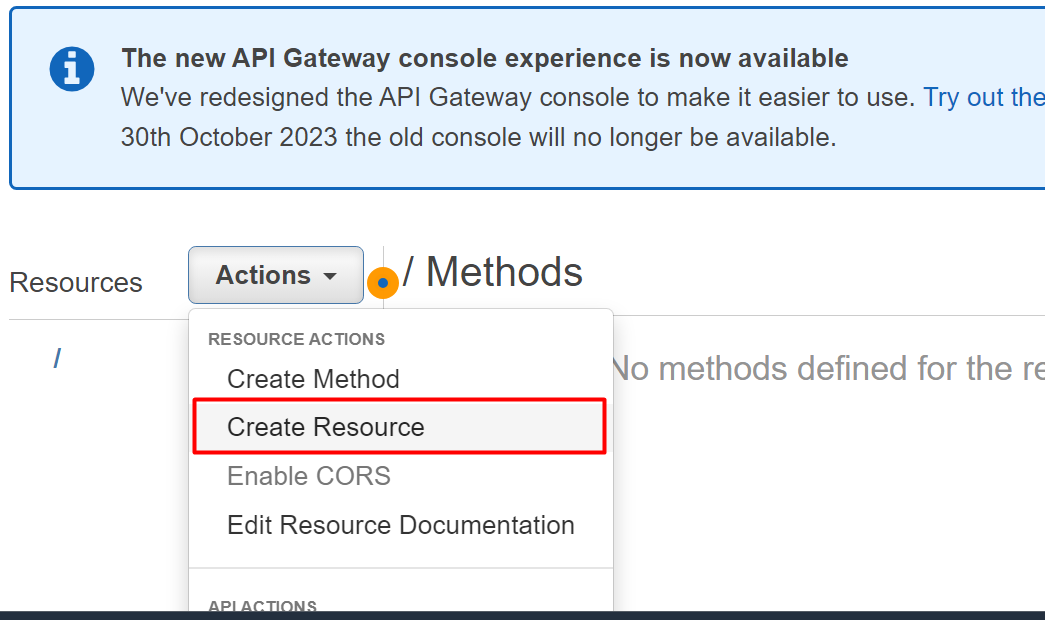
After successfully creating the API, click on the “Actions” button and select the following highlighted options to configure the resources and methods of the API:
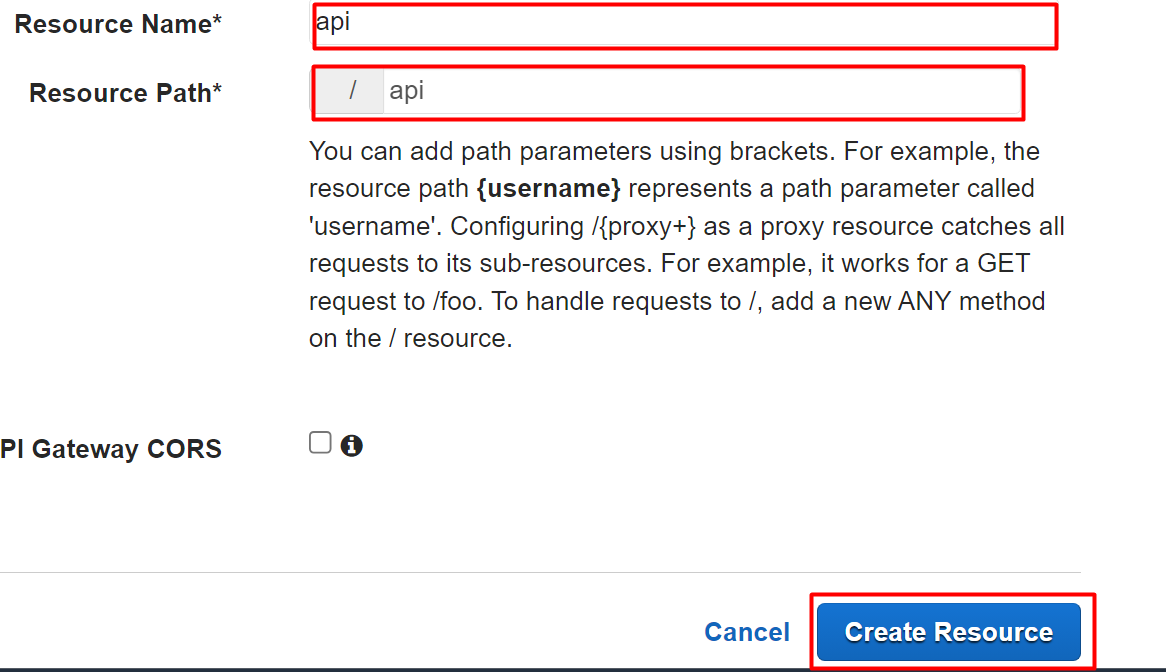
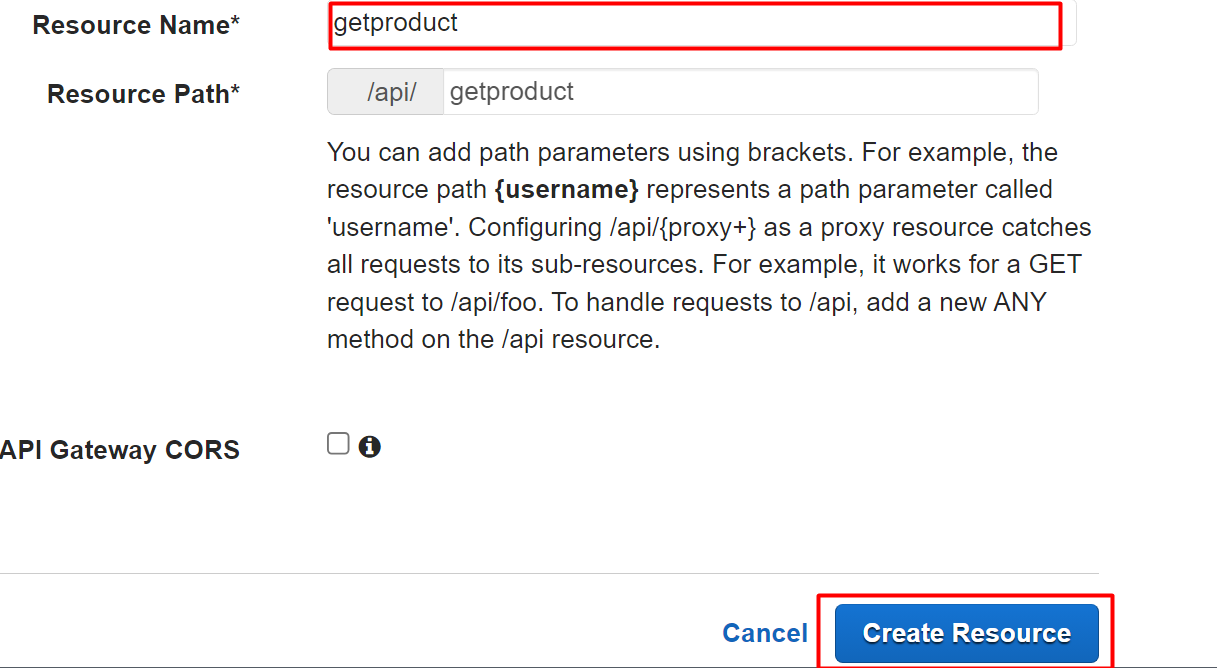
Next, provide the name of the API in the “Resource Name” text field. In the Resource Path, users can specify the path of the resources. This specified path will be then combined with the original methods to handle requests. Click the “Create Resource” button:
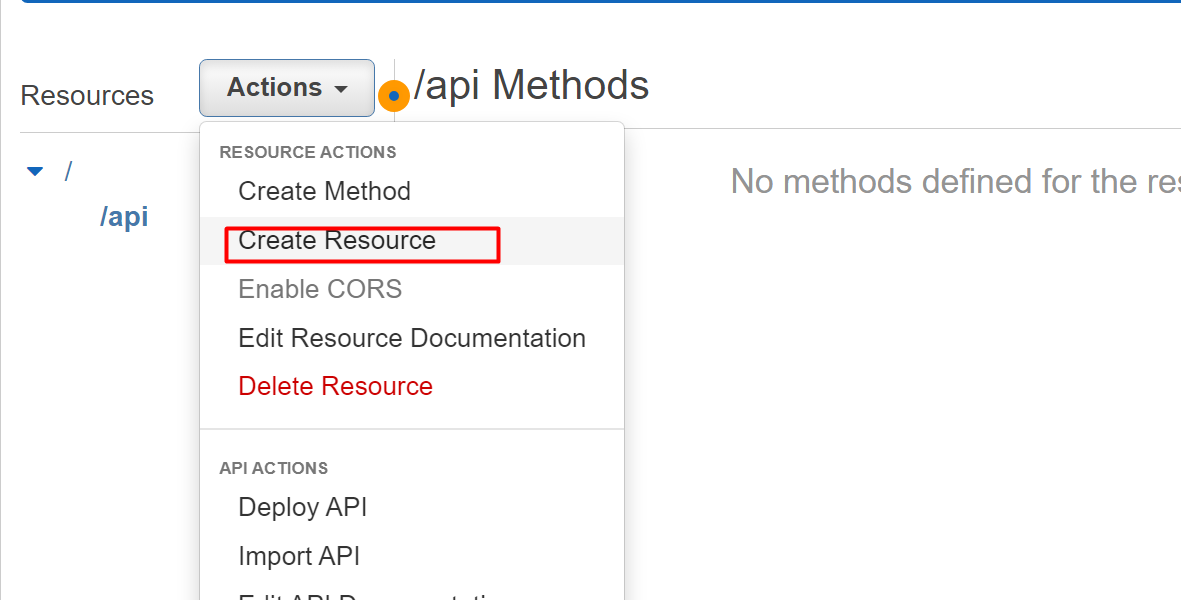
After creating the Resource, click on the “Actions” tab again and choose the “Create Resource” method to define methods and resources inside the API:
Provide the name of the “Resource Name” field and click on the “Create Resource” button:
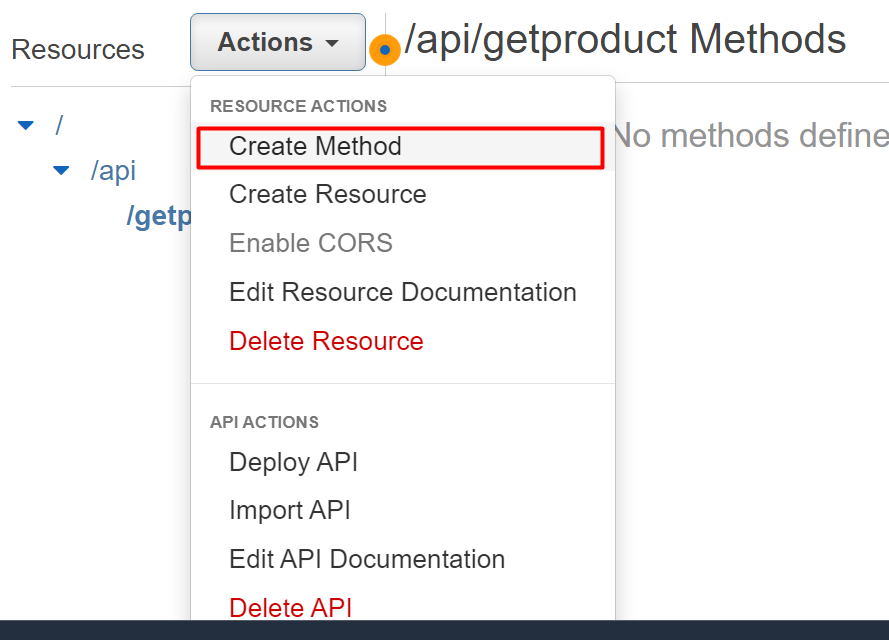
After configuring the nested resources, tap the “Actions” button and click on the “Create Method” button from the drop-down menu:
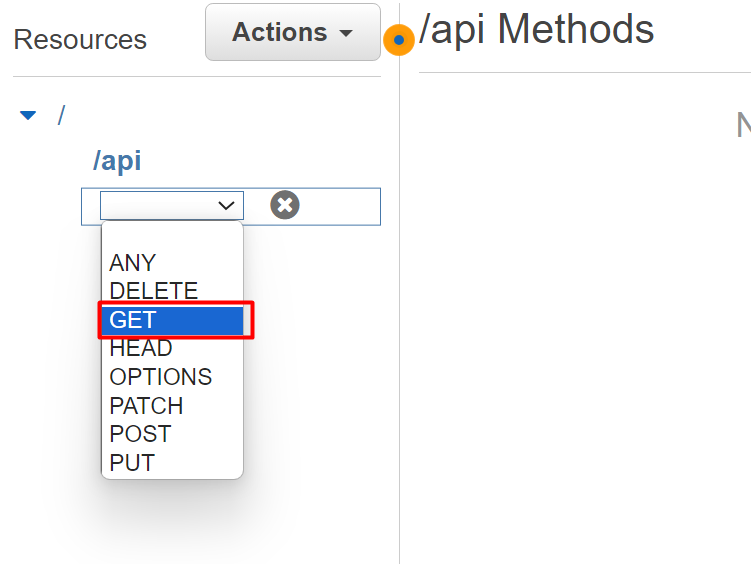
We want to test the working of our API by using the GET request in Node.js. Therefore, in the Methods interface, we will select the “GET” request:
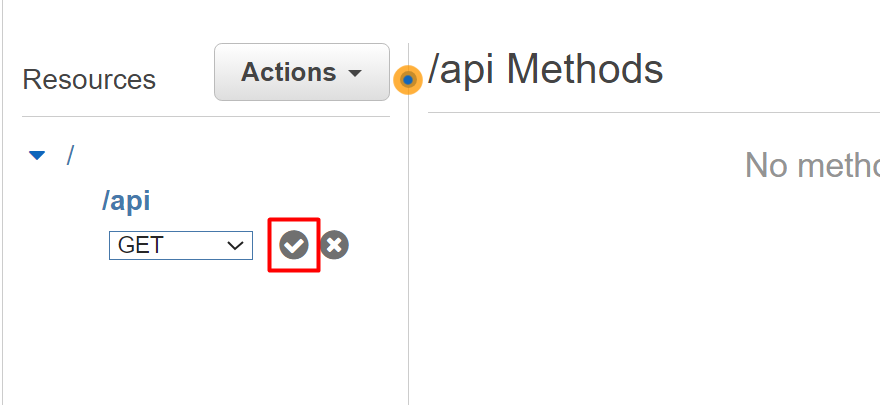
After selecting the GET request, click on the “check” button to confirm changes:
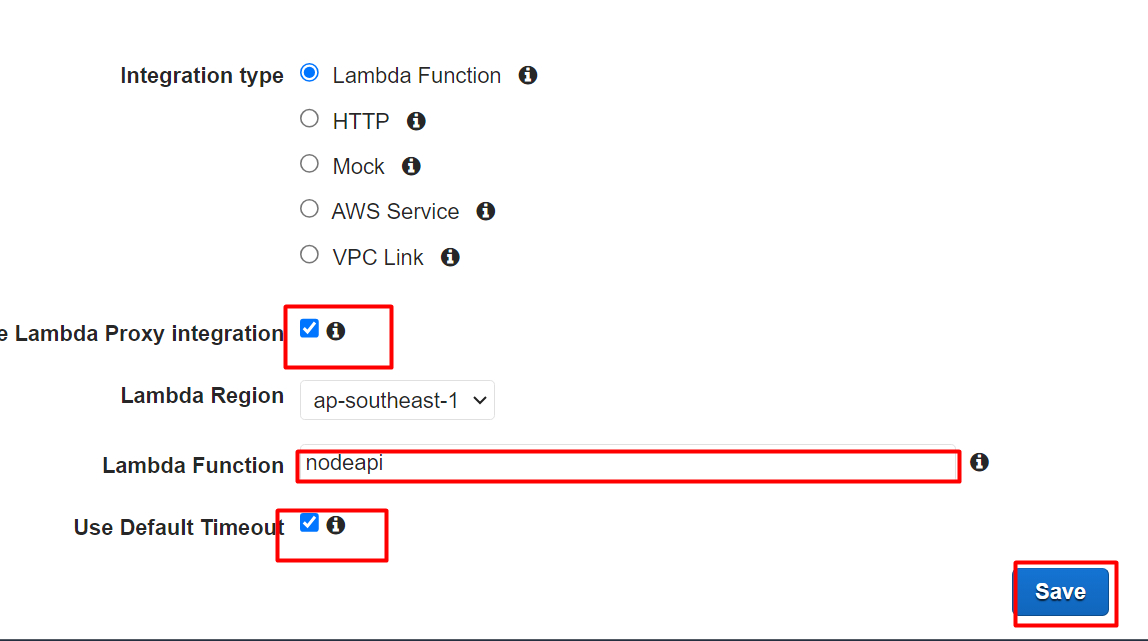
On the “GET” method interface, provide the name for the Lambda function that we created earlier and make the following configurations. After that hit the “Save” button to confirm changes:
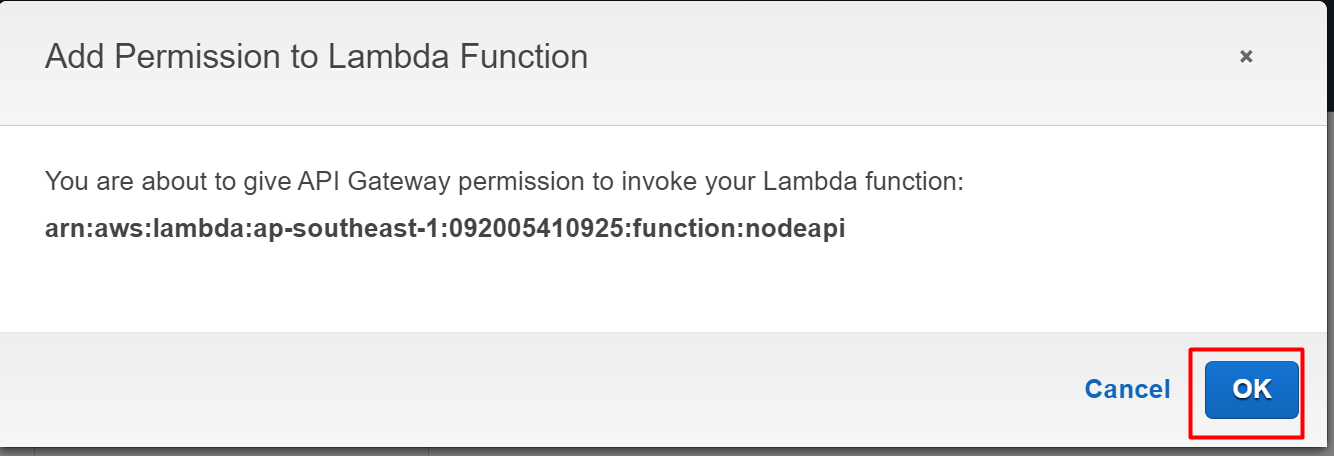
After clicking the “Save” button, the following dialog box will appear. Click the “OK” button:
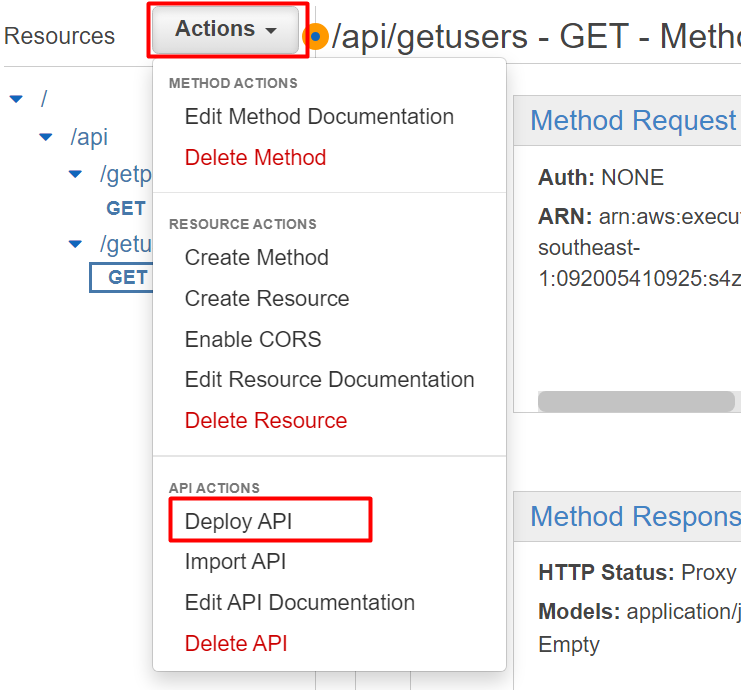
Similarly, create one more method by following similar steps as we have followed for the first method. Users can create multiple methods within an API based on their requirements. After configuring all the Methods, click on the “Actions” tab and select the “Deploy API” option:
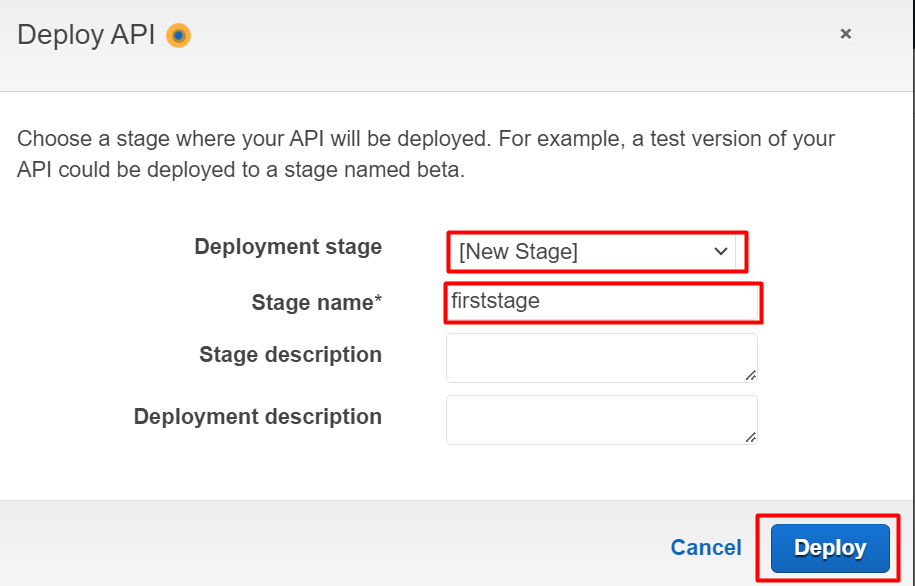
This will display the following dialog box. In the “Deployment stage” provide the details. Next comes the “Stage name” field for specifying the Stage name. Click on the “Deploy” button:
The API has been created successfully:
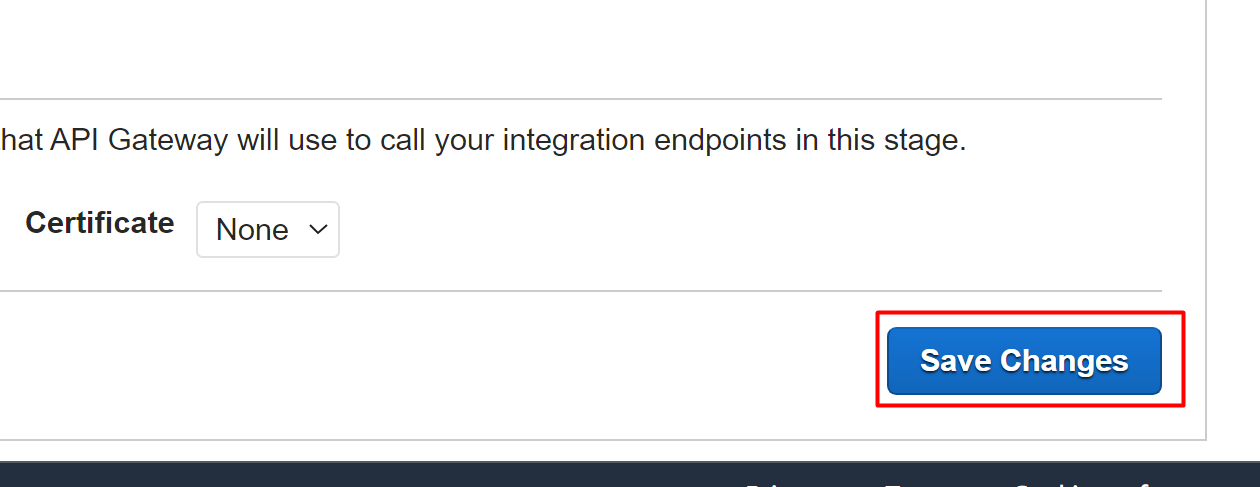
Scroll down the interface and click on the “Save Changes” button:
Step 3: Create the S3 Bucket
In this step, we will be creating a bucket to store the code. This code will be associated with the Lambda function and the API will be used to retrieve the attributes configured inside the code.
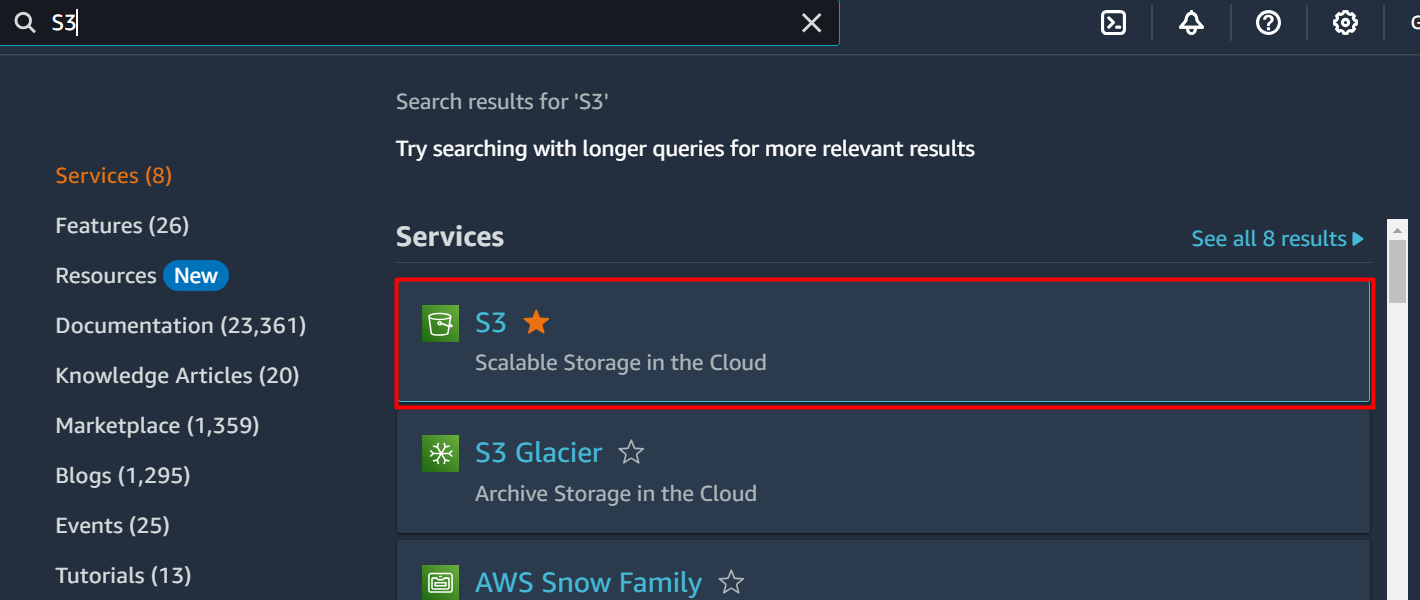
To create an S3 bucket, search the “S3” service in the search bar of the AWS Management Console. Tap the service’s name from the displayed results:
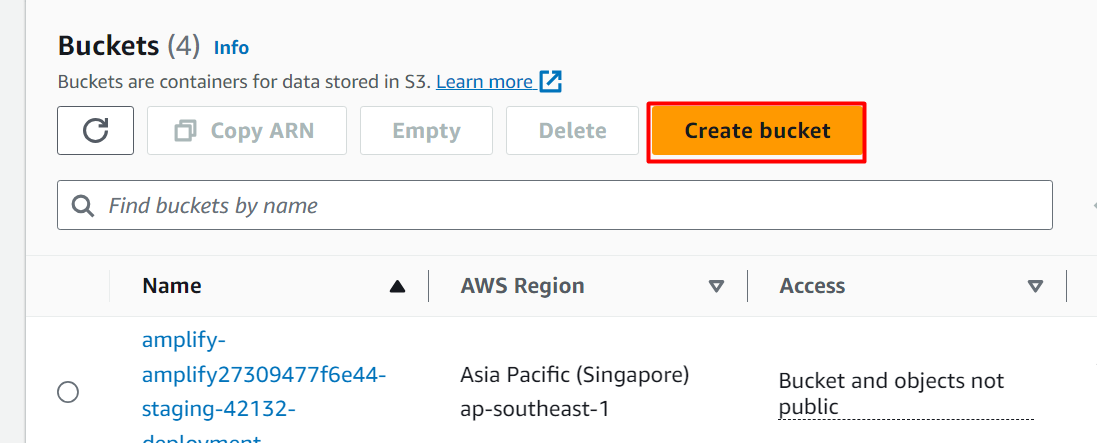
On the S3 console, click the “Create bucket” option to initiate the process:
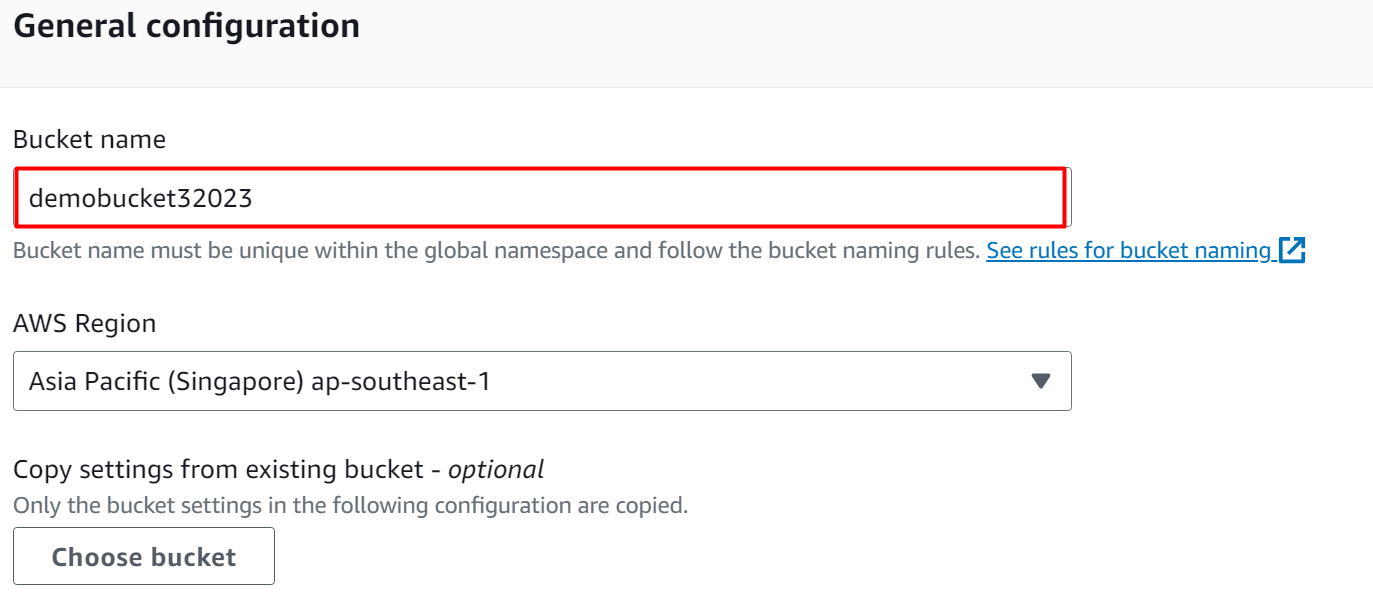
In the General configuration section, provide a globally unique identifier for the bucket in the highlighted text field:
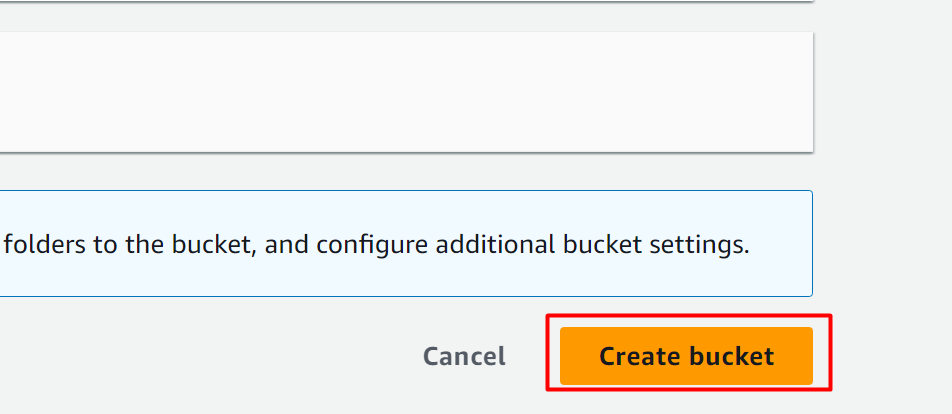
By keeping the settings as default, click on the “Create bucket” button at the bottom of the interface:
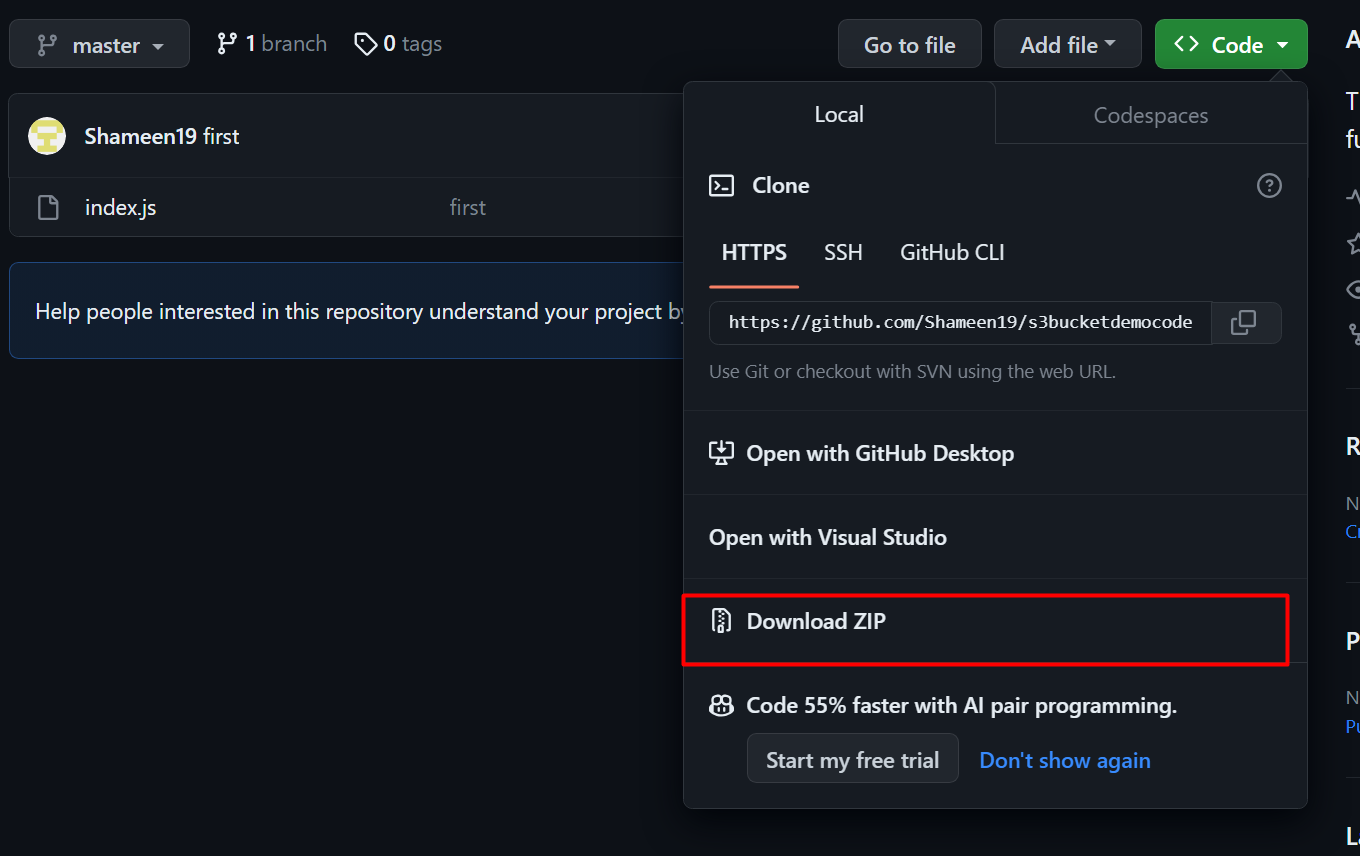
This will create the bucket. Now, to upload the code to the S3 bucket, we have provided a simple Node JS code in GitHub repository. Download the code in the Zip format:
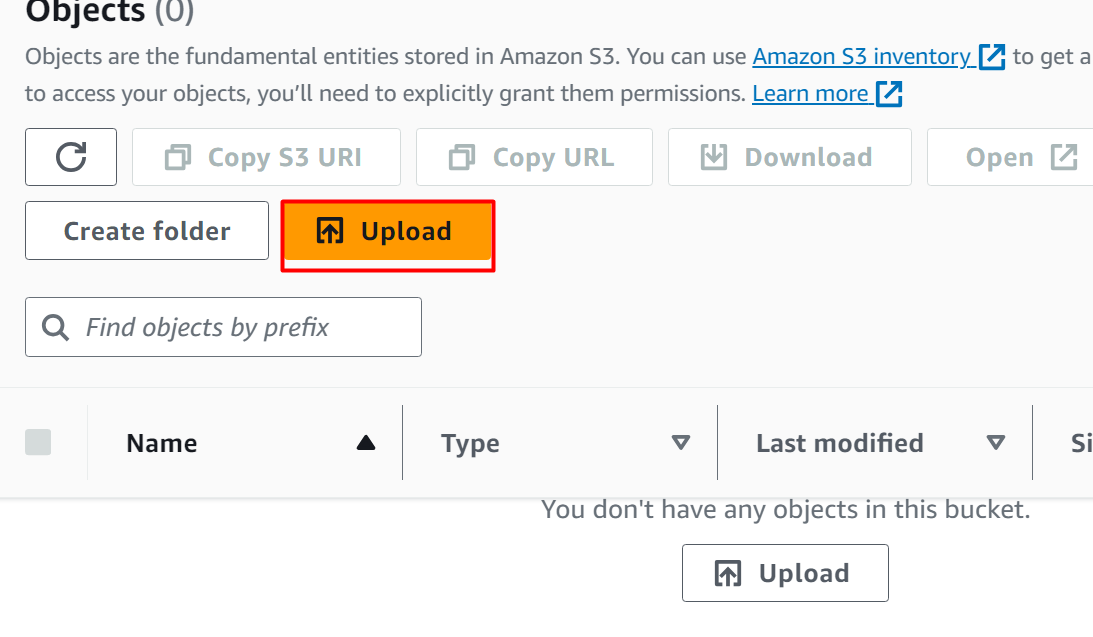
After downloading the Zip file, go to S3 Dashboard and choose the bucket. On the next interface, click on the “Upload” button and upload the Zip file to the bucket:
Learn more: How to Upload Objects in Amazon Simple Storage Service?
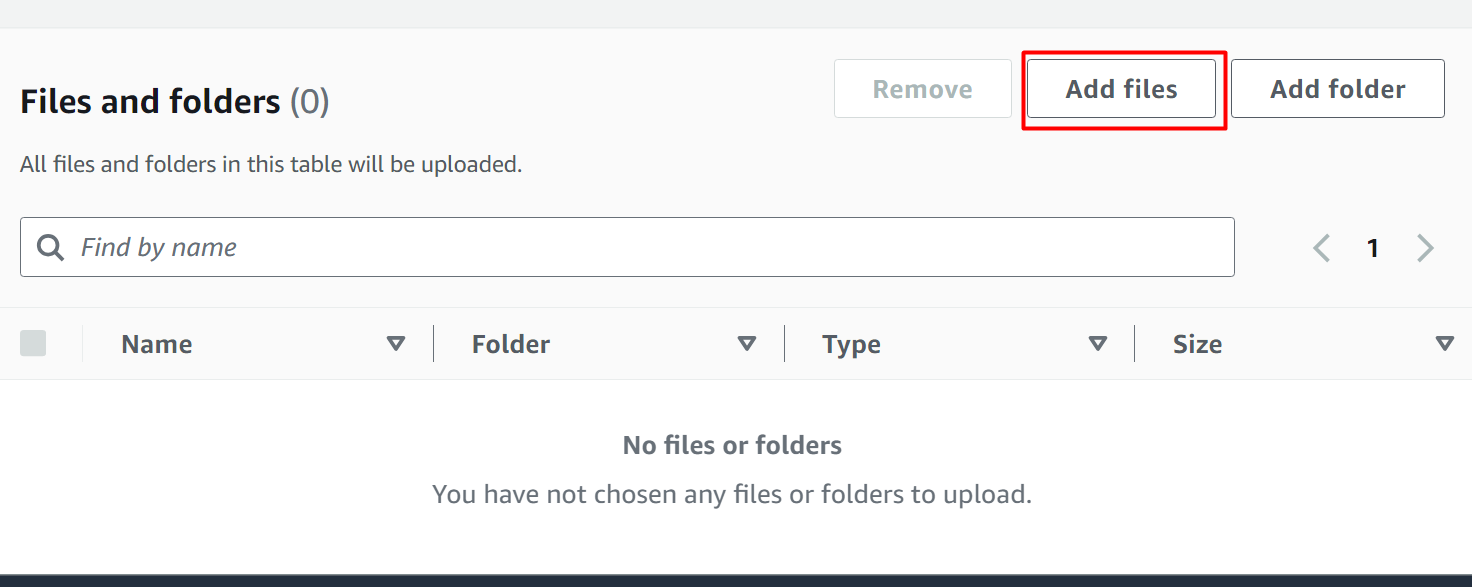
Tap the “Add files” button located on the right of the interface, neighbouring to the “Add folder” button. After adding the Zip file to the bucket, hit the “Upload” button at the bottom of the interface:
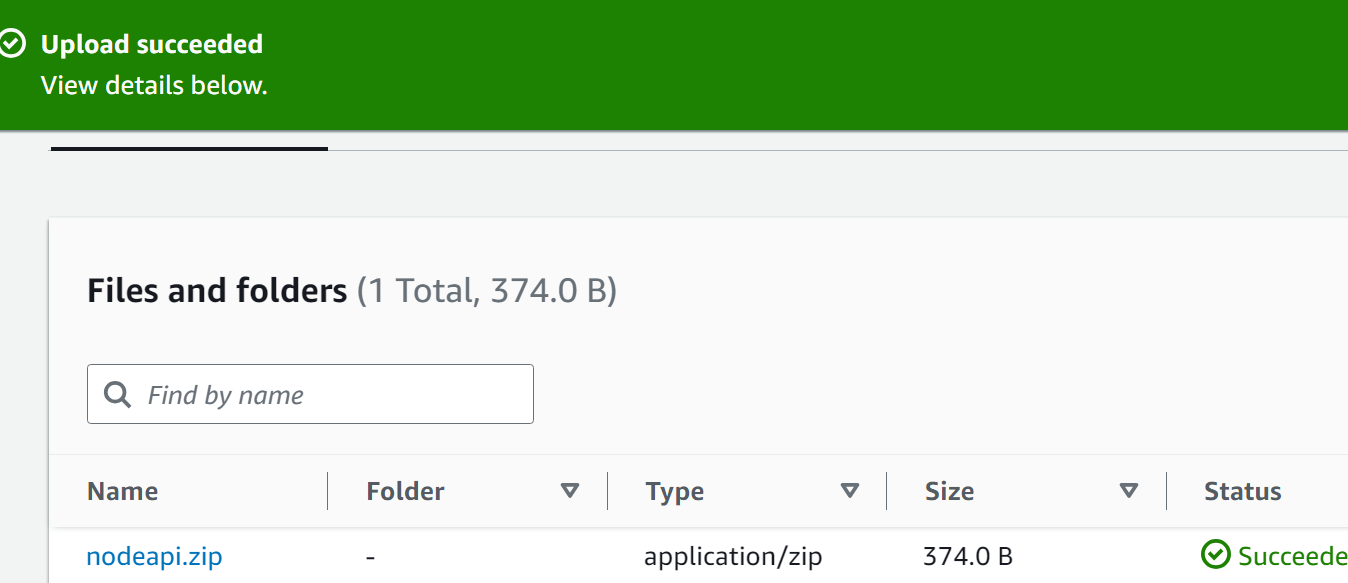
The file has been successfully uploaded:
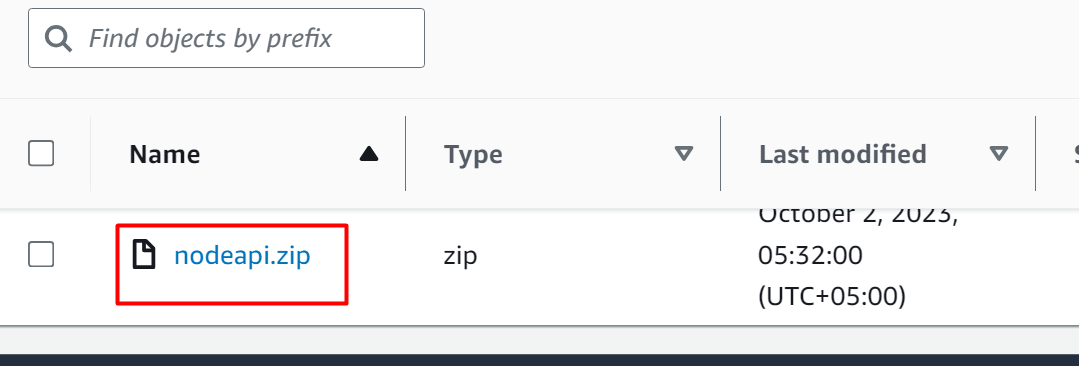
After uploading the file to the bucket, click on the Object to view properties:
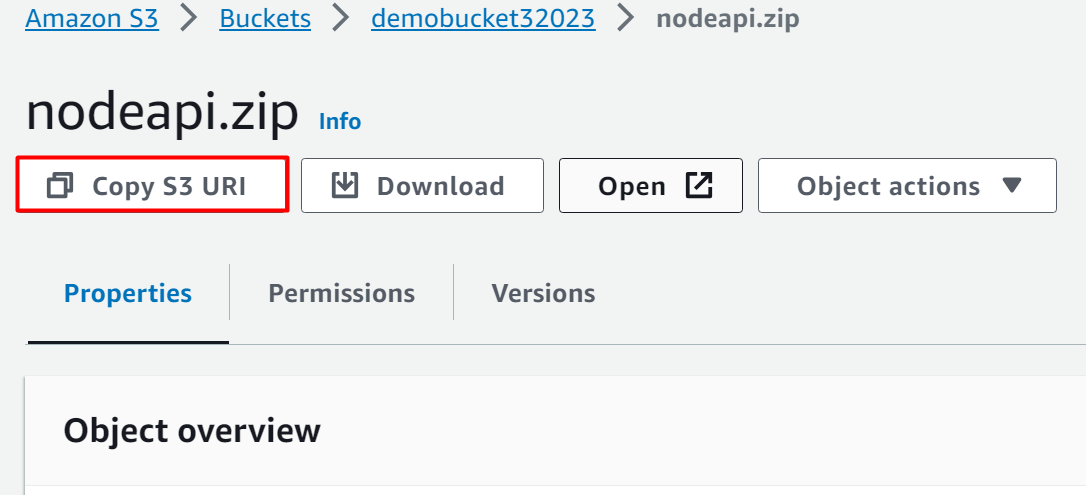
Click on the “Copy S3 URI” button. This will be added to the Lambda function:
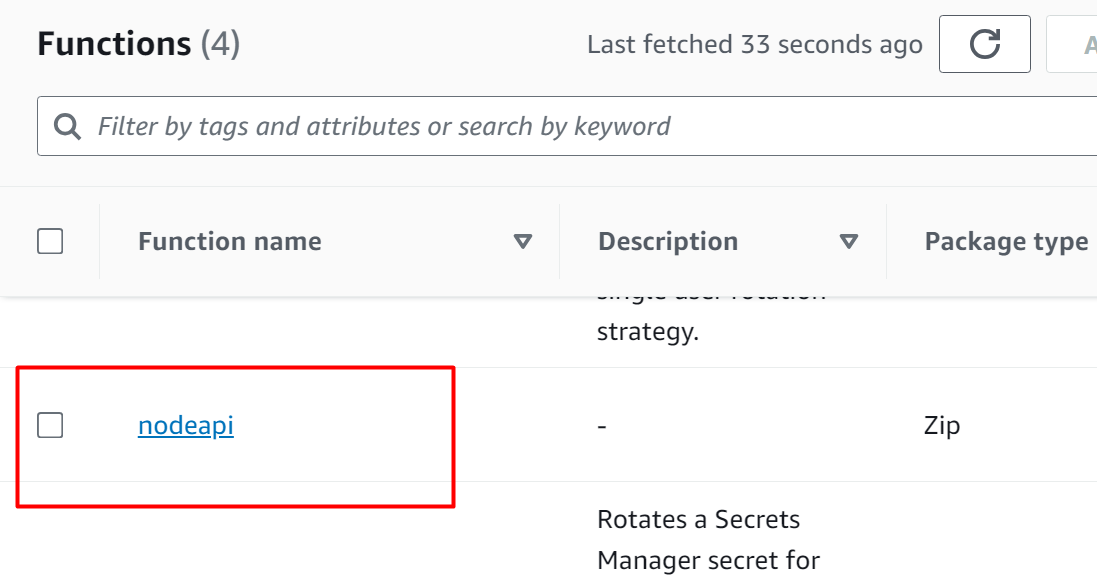
Go to the Lambda Dashboard and choose the Lambda function:
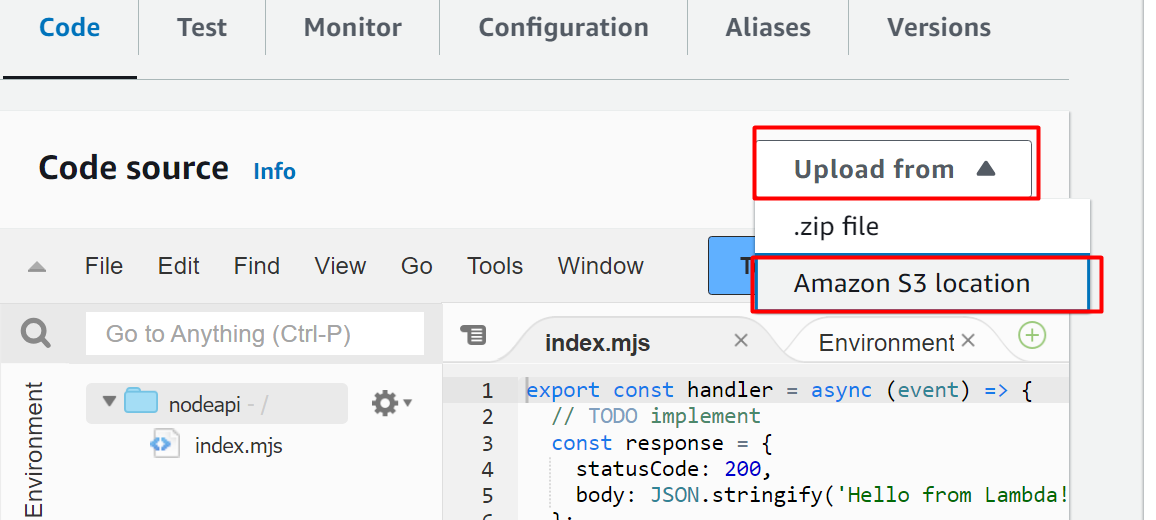
Scroll down to the “Code” section and tap the “Upload from” button. From the drop-down menu, click on the “Amazon S3 location” option:
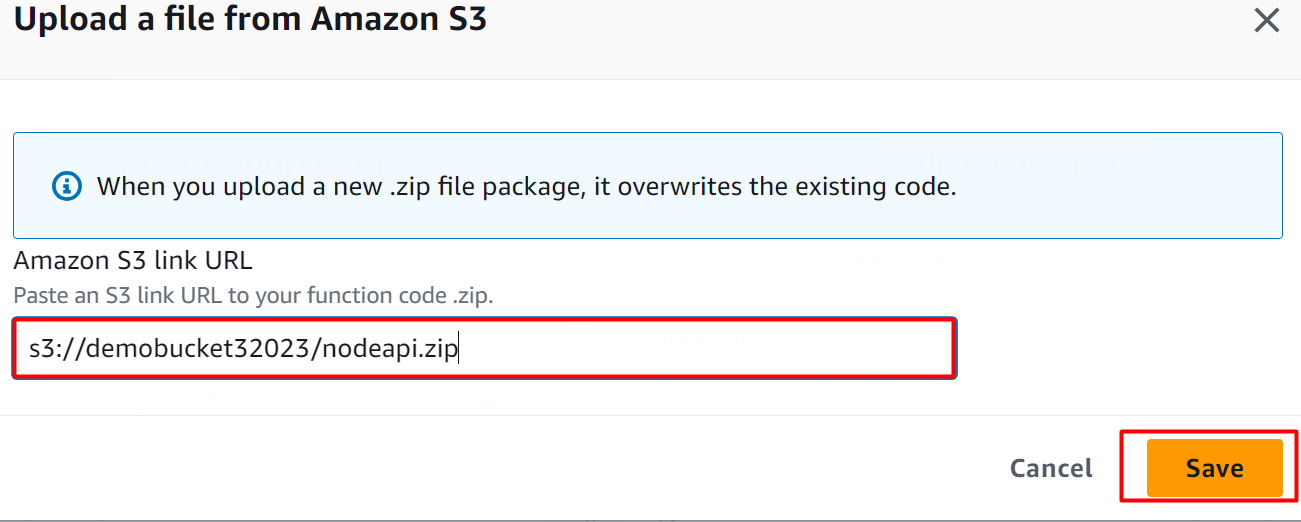
Paste the “S3 URI” in the displayed dialog box and click the “Save” button:
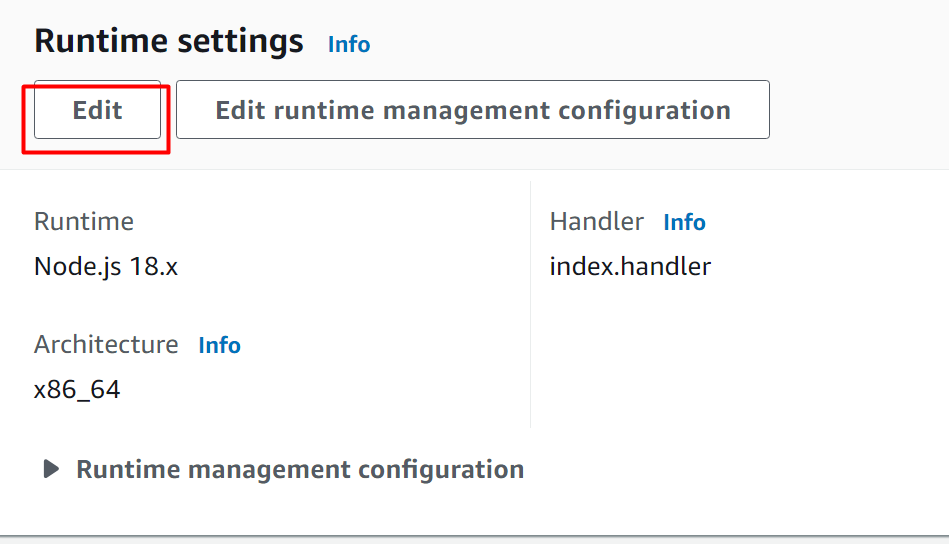
On the Lambda Function interface, scroll down to the “Runtime settings” and click on the “Edit” button:
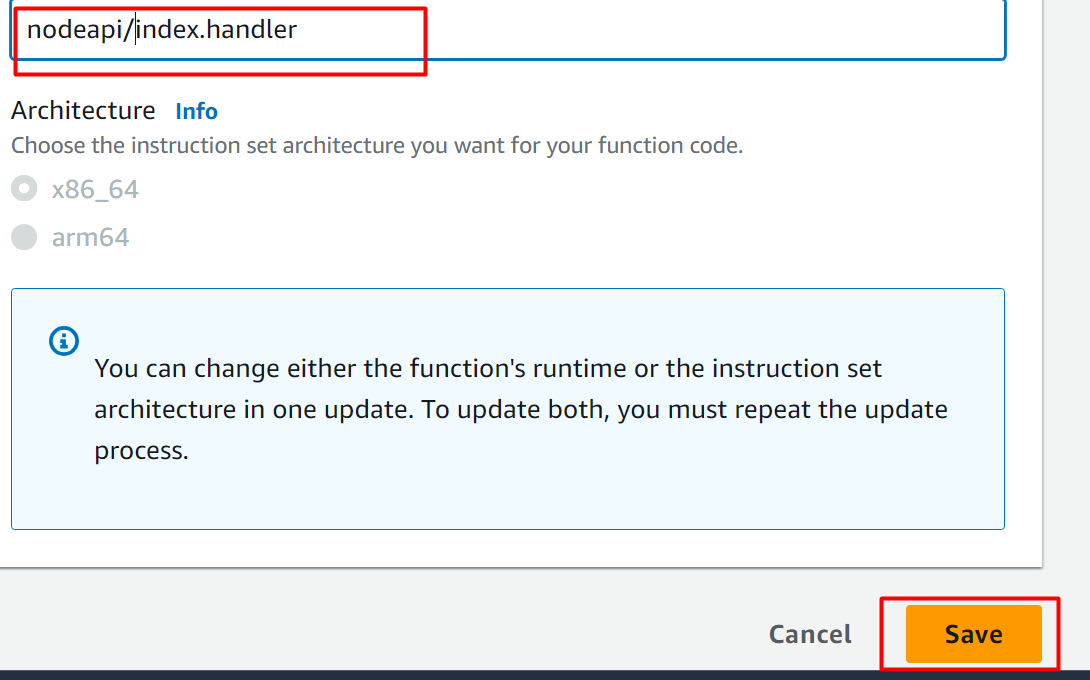
In the “Handler” field, edit the following configurations. The “nodeapi” is the folder name uploaded to the S3 bucket and index.js is the entry point. After that click on the “Save” button:
Step 4: Verification
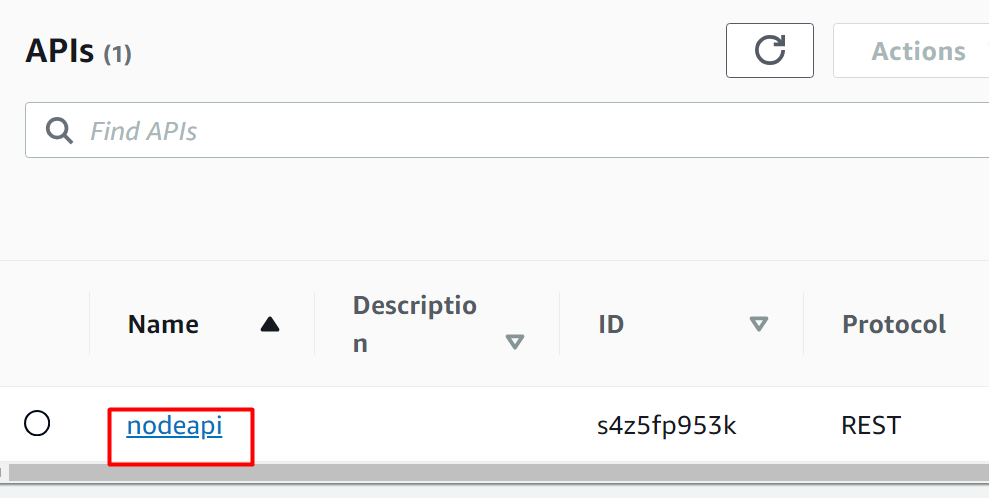
Go to the API gateway service console and click on the “API” name:
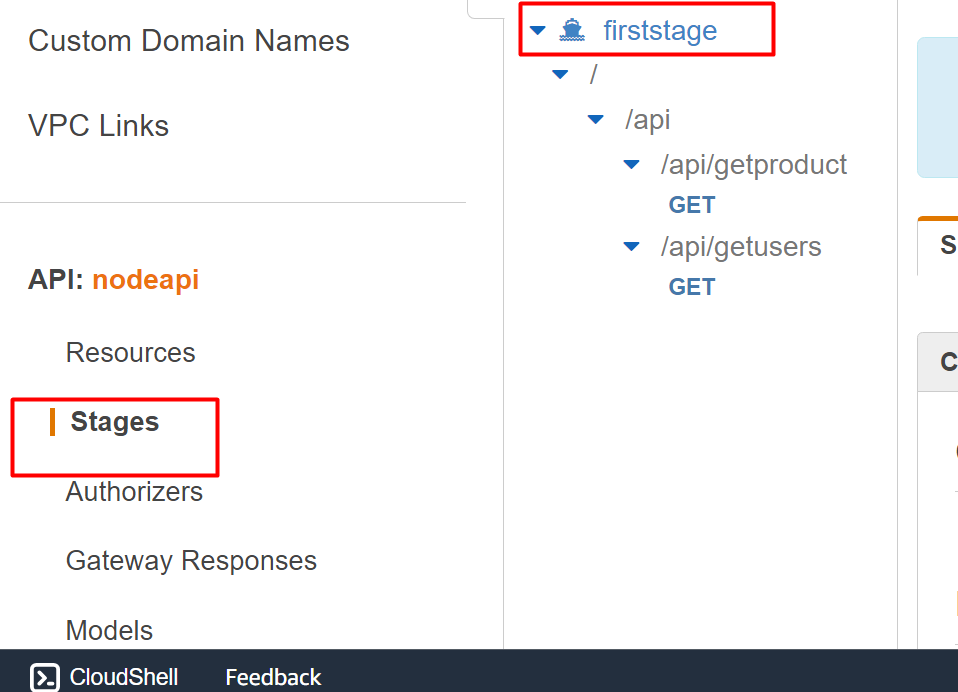
After selecting the API, click on the “Stages” button from the sidebar and then click the deployment stage e.g., firststage:
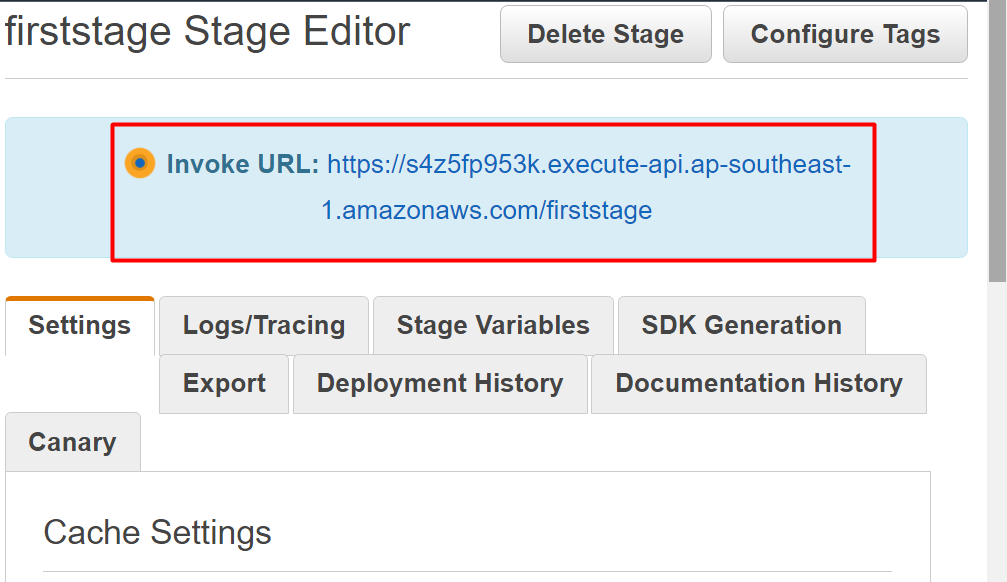
Copy the URL and launch the Postman tool on the local machine:
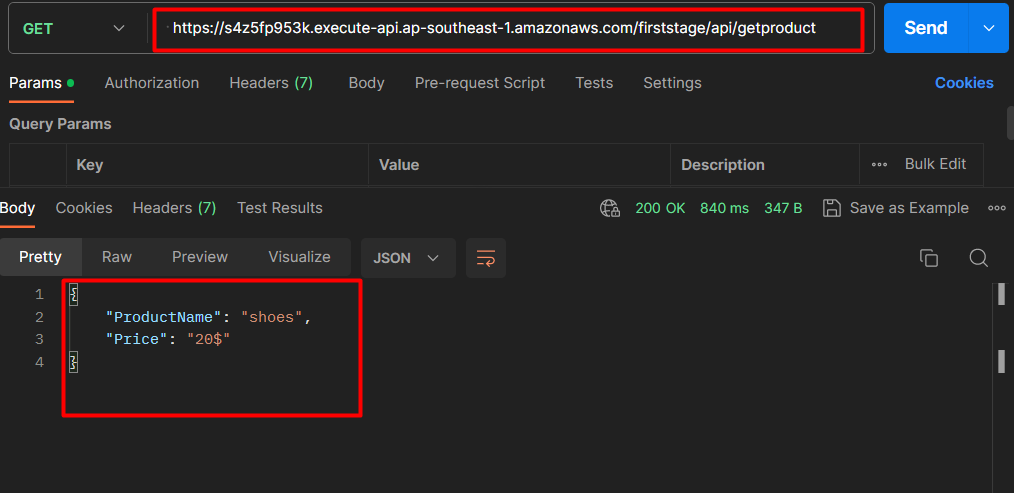
Create a GET request in the Postman and paste the URL in it. After clicking the “Send” button, we obtain the following results:
That is all from this guide.
Conclusion
To deploy Node.js API with the API gateway, upload code to the S3 bucket, add it as a handler, and API gateway as a trigger to Lambda Function. The request initiated using the Postman will be delivered to the Lambda Function through the API. For creating the API, use the API gateway service of AWS. The S3 bucket that was added as a handler to the Lambda Function will provide the code for the processing of the request. The output will be shown on the Postman’s console. This article is a step-by-step tutorial for implementing Node.js API with AWS API gateway.

