In this article, I am going to show you how to install Open JDK 12 and Oracle JDK 12 on Ubuntu 19.04. So, let’s get started.
Installing OpenJDK 12:
OpenJDK 12 is available in the official package repository of Ubuntu 19.04. So, you can easily install it with the APT package manager.
First, update the APT package repository cache with the following command:
OpenJDK 12 has two versions. A full version and a headless server version.
The headless server version doesn’t have any GUI programming libraries included. The headless version also requires less disk space.
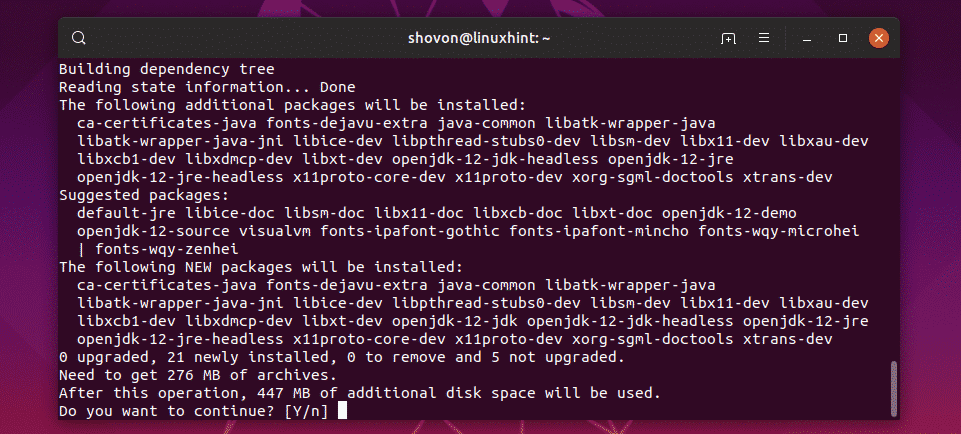
If you want to install the full version of OpenJDK 12, then run the following command:
If you want to install the headless server version of OpenJDK 12, then run the following command:
Now, press y and then press <Enter> to continue.
OpenJDK 12 should be installed.
Now, run the following command to check whether OpenJDK is working correctly.
OpenJDK is working correctly.
Installing Oracle JDK 12 using PPA:
You can also install Oracle JDK 12 on Ubuntu 19.04. This version of JDK is not available in the official package repository of Ubuntu. But, you can use linuxuprising/java PPA to install Oracle JDK 12.
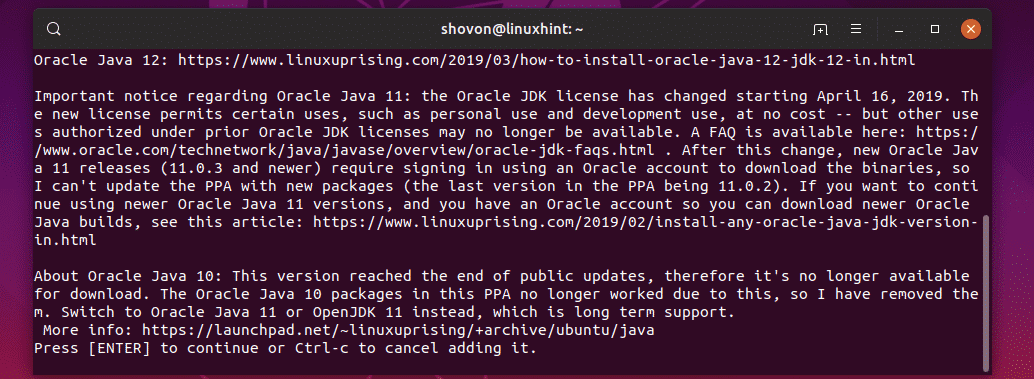
To add the linuxuprising/java PPA on Ubuntu 19.04, run the following command:
Now, press <Enter> to continue.
The PPA should be added.
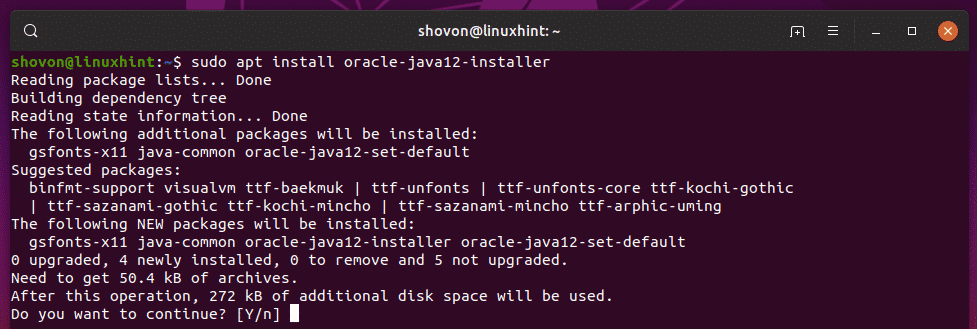
Now, install Oracle JDK 12 with the following command:
Now, press y and then press <Enter>.
Now, press <Enter>.
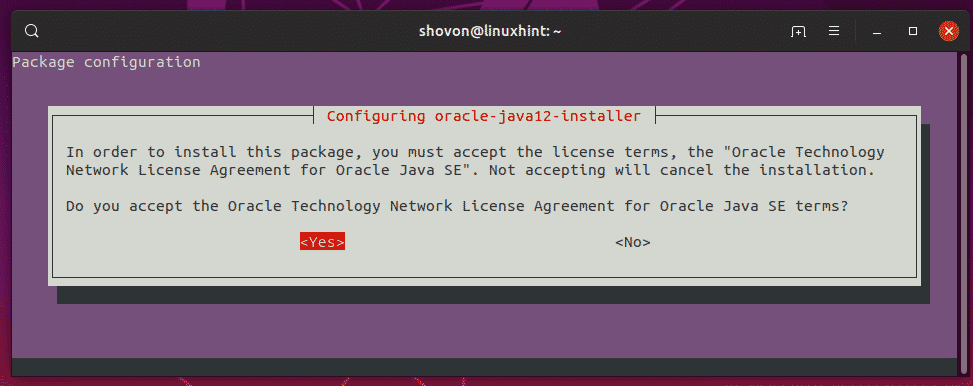
Now, select <Yes> and press <Enter> to confirm the Oracle Technology Network License Agreement for Oracle Java SE.
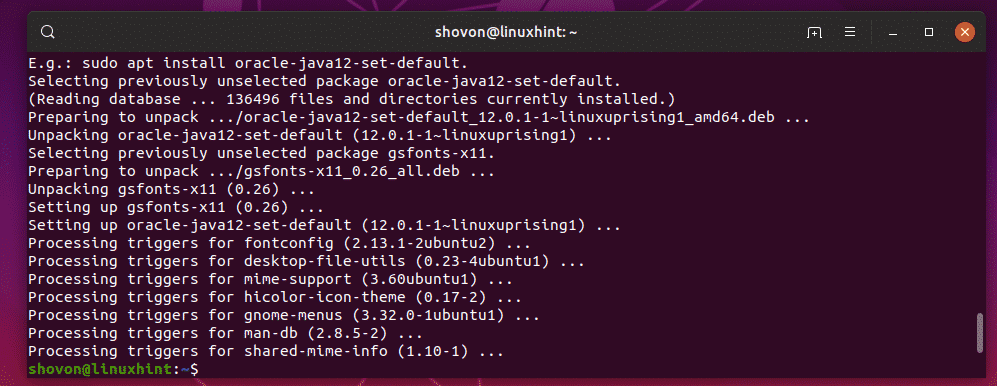
Oracle JDK 12 is being installed.
Oracle JDK 12 should be installed.
Once Oracle JDK 12 is installed, run the following command to check whether it is working or not.
As you can see, Oracle JDK 12 is working correctly.
Installing Oracle JDK 12 from the Official Website:
You can also install Oracle JDK from the official website.
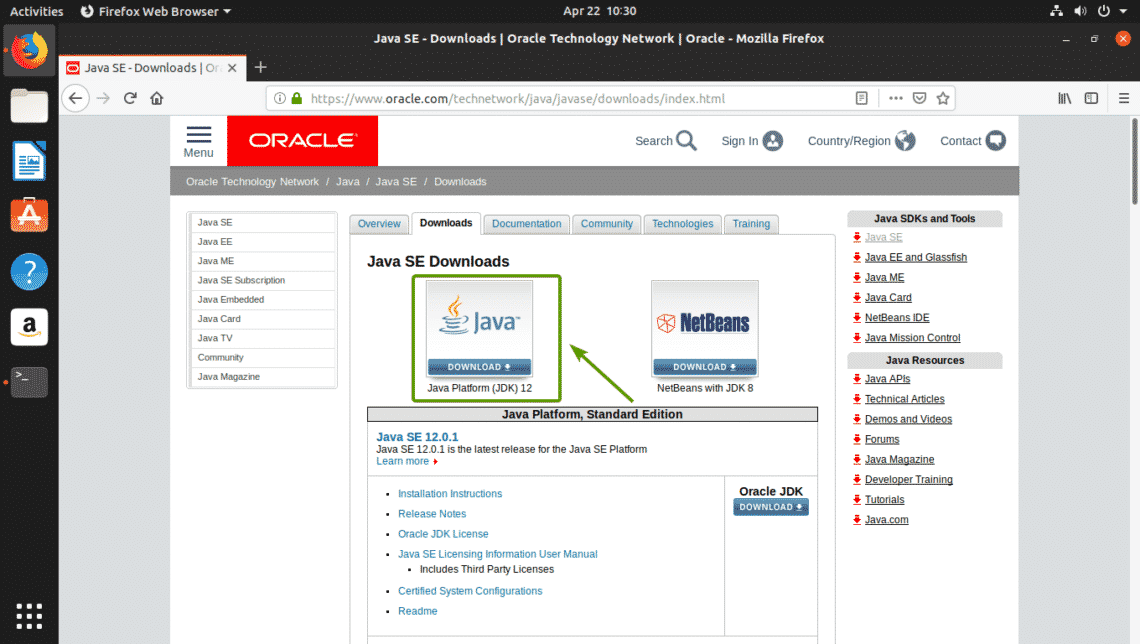
First, visit https://www.oracle.com/technetwork/java/javase/downloads/index.html from any web browser. Once the page loads, click on the Download button of Java Platform (JDK) 12 as marked in the screenshot below.
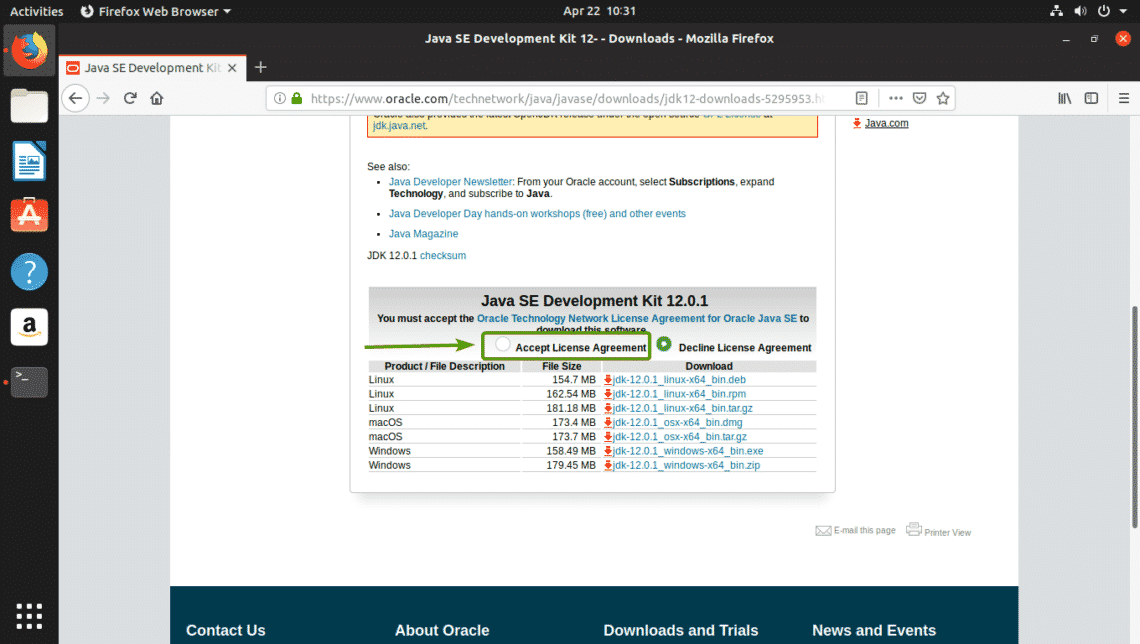
Now, click on Accept License Agreement to accept the Oracle Technology License Agreement for Oracle Java SE.
Now, click on the jdk-12.0.1 DEB package file.
NOTE: At the time of this writing, the version is 12.0.1. It might be different by the time you read this article. So, make sure to replace 12.0.1 with the version you are installing from now on.
Your browser should prompt you to download the DEB package file. Select Save File and click on OK.
jdk-12.0.1 is being downloaded.
Now, navigate to the ~/Downloads directory as follows:
The jdk-12.0.1 DEB package file should be here.
Now, install the DEB package file as follows:
jdk-12.0.1 package should be installed.
Now, find the path of the bin/ directory of the deb package jdk-12.0.1 with the following command:
Now, add the JAVA_HOME and update the PATH variable with the following command:
| sudo tee /etc/profile.d/jdk12.sh
Now, reboot your Ubuntu machine with the following command:
Once your computer boots, run the following command to check whether the environment variables JAVA_HOME and PATH are set correctly.
Now, check whether Oracle JDK 12 is working correctly as follows:
Compiling and Running a Simple Java Program:
Now, I am going to write a simple java program to test whether we can compile and run it with OpenJDK 12 and Oracle JDK 12.
Now, create a file Welcome.java and type in the following lines in it.
Now, to compile Welcome.java source file, open a Terminal and navigate to the directory where your Welcome.java source file is saved and run the following command:
A new file Welcome.class should be generated as you can see in the screenshot below. It is called a Java class file. Java class file contains Java bytecodes that the JVM (Java Virtual Machine) can run.
Now, run Welcome.class Java class file as follows:
NOTE: Type in only the filename without .class extension. Otherwise, it won’t work.
Welcome to LinuxHint! Just the output I expected. So, the Welcome.java program compiled and ran successfully using JDK 12.
So, that’s how you install Oracle JDK 12 and OpenJDK 12 on Ubuntu 19.04 LTS. Thanks for reading this article.


