In this article, we will show you how to write a simple client-server Calculator app using the ZeroMQ Python library. This article helps you to get started with ZeroMQ. This article covers the following topics of ZeroMQ:
- Creating a ZeroMQ context
- Creating a ZeroMQ request socket
- Creating a ZeroMQ response socket
- Binding a ZeroMQ socket
- Connecting to a ZeroMQ response socket
- Using the ZeroMQ recv() function
- Using the ZeroMQ send() function
- Closing a ZeroMQ socket
Topic of Contents:
- Installing ZeroMQ
- Creating a Project Directory and Project Files
- Writing the ZeroMQ Server Code
- Writing the ZeroMQ Client Code
- How the Client-Server ZeroMQ Calculator Program Works
- ZeroMQ Server Code Explanation
- ZeroMQ Client Code Explanation
- Testing the ZeroMQ Client-Server Calculator App
- Conclusion
Installing ZeroMQ
If you need any assistance in installing ZeroMQ on Ubuntu 22.04 LTS or any operating system with the installed Python PIP, read the article on How to Install ZeroMQ on Ubuntu 22.04 LTS and Use it with Python 3.
Creating a Project Directory and Project Files
To keep everything organized, create a new project directory ~/projects/zmq-python (let’s say) with the following command:
Navigate to the newly created project directory ~/projects/zmq-python as follows:
Create two Python scripts, “client.py” and “server.py”, in the project directory ~/projects/zmq-python with the following command:
Finally, the project directory should look as follows:
Writing the ZeroMQ Server Code
Type in the following lines of codes in the “server.py” file and save the file:
context = zmq.Context()
socket = context.socket(zmq.REP)
socket.bind("tcp://*:5000")
print("ZeroMQ server is ready...")
def decode_client_data(client_data):
client_data = list(map(float, client_data.split(b',')))
client_data[0] = int(client_data[0])
return client_data
num_requests = 0
while True:
num_requests = num_requests + 1
try:
client_data = socket.recv()
except KeyboardInterrupt:
socket.close()
print("\nZeroMQ server is stopped.")
break
decoded_client_data = decode_client_data(client_data)
option = decoded_client_data[0]
num1 = decoded_client_data[1]
num2 = decoded_client_data[2]
match option:
case 1:
action = 'add'
result = num1 + num2
case 2:
action = 'subtract'
result = num1 - num2
case 3:
action = 'multiply'
result = num1 * num2
case 4:
action = 'divide'
result = num1 / num2
print(f"request#{num_requests} action={action}, numbers=[{num1}, {num2}], result={result}")
socket.send(bytes(str(result), "utf-8"))
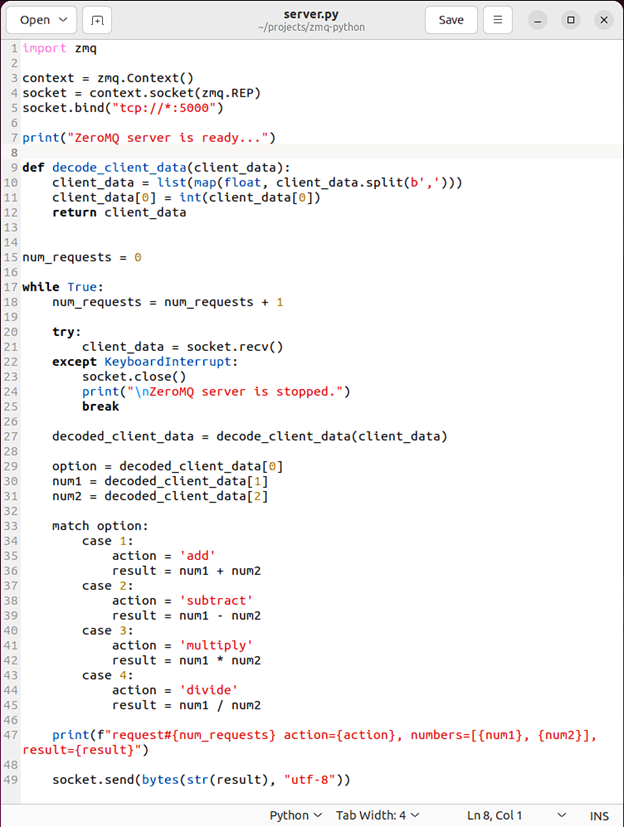
Once you typed in all the codes, the “server.py” file should look like in the following screenshot. To learn what the code does and how it works, read about the ZeroMQ Server Code Explanation.
Writing the ZeroMQ Client Code
Type in the following lines of codes in the “client.py” file and save the file:
context = zmq.Context()
socket = context.socket(zmq.REQ)
socket.connect("tcp://localhost:5000")
print("Connected to ZeroMQ server.")
def take_option_input():
prompt = """
What do you want to do?
1. add numbers
2. subtract numbers
3. multiply numbers
4. divide numbers
5. exit
-> """
try:
option = input(prompt)
except KeyboardInterrupt:
option = 5
return option
def take_numbers_input():
num1 = float(input("number 1: "))
num2 = float(input("number 2: "))
return [num1, num2]
def encode_request_data(request_data):
request_data_string = ','.join(map(str, request_data))
encoded_data = bytes(request_data_string, 'utf-8')
return encoded_data
while True:
option = int(take_option_input())
if option < 1 or option > 4: #option is 5 or outside range 1-4 - close client socket
socket.close()
print("\nClient disconnected from ZeroMQ server.")
break
numbers = take_numbers_input()
request_data = [option, *numbers]
encoded_data = encode_request_data(request_data)
socket.send(encoded_data)
result = float(socket.recv())
print(f"result is: {result}")
Once you typed in all the codes, the “client.py” file should look like in the following screenshot. To learn what the code does and how it works, read about the ZeroMQ Client Code Explanation.
How the Client-Server ZeroMQ Calculator Program Works
The “server.py” file runs a ZeroMQ server. The server listens to ZeroMQ client requests. The “client.py” file runs a ZeroMQ client. The ZeroMQ client takes two floating point numbers and the arithmetic operation (addition, subtraction, multiplication, or division) to perform on the numbers as the input from the user. Once the input data is taken from the user, the client program encodes them, sends them to the ZeroMQ server, and waits for a response from the ZeroMQ server. The ZeroMQ server receives the client data, decodes it, performs the arithmetic operation on the floating point numbers, and sends the result back to the ZeroMQ client. The ZeroMQ client program receives the result and prints it on the screen.
ZeroMQ Server Code Explanation
Line 1 imports the ZeroMQ.
Line 3 creates a ZeroMQ context.
Line 4 creates a ZeroMQ response socket so that it can respond to the client requests.
Line 5 binds the ZeroMQ socket to the TCP port 5000.
Lines 9-12 create a decode_client_data() function. This function takes in the encoded client data, decodes it, and returns the data as a Python list. The first item of the list is the operation (i.e. addition, subtraction, multiplication, division) to perform on the second and third items. The second and third items are floating point numbers.
The num_requests variable just keeps track of how many ZeroMQ client requests the processed ZeroMQ server. This is not very important.
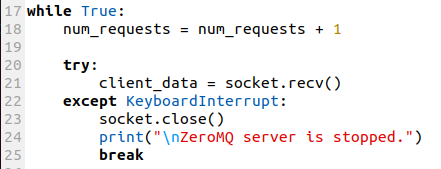
The server program uses an infinite while loop (line 17) to keep listening for the ZeroMQ client requests.
Line 21 uses the socket.recv() function to read the data that is sent by the ZeroMQ client.
The try-except statement is used to detect the KeyboardInterrupt exception and closes the ZeroMQ server socket when the KeyboardInterrupt exception occurs. When you press + C while the “server.py” program is running, it sends a KeyboardInterrupt exception to the ZeroMQ program which causes it to close the ZeroMQ server socket.
Line 27 decodes the data that is sent by the ZeroMQ client.
The decoded data is stored in different variables to make the program more readable.
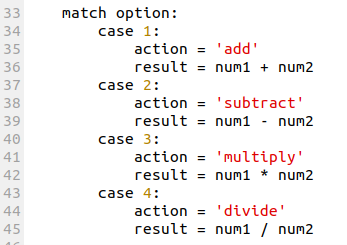
Depending on the option, an arithmetic operation is performed on the floating point numbers, and the result is stored in a variable.
Line 47 prints the server stats like the request number it processed, the action and numbers it received from the ZeroMQ client, and the result it sends back to the ZeroMQ client.
In line 49, the socket.send() is used to send the result back to the ZeroMQ client.
ZeroMQ Client Code Explanation
Line 1 imports the ZeroMQ.
Line 3 creates a ZeroMQ context.
Line 4 creates a ZeroMQ request socket so that it can send the requests to the ZeroMQ servers.
Line 5 connects to the ZeroMQ server that runs at TCP port 5000.
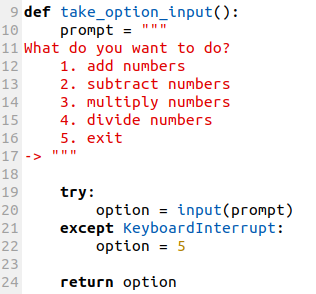
Lines 9-24 define the take_option_input() function. This function prints the available actions that the user can take and prompts the user to select an option from the list.
Lines 26-30 define the take_numbers_input() function. This function just prompts the user to type in two floating point numbers and returns the floating point numbers that the user typed in as a list.
Lines 32-35 define the encode_request_data() function. This function encodes the option and two floating point numbers that the user has entered into a UTF-8 byte array so that the ZeroMQ client program can send it to the ZeroMQ server all at once.
Line 37 runs an infinite while loop so that the ZeroMQ client can keep asking the user to do some calculations or exit the client program if the user doesn’t feel like calculating the numbers anymore.
Line 40 checks if the user wants to quit or picked the wrong option.
The socket.close() in line 41 is used to close the ZeroMQ client socket if the user picks a wrong option or option 5 (which is exit).
Line 45 takes two floating point numbers as inputs from the user.
Line 46 creates a list of the option (arithmetic operation to perform) and the floating point numbers.
Line 47 encodes the client data.
Line 49 uses the socket.send() to send the encoded client data to the ZeroMQ server.
Once the ZeroMQ server sends a response, line 51 uses the socket.recv() function to read it.
Line 51 prints the received result on the console.
Testing the ZeroMQ Client-Server Calculator App
To test the ZeroMQ Client-Server Calculator app, run the ZeroMQ server program “server.py” first with the following command:
As you can see, the ZeroMQ server program has started and it’s ready to respond to the client requests.
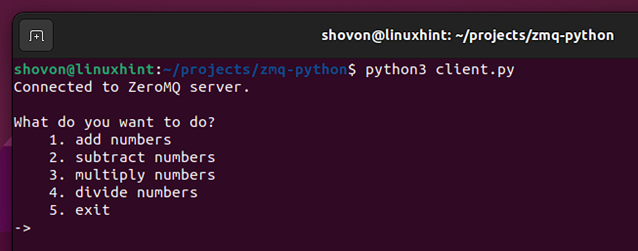
Then, run the ZeroMQ client program “client.py” with the following command:
The ZeroMQ client program is running. The client program prints the available actions that the users can perform and waits for the user to select one.
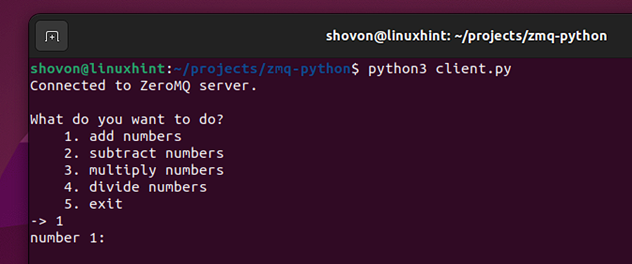
Let’s start with the addition arithmetic operation.
Type in 1 and press <Enter>.
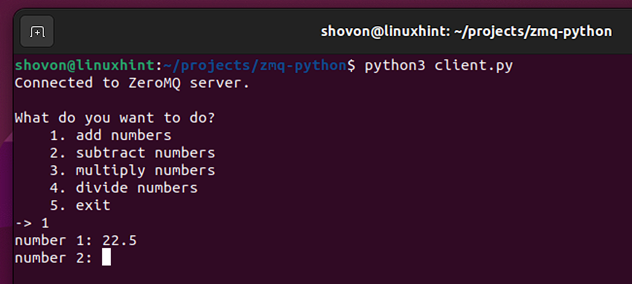
Type in the first number and press <Enter>.
Type in the second number and press <Enter>.
As you can see, a result is displayed.
The ZeroMQ server program displays the correct stats as well.
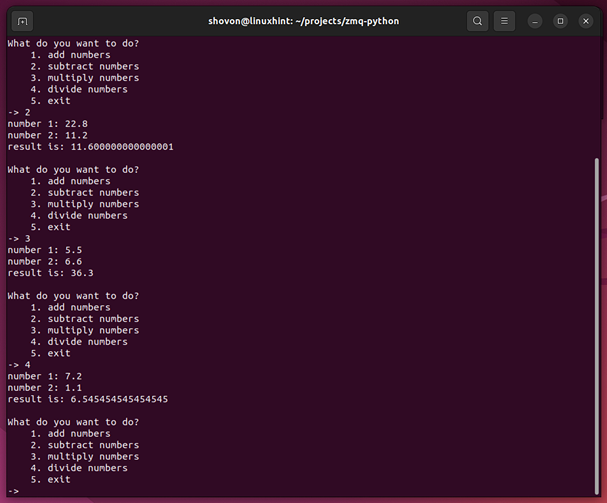
In the same way, you can subtract, multiply, and divide the numbers using the ZeroMQ client and server program.
The ZeroMQ server displays all the stats/requests that are done by the ZeroMQ client.
To close the ZeroMQ client program, type in 5 and press <Enter>. The ZeroMQ client program should be closed.
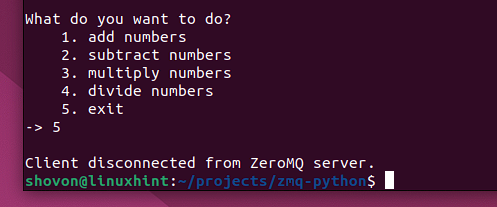
To stop the ZeroMQ server program, press <Ctrl> + C. The ZeroMQ server program should be stopped.

Conclusion
We showed you how to write a simple client-server Calculator app using the ZeroMQ Python library. We covered the following ZeroMQ features in this article:
- Creating a ZeroMQ context
- Creating a ZeroMQ request socket
- Creating a ZeroMQ response socket
- Binding a ZeroMQ socket
- Connecting to a ZeroMQ response socket
- Using the ZeroMQ recv() function
- Using the ZeroMQ send() function
- Closing a ZeroMQ socket


