Jupyter Notebook offers an interactive computing environment which supports multiple computer languages such as R, Python, Julia, etc. Furthermore, this web application supports the Markdown which provides a convenient approach to writing documentation and explanation. Jupyter Notebook has become popular among researchers, scientists, and professionals because of its immense versatility and ability to create essential documents. Let’s look at the simple methods to install the Jupyter Notebook on Rocky Linux 9.
How to Install the Jupyter Notebook on Rocky Linux 9
This section has the complete method to install and configure the Jupyter Notebook on Rocky Linux 9. First, install the Python-pip3 in the system through the following command:
After installing the Python Pip utility, it is time to install Jupyter using the following command:
Once you are done, run the following command to create a configuration file, Jupyter Notebook:
You can now set a login password for Jupyter. Run the following command:
After running the previous command, the terminal will ask you to enter and confirm the new password:
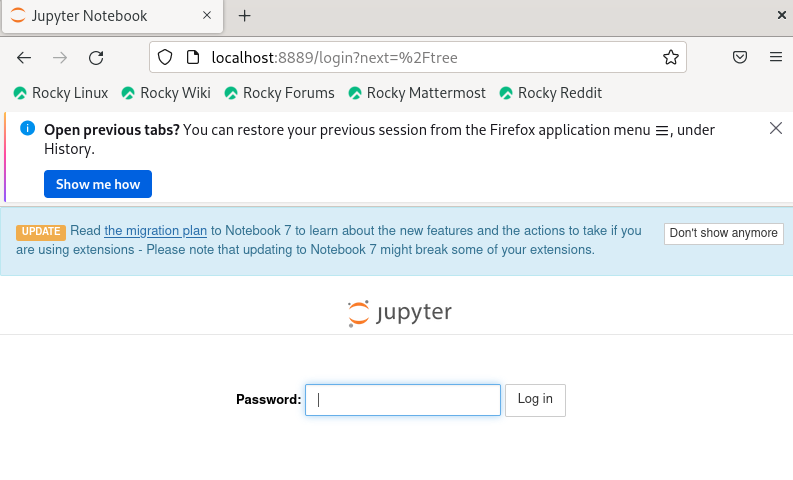
Finally, run the following command to the Jupyter Notebook on the web server. By default, Jupyter runs on the localhost and Port 8888:
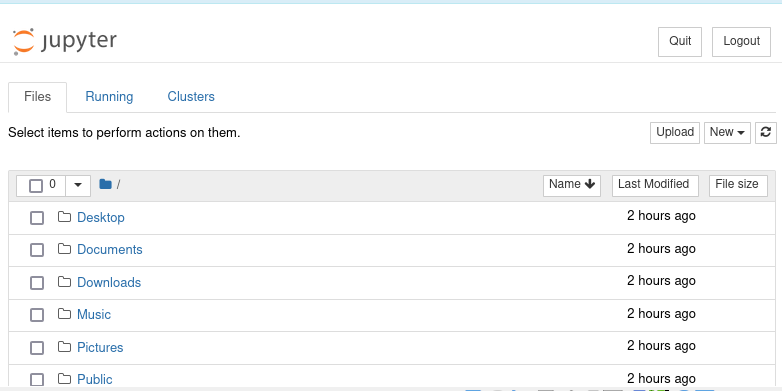
Here, enter the password that you set in the previous process to access the Jupyter dashboard.
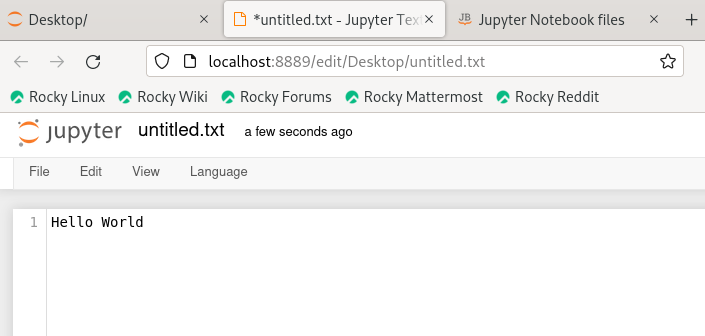
Now, click on “New” to open a new file (Python or text file).
Conclusion
This is how you can easily install and setup a Jupyter Notebook on Rocky Linux 9. We also explained how to use Jupyter and access its web portal. If you are facing issues during the installation, check the Python version and install the latest one according to the requirement.


