
In Git, tags are known as the refs that point to a particular position or place in Git history. Tagging is utilized for capturing points in history that are used for marked version release. A tag does not change like branches. However, after being created, it has no history of commits. When users make a release, GitLab also makes a new tag to mark the release points.
This post will describe creating tags in GitLab UI.
How to Create Tags in GitLab UI?
To create a tag in GitLab, check out the given stepwise guide:
- Choose the desired GitLab project.
- Redirect to the GitLab repository and open the “Tags” tab.
- Click on the “New tag” button, specify the necessary information, and hit the “Create tag” button.
Step 1: Select GitLab Project
First of all, choose the GitLab project where you need to create a new tag and redirect to it:

Step 2: Access Tag Tab
Next, click on the below highlighted “Tags” area and move to the tags tab:
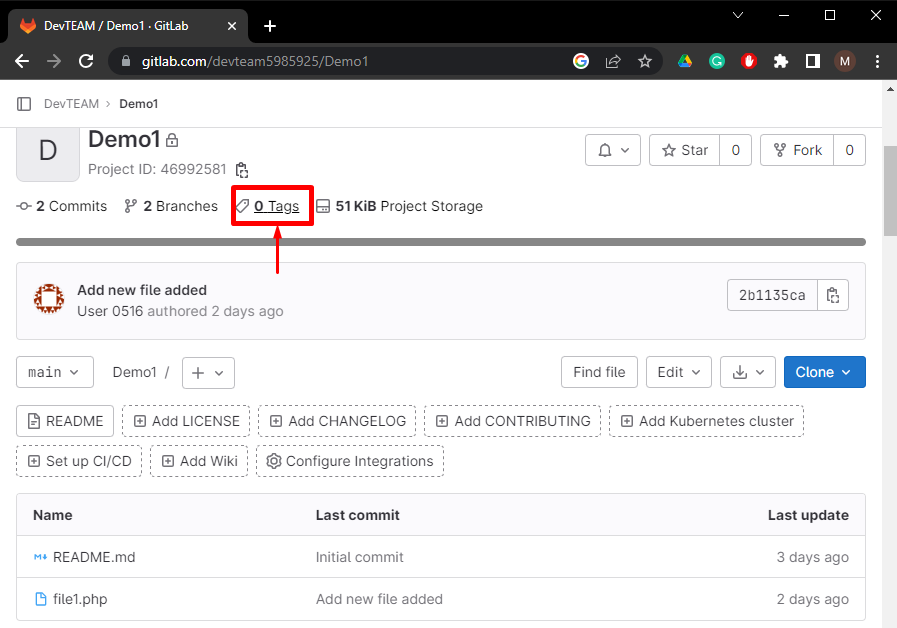
Step 3: Create New Tag
Then, click on the “New tag” button inside the tags tab:

Step 4: Provide Required Details
After that, add the tag name, specify the branch from which need to create, type the message if you want, and click on the “Create tag” button:
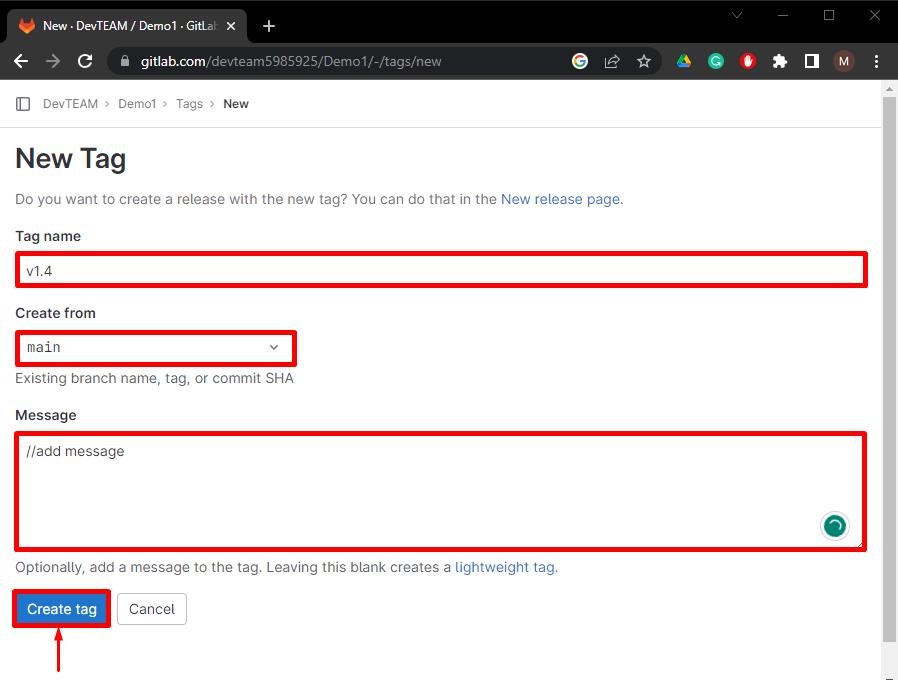
As you can see, a new tag in GitLab UI has been created successfully:

That’s all! We have provided a way to create new tags in GitLab UI.
Conclusion
To create a new tag in GitLab UI, first, move to the GitLab project and access the “Tags” tab. Then, hit the “New tag” button. After that, add the needed information and click on the “Create tag” button. This tutorial demonstrated how to create tags in GitLab UI.