This article will discuss:
- What is Elasticsearch Index?
- How to Create and Use Index in Elasticsearch?
- Bonus Tip: How to Delete Index in Elasticsearch?
What is Elasticsearch Index?
Elasticsearch is purely a NoSQL database and stores data in JSON format. Therefore, it uses indexes to store data instead of tables. Indexes are the same as tables in SQL databases (MySQL) and collections in NoSQL databases (MongoDB). Indexes are referred to as a collection of documents that store data in the field in JSON format.
How to Create and Use Index in Elasticsearch?
Indexes work with documents and each document consists of various fields to store data. Working with Elasticsearch indexes is quite different from any other SQL database. To create and use indexes in Elasticsearch, follow the provided demonstration.
Step 1: Start Elasticsearch
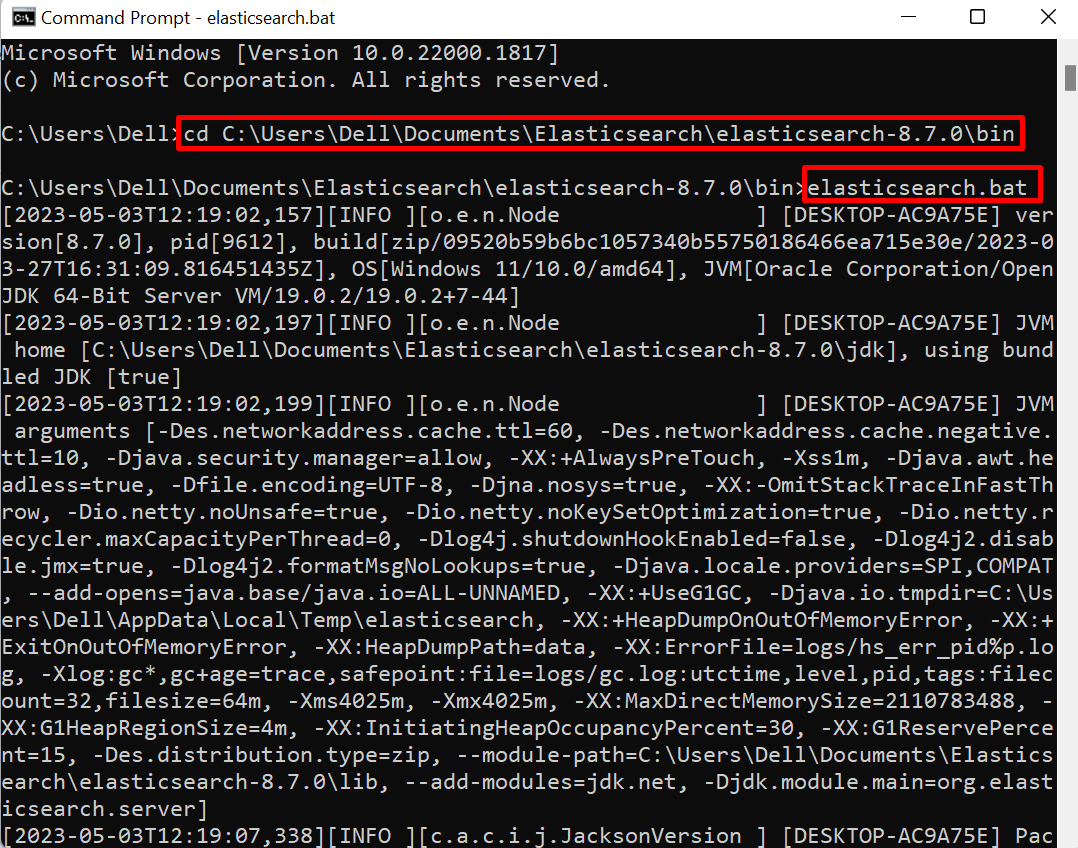
First, start the Elasticsearch engine. To do so, first, fire up the Windows Command Prompt terminal via Start menu. Then, utilize the “cd” command to navigate to the “bin” directory of Elasticsearch:
After that, execute the “elasticsearch.bat” command to start the Elasticsearch:
Step 2: Verify Elasticsearch in Executing
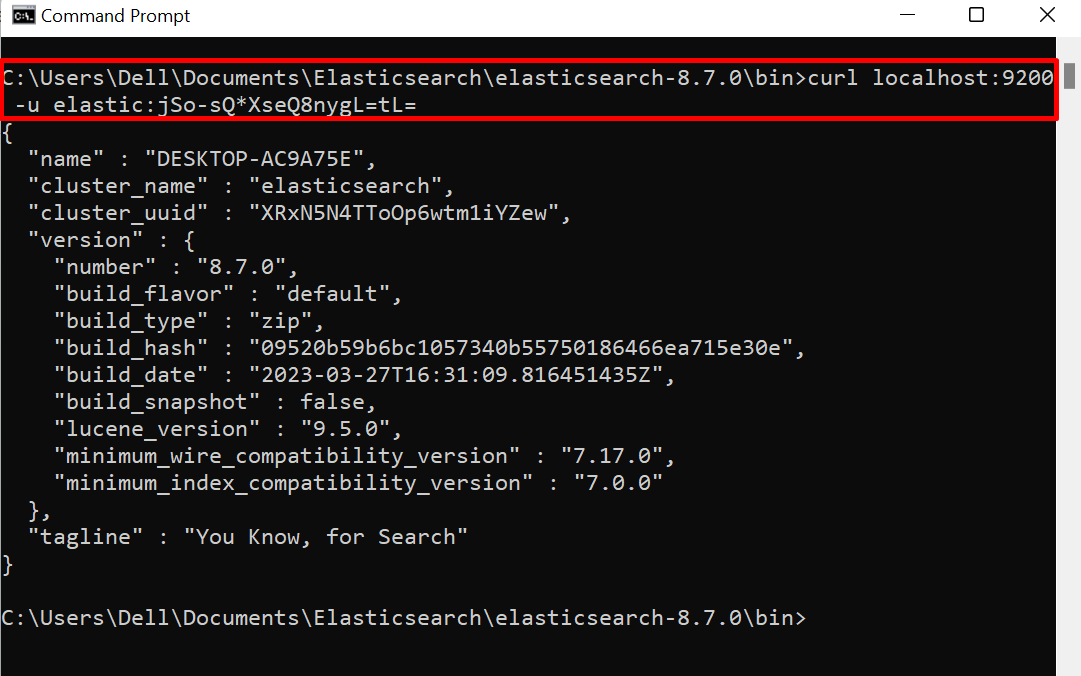
Next, navigate to the “localhost:9200” and check if Elasticsearch is executing or not. For this purpose, we have utilized the “curl” command to check whether Elasticsearch is running or not from the command line. However, you can directly navigate to the Elasticsearch URL from your system browser:
The output shows that Elasticsearch is running on the system:
Step 3: Create a New Index
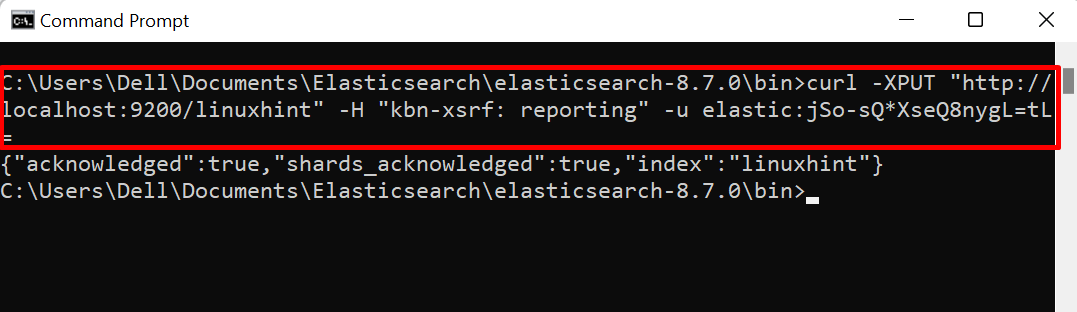
Create the new index using “PUT” API and by providing the Elasticsearch URL along with an index name like “http://localhost:9200/<index-name>”. Here, the “-u” option is necessary to provide the Elasticsearch login credentials such as username and password:
Step 4: View Indexes For Verification
After creating the index, list all indexes through provided command and check new index is created or not:
From the output, you can see that we have successfully created the new index “linuxhint”:

Step 5: Insert Data
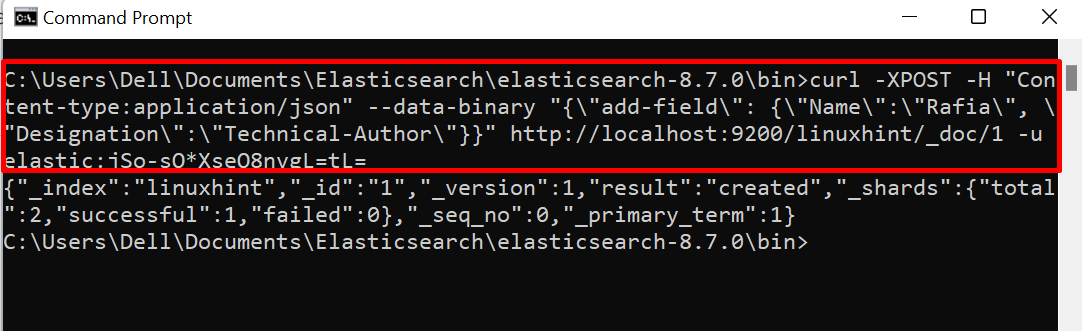
Next, in order to insert the data in the index, utilize the “POST” request. Here, the “–data-binary” option is used to add binary data. The URL “http://localhost:9200/linuxhint/_doc/1” contain Elasticsearch path, index name, type, and id:
Step 6: Get Data From Index
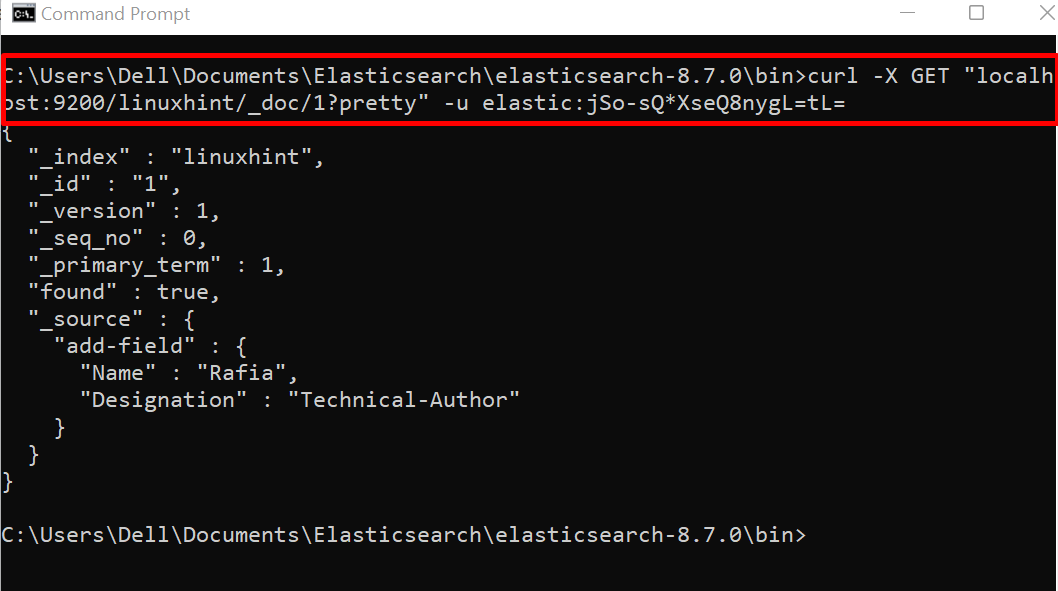
Access the data from the index using the “GET” command:
The output indicates that we have successfully created and stored data in the new index “linuxhint”:
Bonus Tip: How to Delete Index in Elasticsearch?
Basic CRUD operation on Elasticsearch data and on the structure is quite different from other databases. In order to delete the index in Elasticsearch, utilize the “DELETE” index API. For the illustration, go through the listed steps.
Step 1: Delete Index
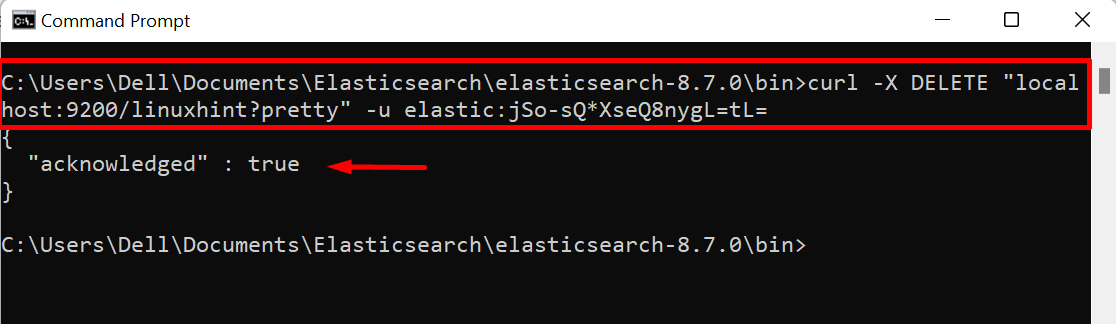
Delete the index that stores data in the Elasticsearch database just like tables in the SQL database through the “DELETE” index API. For instance, we have deleted the “linuxhint” index from Elasticsearch:
The output “acknowledged” value “true” means we have deleted the “linuxhint” index successfully:
Step 2: Verification
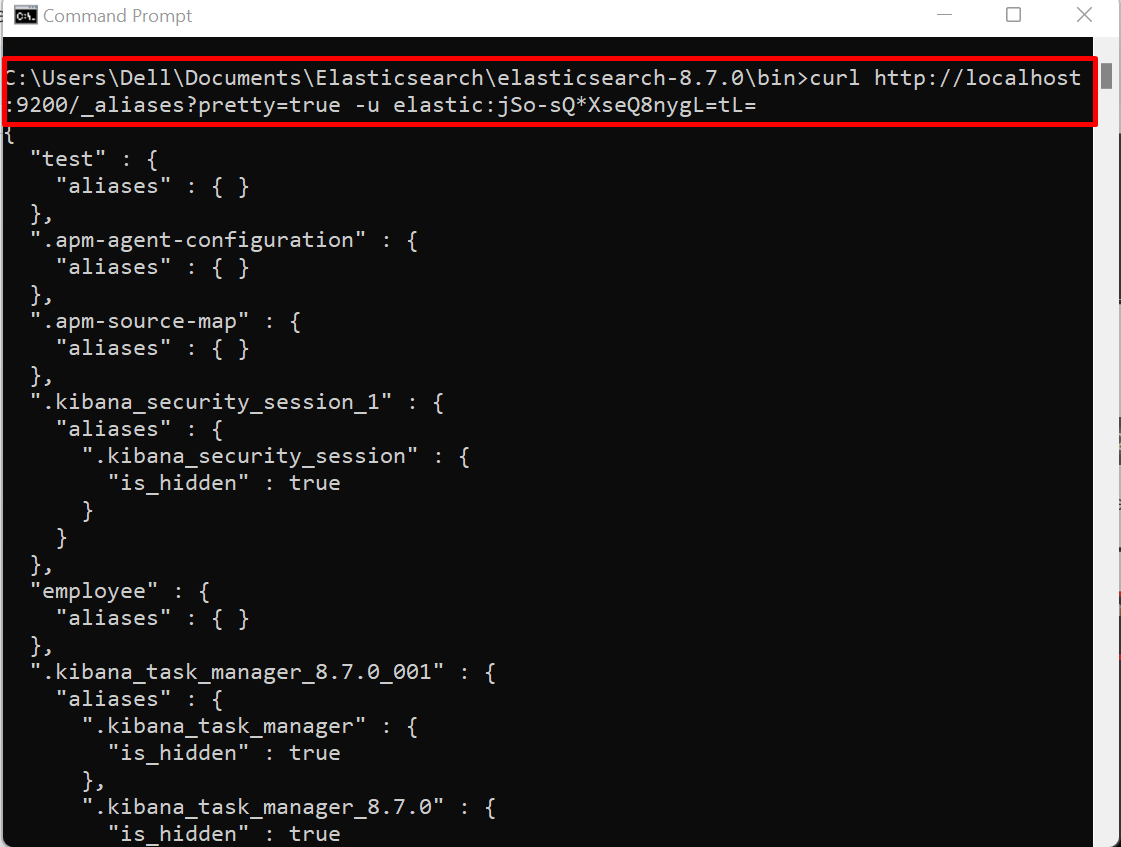
For the verification, again list down all the indexes through the given command:
That’s all about how to create and use Elasticsearch indexes.
Conclusion
The Elasticsearch indexes are the main unit of the database that store data in documents just like tables in SQL databases. To create the Elasticsearch index, utilize the “curl -XPUT “http://localhost:9200/<index-name>”” command. This article has illustrated the method to create and use an index in Elasticsearch.