In MySQL, the “mysqldump” client utility can be used for generating backups or creating a set of SQL statements that can be used for transferring or reproducing the original database data from one server to another. The “mysqldump” command can also return data in XML, delimited test, or CSV form.
This post will compile the method of generating backup and restoring MySQL databases using the mysqldump command.
How to Backup MySQL Databases Using the “mysqldump” Command?
Follow the below instructions to generate a backup of the MySQL database using the mysqldump command.
Step 1: Access MySQL Server
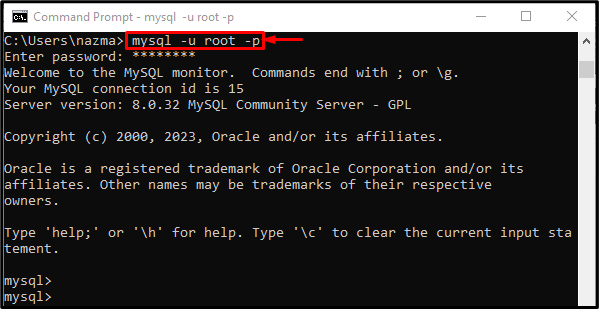
Run the “Command Prompt” terminal, and connect the MySQL server by using the provided command along with username and password:
Step 2: Display Databases
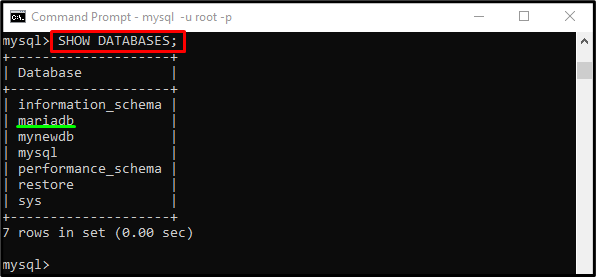
Then, execute the “SHOW” command to view all available databases with the “DATABASES” option:
As you can see, databases are listed, and we selected the “mariadb” database:
Then, quit the MySQL server by running the given-below command:
Step 3: Make Database Backup
Now, run the “mysqldump” command to make a backup of the particular MySQL database:
Here:
-
- “-u” represents MySQL database username.
- “root” is our default database username.
- “-p” denotes the user account password.
- “mariadb” is the database name of which we want to make a backup.
- “>” is the parameter used to generate a backup of the provided database.
- “BackupDB.sql” is the file name that will keep the backup.
When the above-stated command has been executed, it will ask for a password and create a backup of the database:
Step 4: Verification
To ensure that the backup has been created successfully or not, use the “WHERE” command with the generated file name:
It can be observed that the backup of the particular database is created and exists in the below-stated destination:
How to Restore MySQL Databases in MySQL Server?
If you want to restore MySQL databases in the MySQL server, follow the given steps.
Step 1: Connect With MySQL Server
Initially, access the MySQL server by running the provided command:
Step 2: Create New Database
Then, make a new database through the “CREATE” command with the “DATABASES” option and database name:
When the new database is created, run the “\q” command and quit it:
Step 3: Restore Database
After that, execute the “mysql” command to restore the database:
Here:
-
- “RestoreDB” is the name of the empty database.
- “<” is a parameter that refers to restoring a MySQL database.
- “BackupDB.sql” is the dump filename that contains the database backup.
According to the below-given output, the particular database has been restored successfully:
Step 4: Access MySQL Server
Next, connect with the MySQL server through the following command:
Step 5: View Databases
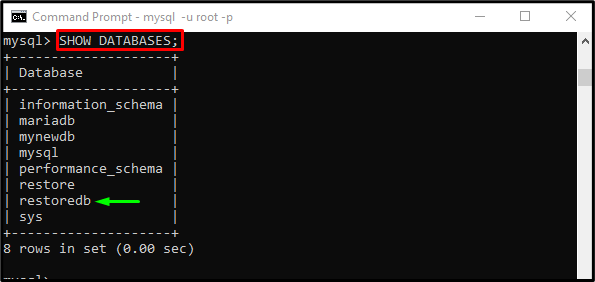
Run the “SHOW” command to display all databases:
It can be observed that the restored “restoredb” database exists in the list:
We have compiled the easiest ways to create a backup and restore MySQL databases using the mysqldump command.
Conclusion
To generate a backup of MySQL database, the “mysqldump -u <username> -p <databasename> > <dump.sql file>” command be used. On the other hand, the “mysql -u <username> -p <databasename> < <backup-file>” command can be used for restoring a database. This post provided the procedure to create a backup and restore MySQL databases utilizing the mysqldump command.


