Linux is a highly customizable and flexible operating system, offering users a variety of tools and commands to perform tasks. One of these tasks is taking screenshots, which can be easily done through the command line, furthur read this article as it is all about how to take screenshots from the command line in Linux.
How to Take a Screenshot from the Command Line on Linux
There are several command line interface applications available for taking screenshots in Linux, the two of the most used easy to use are:
Let’s take a closer look at each of these tools.
Method 1: Using scrot on Linux
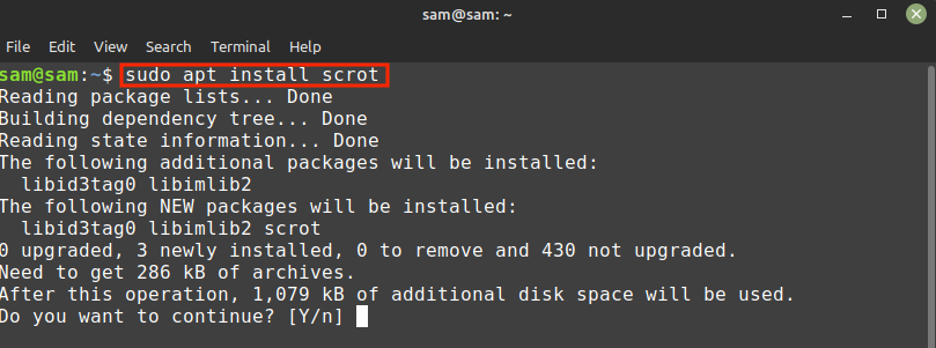
To install scrot on Debian, Ubuntu or Linux Mint use the Apt package manager as this tool is by default present in it:
Taking Screenshots with scrot Tool
Now we will cover different ways of taking a screenshot using the scrot:
1. Take Entire Desktop Screenshot
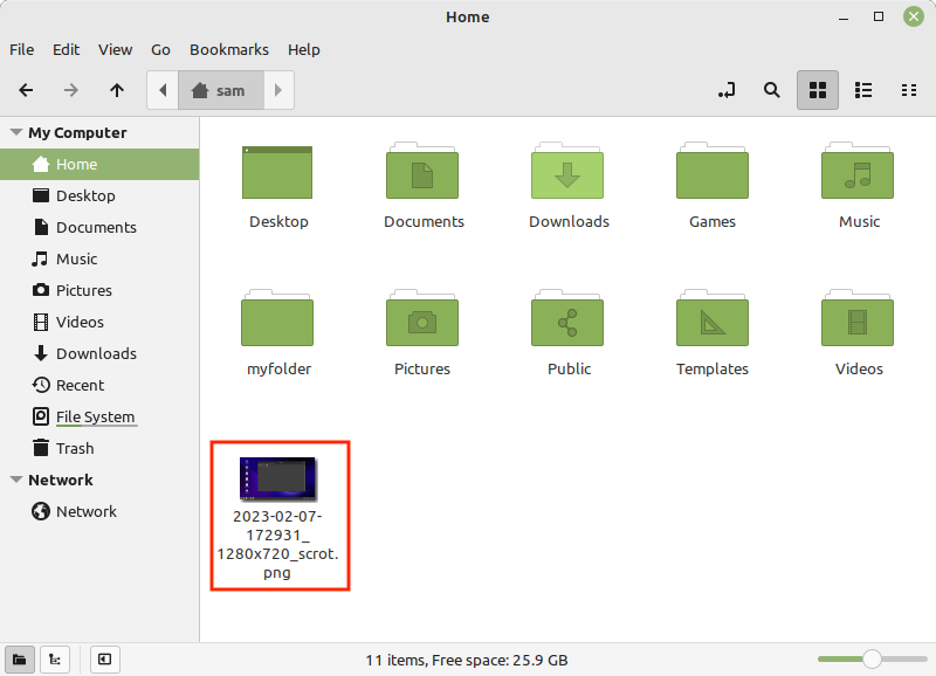
To take the entire desktop screenshot simply run the scrot command. This will capture everything on desktop and save it in the current directory with a file format of .png:
Here we can see the screenshot is saved in the current directory that is the home directory in our case.
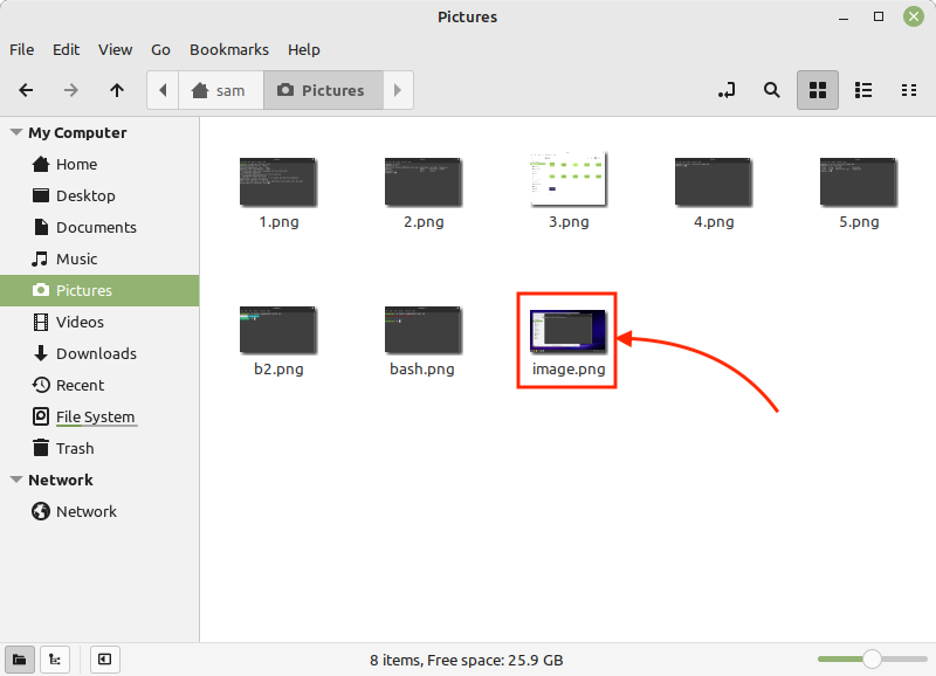
To specify the directory to save the screenshot run below command, using this we can also change screenshot name:
Now we can see the screenshot is captured and saved inside the picture directory with the name image.png.

2. Take Screenshot of Specific Region
Using the scrot we can take a custom screenshot by dragging the mouse cursor and it also allows taking a screenshot of a specific window.
Once the command is entered, click over any window which you want to capture or draw a rectangle with the mouse over the region which needs to be captured.
Note: If any window is blocking the rectangular screenshot, first clear the region by minimizing extra windows and clear the area before taking the screenshot. You can also use the delay command to take a screenshot after a certain time.
3. Adjusting Screenshot Size
The scrot command also allows you to adjust the screenshot size between 1 to 100. For example, to reduce size to 10% of the original use following command:
4. Taking a Screenshot with Delay
Using scrot we can also take a screenshot with some delay which allows us to highlight or mention windows before taking a screenshot or to show a certain event (e.g., notification) inside the screenshot. Using -d N command we can delay any screenshot with N seconds.
5. Use a scrot Screenshot in Other Commands
One of the very useful features of scrot command is that it allows you to capture and use the same screenshot for image processing such as editing or removing background. Using scrot any of the captured screenshot from scrot can be given as an input to other commands, the screenshot path is stored as a $f string.
6. Adjusting Quality of a Screenshot
By default, scrot takes screenshots in quality at 75. We can improve this by defining it somewhere between 1 to 100 (higher quality means better screenshot).
Method 2: Using import Command on Linux
The import is another command line tool for taking screenshots in Linux. This tool is part of the ImageMagick package, which provides a suite of image manipulation tools.
The ImageMagick can be installed using:
Once installed, you can take a screenshot by running the following command:

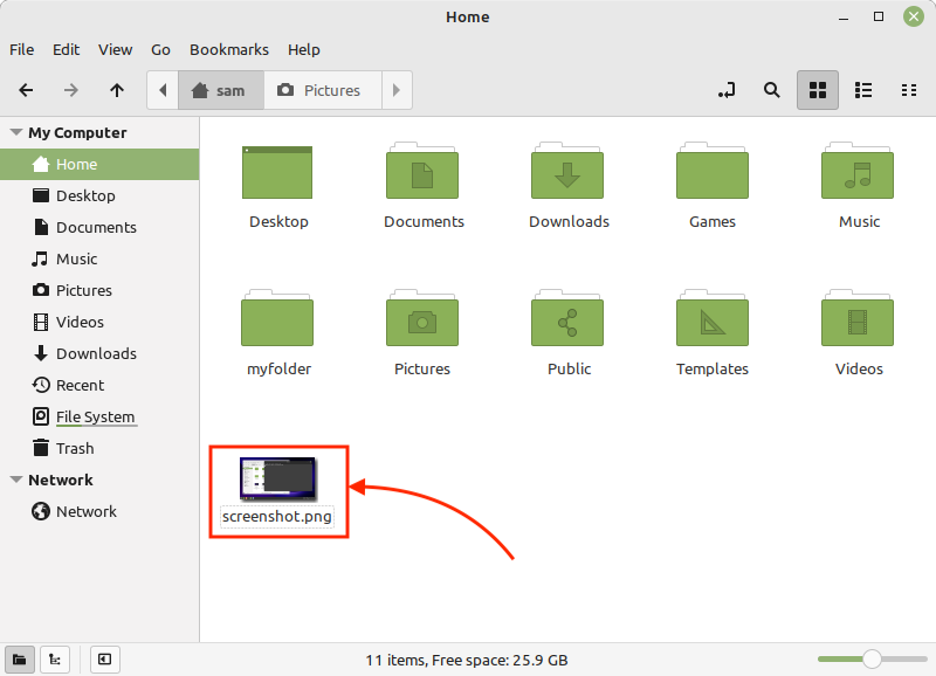
This will take a screenshot of the entire screen and save it as “screenshot.png” in your current working directory, you can also specify the region to be captured by using the -crop option:
Where W is the width, H is the height, X is the X-coordinate, and Y is the Y-coordinate of the region to be captured.
Conclusion
Taking screenshots from the command line in Linux is a straightforward and easy process, thanks to the availability of several powerful tools such as scrot, and import. Whether you’re a beginner or an advanced Linux user, these tools provide a flexible and convenient way to capture screenshots in Linux.


