This article will provide two easy methods for connecting to MongoDB Database on AWS:
Connect MongoDB using Amazon Cloud9
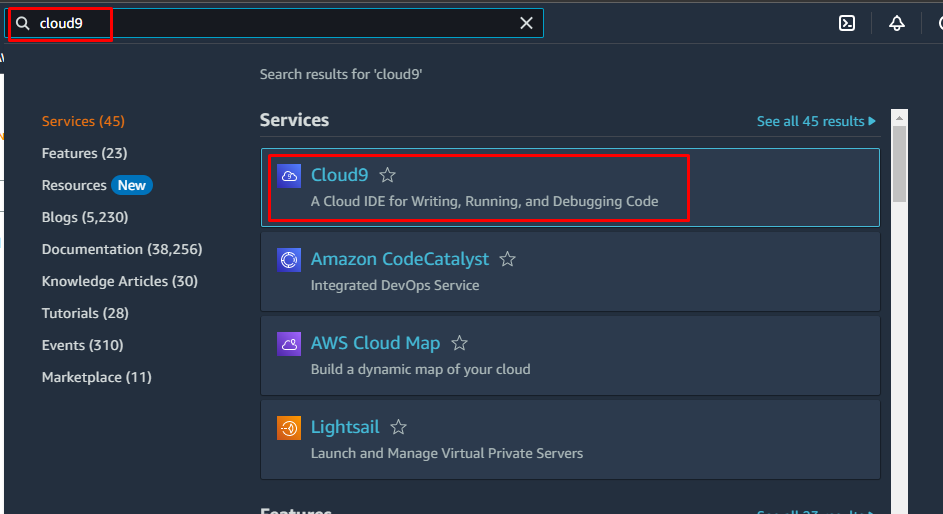
In the Amazon management console, search Cloud9 and click on the Cloud9 service to open a new wizard:
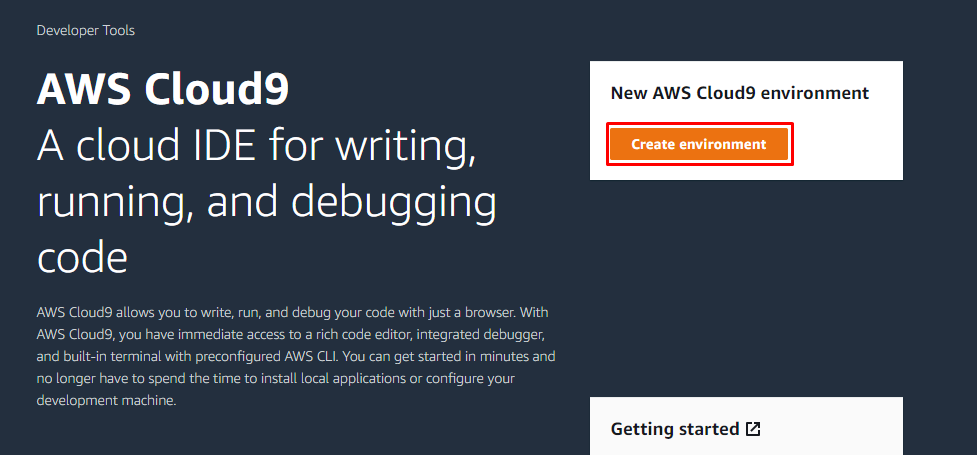
Click on the Create environment button:
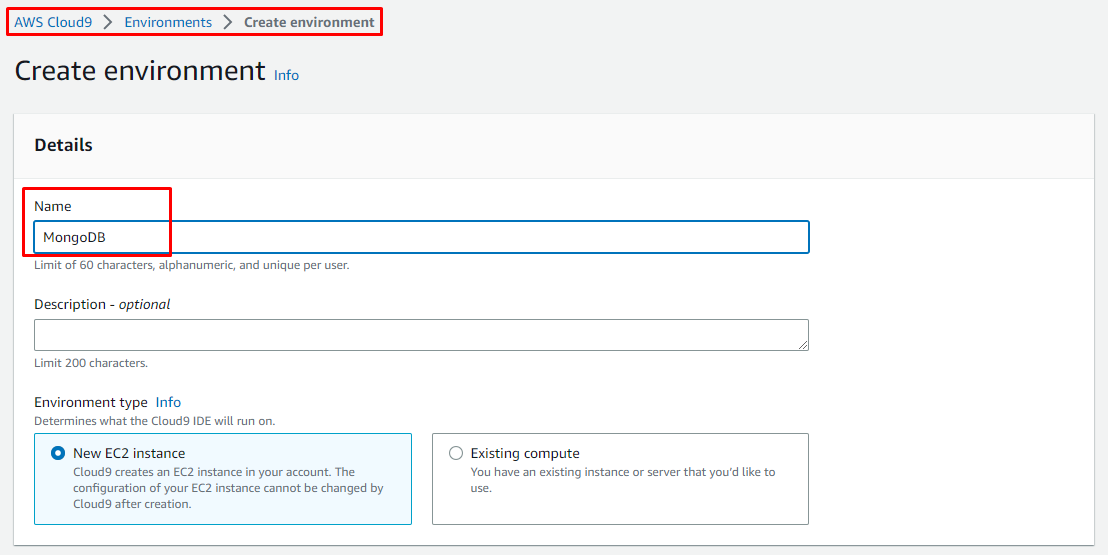
A new Create environment wizard will open, enter the name for the environment:
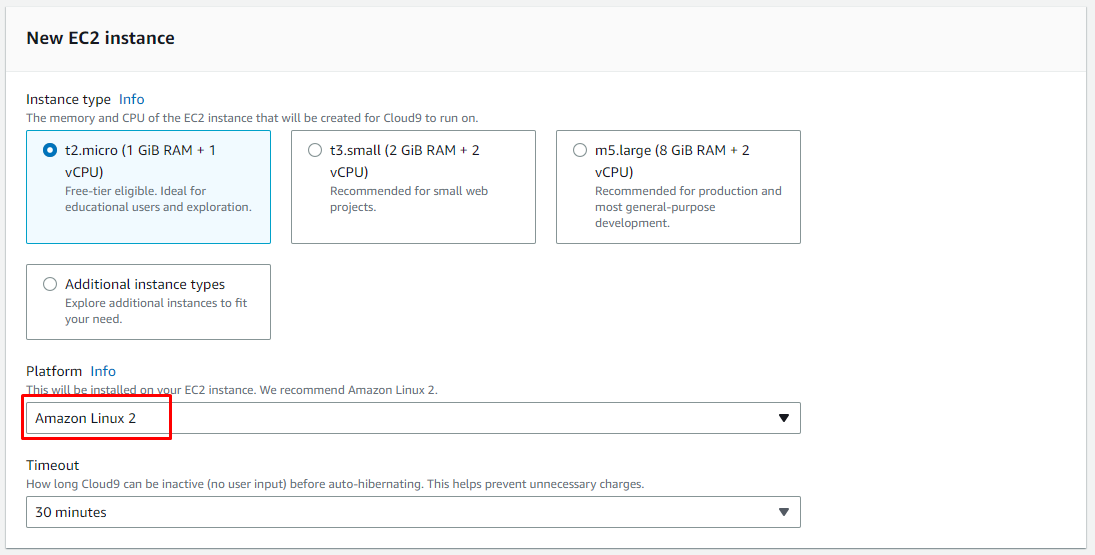
Select the platform as per your preferences:
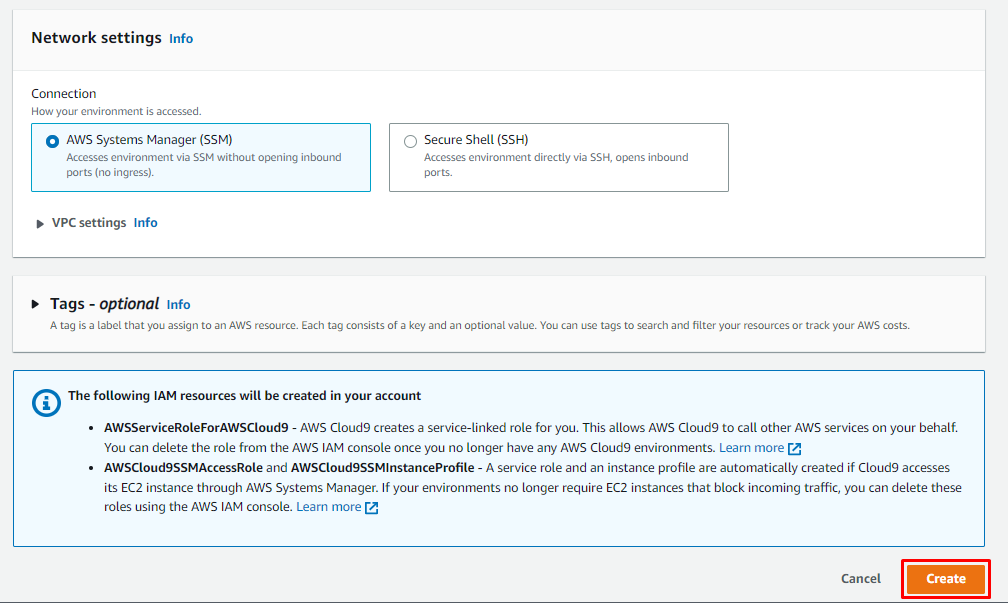
Press the Create button:
A message will display that creation of MongoDB will take several minutes:
Once MongoDB is created, a success message will display. After getting this message click on Open cloud9 IDE:
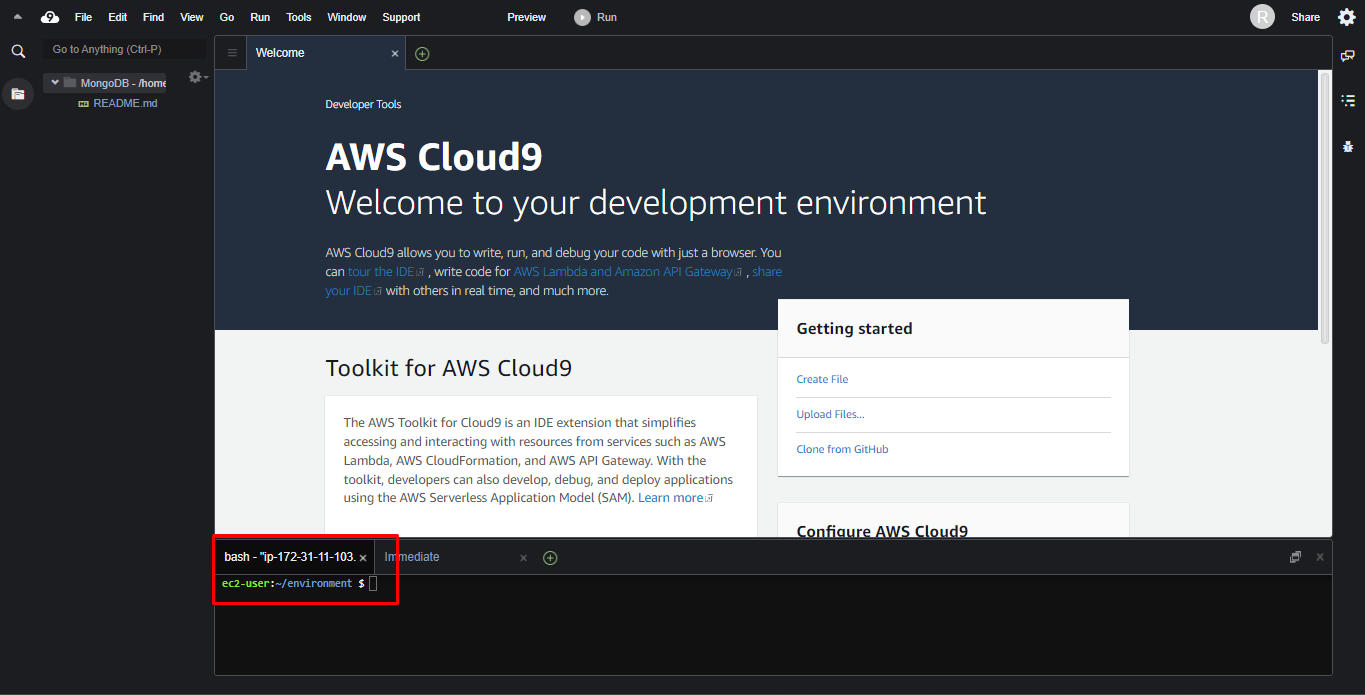
It will open the terminal of Cloud9 IDE:
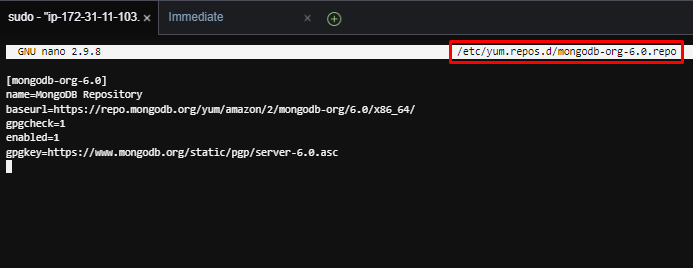
The next step is to add the MongoDB repository, and for that, simply create a new file with the following command:
Now paste this code in the file:
name=MongoDB Repository
baseurl=https://repo.mongodb.org/yum/amazon/2/mongodb-org/6.0/x86_64/
gpgcheck=1
enabled=1
gpgkey=https://www.mongodb.org/static/pgp/server-6.0.asc
After adding the code, save the file and exit it, by pressing CTRL + O and CTRL + X keys:
To install mongodb-org package type:
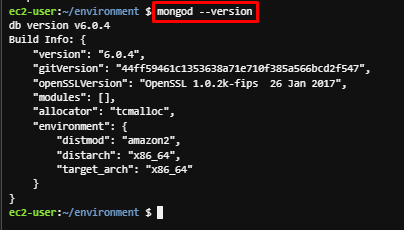
After the installation, type this command to check its installed version:
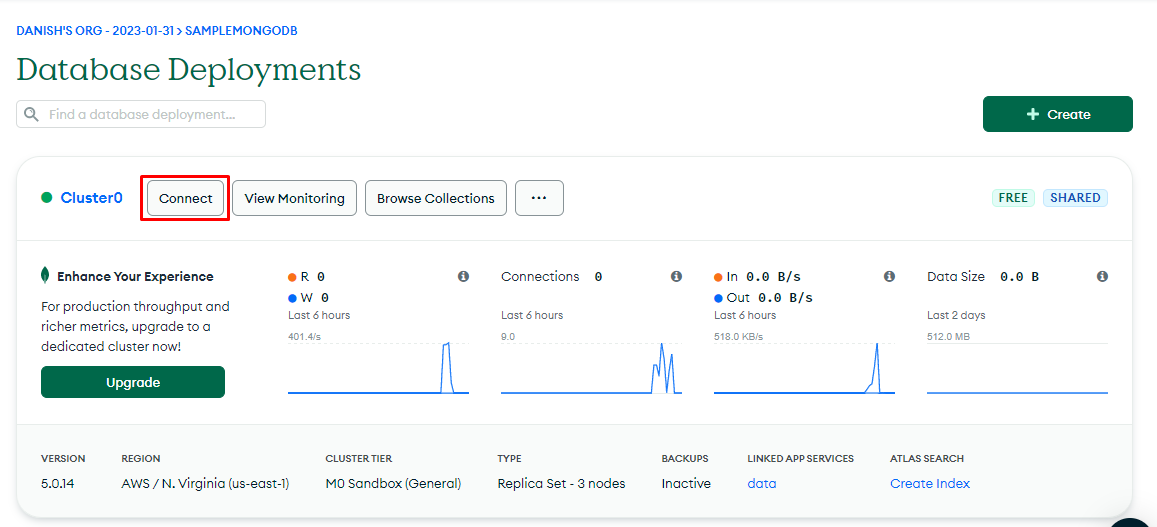
Visit the MongoDB website and Sign in. Now select the Database that you want to connect on AWS, and click on the Connect button:
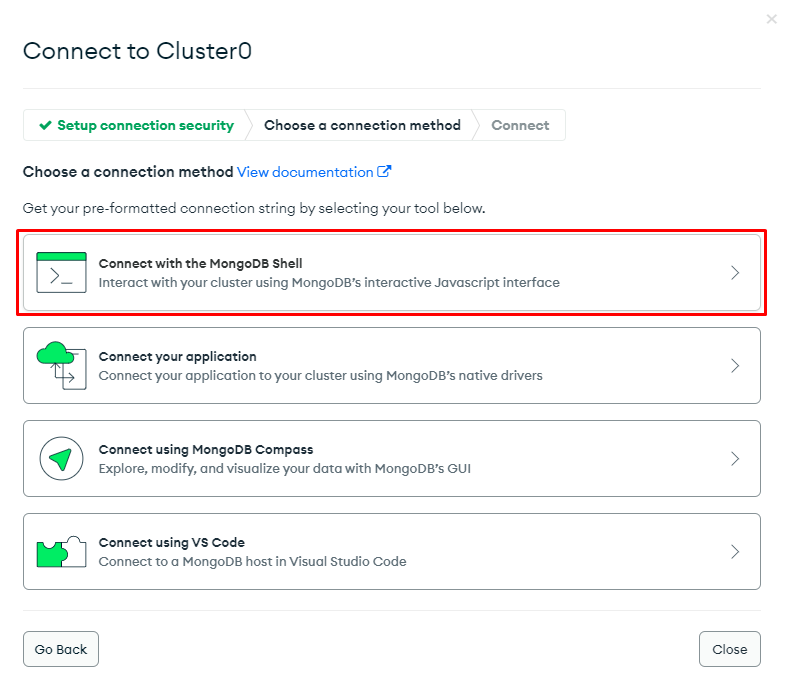
It will open a wizard, click on Connect with MongoDB Shell:
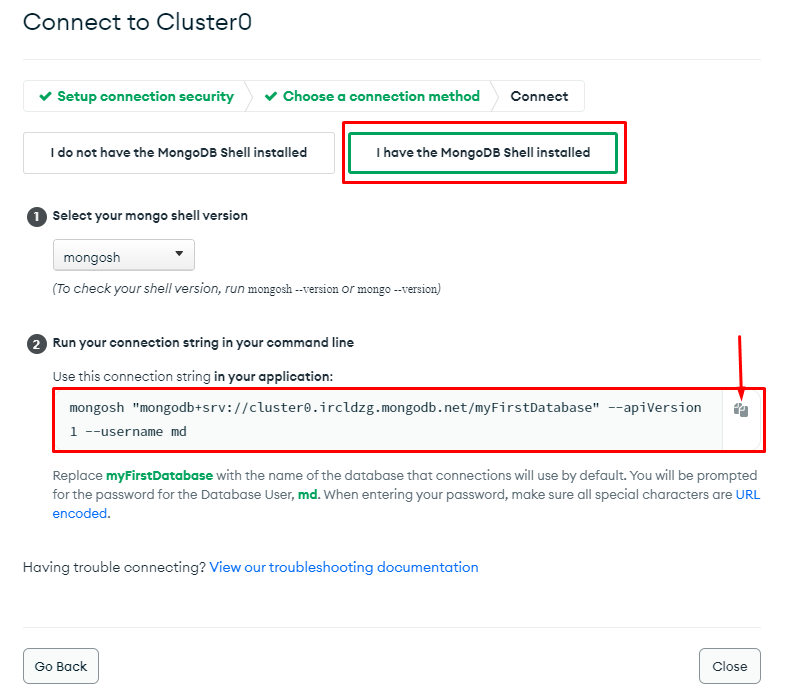
Select the option, Select the option, I have the MongoDB Shell installed and copy the connection string: :
Navigate back to the Cloud9 terminal and paste the connection string. Hit Enter, it will ask for the password, type your MongoDB password and press Enter:
In the output above, it is visible that MongoDB is connected using Cloud9 on AWS.
Connect to MongoDB using EC2
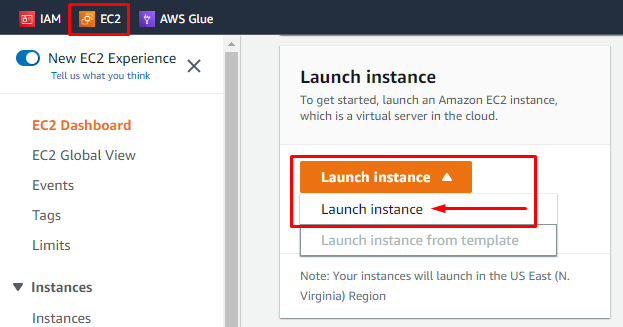
Go to the Amazon Management Console and search EC2 in the search bar. Open the EC2 dashboard and click on the Launch Instance drop-down list, and select the option Launch instance:
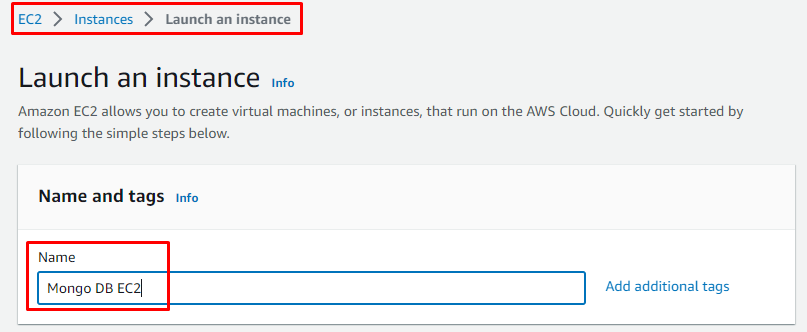
It will open Launch an instance wizard, type the name for this EC2 instance:
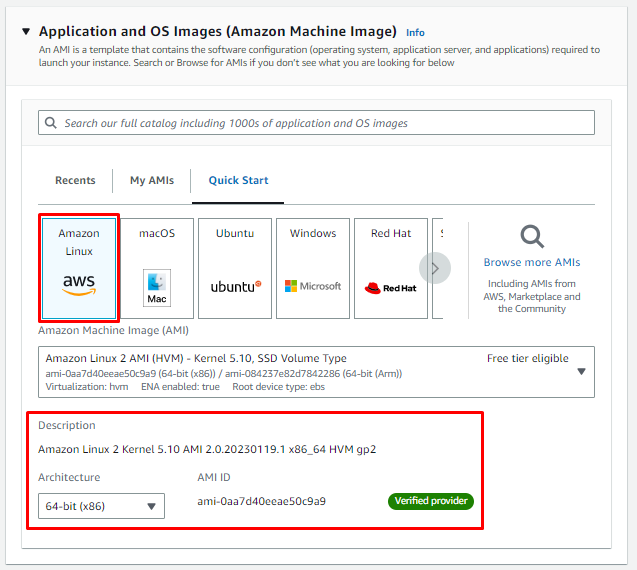
Select an Amazon Machine Image as Amazon Linux, and make sure its architecture is set to 64 bits:
Select an already existing key pair for the secure login or generate a new key pair using the default options:
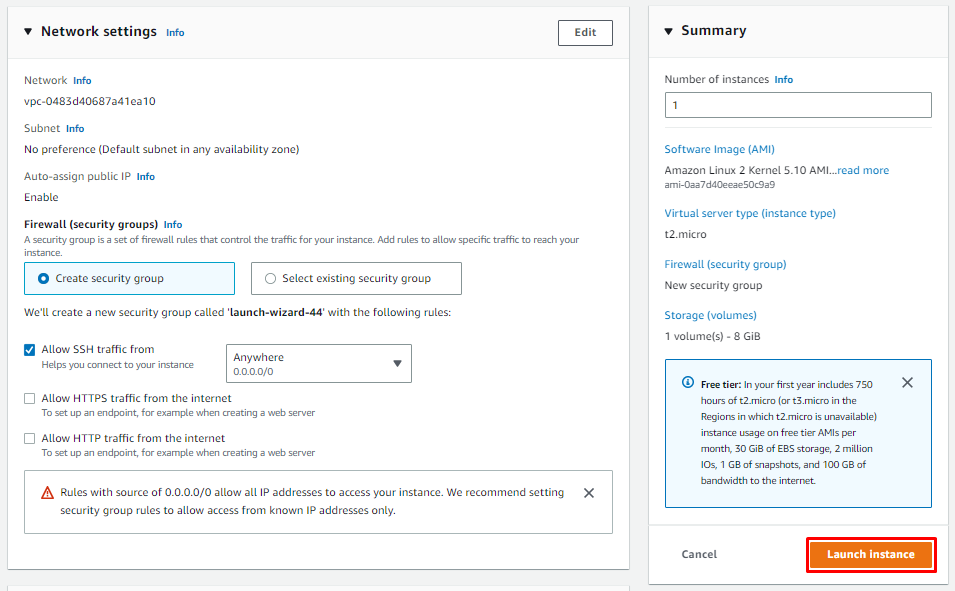
Leave the rest of the settings as default and press the Launch instance button:
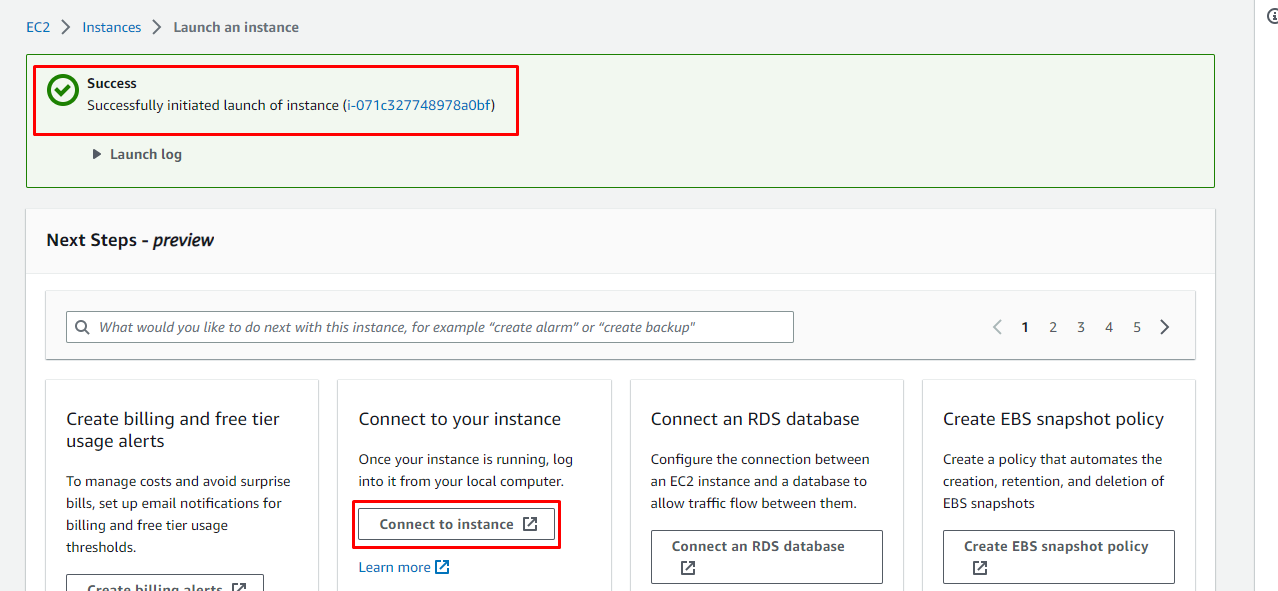
A success message will display, click on the Connect to Instance button:
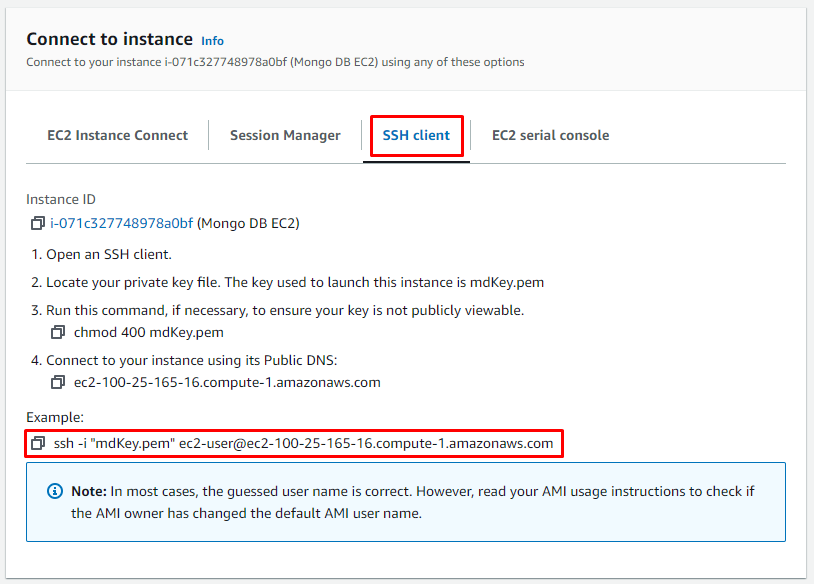
Select the SSH Client tab and copy the SSH command:
The next step is to open the Command Prompt or the Powershell and paste the command:
Note: Type yes, on the prompt for continuity.
Let’s add the Repository for MongoDB in a file, so type this command to create and open the file:
Write this code in the file:
name=MongoDB Repository
baseurl=https://repo.mongodb.org/yum/amazon/2/mongodb-org/6.0/x86_64/
gpgcheck=1
enabled=1
gpgkey=https://www.mongodb.org/static/pgp/server-6.0.asc
And save it:
To install the mongodb-org package, type:
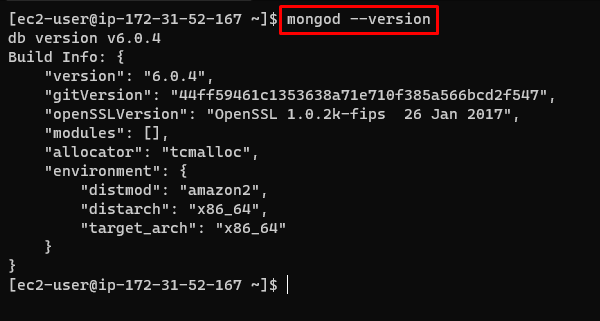
To check the version of installed version, type:
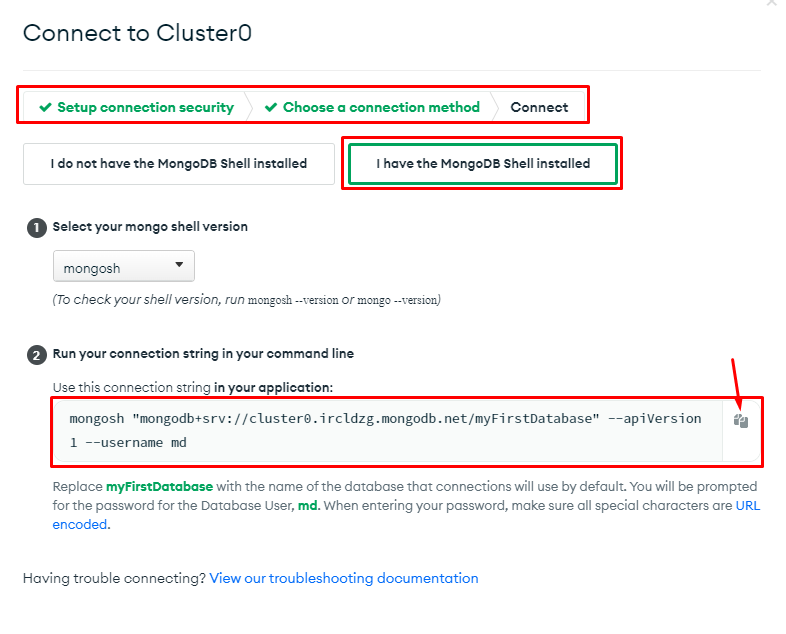
Navigate to the Official website of MongoDB, select the Database you want to connect on AWS and click on Connect button. It will open this wizard, from here select the option I have the MongoDB Shell installed and copy the connection string:
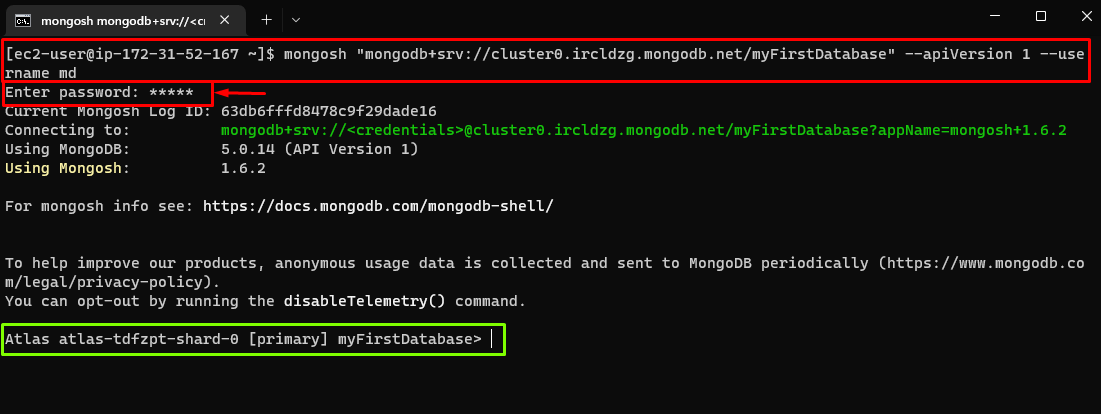
The final step is to paste the connection string into SSH Client’s Command Prompt and hit Enter and type your MongoDB account’s Password:
In the output above it is visible that MongoDB Database is connected successfully using EC2 on AWS.
Conclusion
Many people want to connect their MongoDB Database to AWS due to its security, scalability, and backup facility. It is possible through various methods, but in this article, we connected MongoDB to AWS using Cloud9 and the EC2 instance. Adding a repository for MongoDB and installing the MongoDB-org package, then connecting the desired database from MongoDB’s official website using the connection string.

