
GitHub is a project management tool that hosts large software development projects. It allows developers to keep tracking the progress of their projects, collaborate with team members, contribute to open-source projects, and ensure the source code quality. Using the Git terminal, developers can easily push their local projects to GitHub.
This study will explain the procedure of pushing the existing project’s content into GitHub.
How to Push an Existing Project into GitHub?
To push the existing project into GitHub, follow the below-listed steps:
-
- Move to the desired repository.
- Stage and commit all files of the project.
- Copy the HTTP URL of a particular GitHub repository.
- Add the remote URL of the remote repository to the GitHub repository.
- Fetch remote content.
- Push project content to GitHub.
Step 1: Redirect to Local Directory
First, write out the below-given command along with the desired local repository path and switch to it:
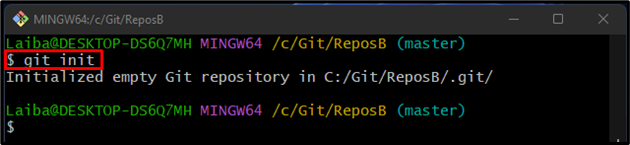
Step 2: Initialize Git Repository
Then, initialize the local repository by utilizing the “git init” command:
Step 3: Add Project Files to Git Index
Next, run the “git add .” command to add all the files of projects to the Git staging area:

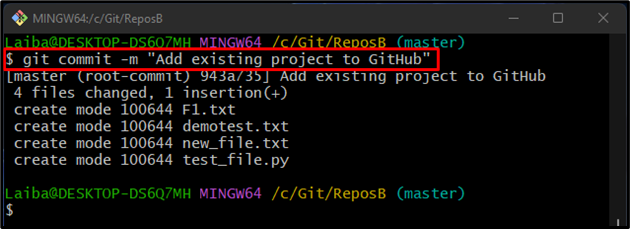
Step 4: Commit Added Files
Now, commit all the staged files by executing the following command along with the desired commit message:
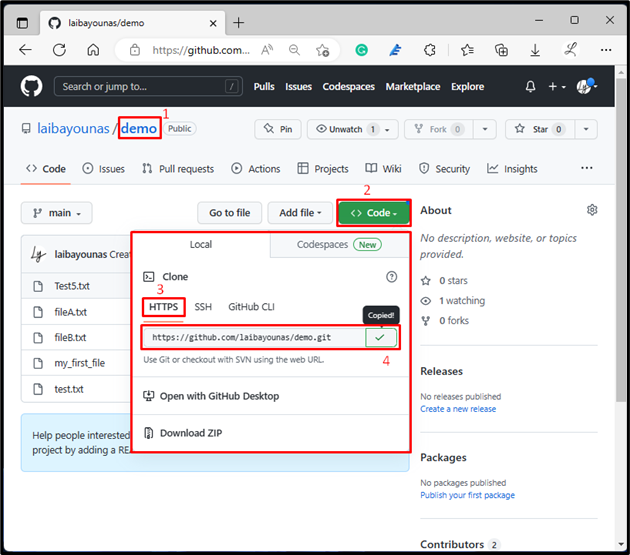
Step 5: Copy Remote URL
After that, go to your favorite web browser and open GitHub. Redirect to the particular repository and copy its “HTTP” URL:
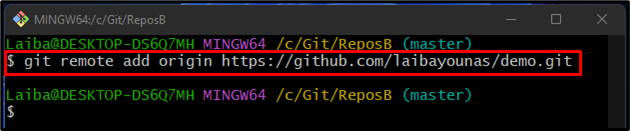
Step 6: Add Remote URL
Then, connect the local repository with the GitHub remote by adding the remote URL through the “git remote” command:
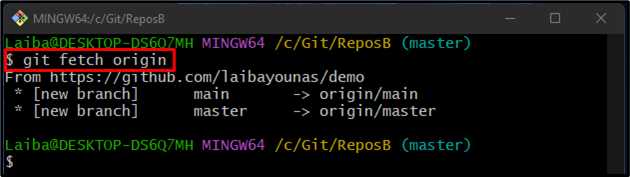
Step 7: Fetch Remote Content
Now, execute the “git fetch” command to download the GitHub repository’s content in the local repository:
Step 8: Push Local Content to GitHub
Finally, push the project content to the GitHub server by executing the “git push” command with “-u” and “-f” options and specify the remote branch name:
Here:
-
- “-u” option is used to set the desired local branch default for the remote repository.
- “-f” flag is used to forcefully push the local content and overwrite everything in the remote repository.
- “origin” is the remote URL’s name.
- “master” is the Git remote branch to which we want to push local content.
According to the below-provided screenshot, the local content has been pushed to the GitHub server:

Step 9: Verify Changes on GitHub
To verify whether the project has been pushed to a remote server, open GitHub and navigate to the desired remote repository. The given image shows that the GitHub repository has been updated with the local changes:
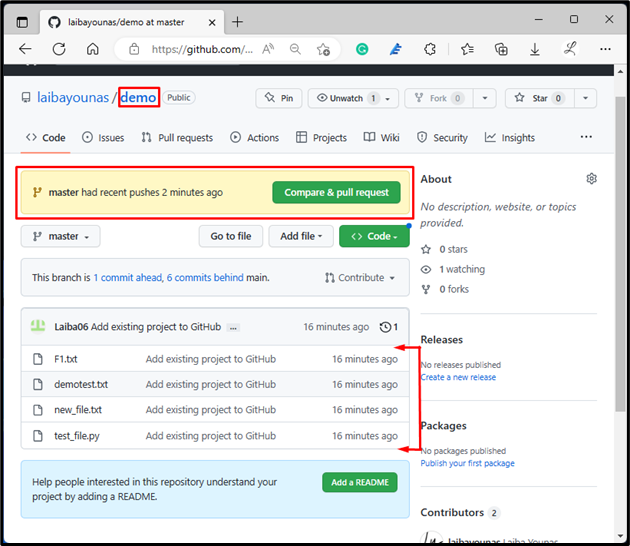
We have explained the procedure for pushing the existing project’s content into GitHub.
Conclusion
To push the existing project into GitHub, first, move to the required repository and initialize it. Then, stage and commit all the existing files of the project. After that, open GitHub and copy the HTTP URL of the particular remote repository. Next, connect the local repository with the GitHub repository. Then, fetch the remote content to the local directory. Finally, push the project content to GitHub by writing out the “git pull” command. This study demonstrated the method of pushing the existing project into GitHub.