Installing Motion on Ubuntu
Motion is currently available in the Ubuntu repositories and can be installed with the apt tool. The version that comes with the repository is stable but is not the latest released version.
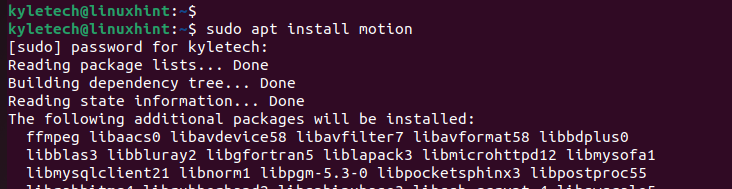
Here’s how to quickly install Motion on your Ubuntu:
Various dependency packages are installed alongside the Motion package.
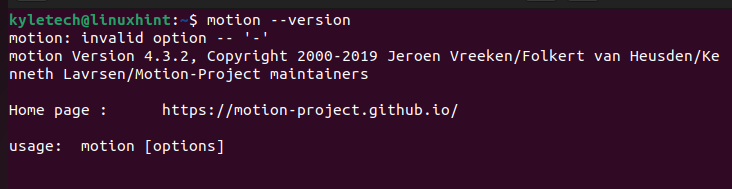
Once the packages are installed, verify that Motion is installed by checking its version:
For our case, we have the Motion version 4.3.2 installed. As noted earlier, the Motion version that is installed with this option is not the latest release. To get the latest release, you must access it from the release page for the project on GitHub.
Configuring Motion on Ubuntu
To configure the Motion, you should have the webcam or cameras that you configure with Motion to get the surveillance footage.
The Motion folder is created in the /etc/motion location, containing different configuration files which are required to use Motion. Note that the Motion program is designed to use by the Linux distro and is written in C. You can define how you want the Motion to save the surveillance as a video or image. Furthermore, it runs headless; once you know how to configure it, you can start using it.
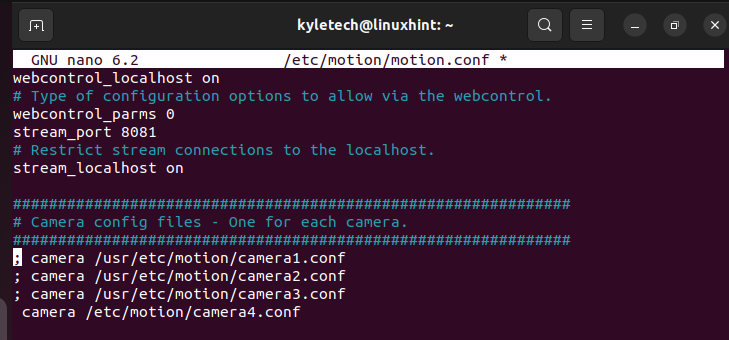
The first step is to open the motion.conf file. The configuration file outlines how to link the cameras and has four options of configuration files that you can use. For this case, let’s use the camera4.conf as the configuration file for your webcam or camera.
Once you open the configuration file, scroll down and find the section for camera config files. Your task here is to un-comment the configuration file that you want to use and ensure that it has the right path to where we create the configuration file. Remove the semi-colon on the camera4.conf and set the correct path.
Next, use an editor of your choice to create the /etc/motion/camera4.conf file.
Note that Motion comes with examples of how to define the configuration file. For instance, the /etc/motion/camera4-dist.conf outlines how you can link your camera.
Open the camera4.conf file and add the script like in the following image. You should only change the target_dir to align it with your file system and where you want to store the captured images or videos. Motion runs on localhost, which is why we define the streaming port on the last line.

Your /etc/motion/ should have the different files that are shown in the following image. The only new file is the camera4.conf; the others are created during the installation. Suppose you want to link multiple cameras; create a configuration file for each camera.

You can initiate the Motion to start the surveillance with your configuration file ready. Run the following command:
The terminal output will signal that the surveillance has started.

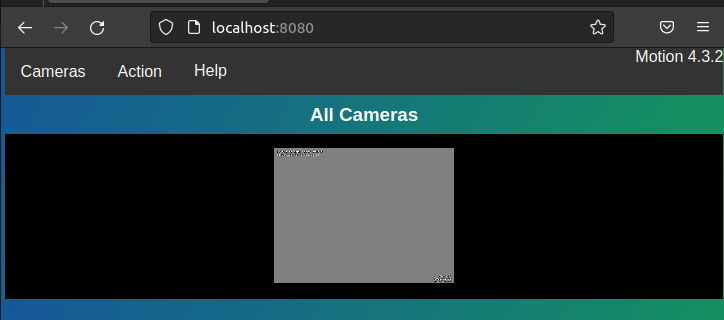
You can now open your browser and access the following URL:
A window that shows all the cameras you configured for your DIY surveillance will appear, confirming that your setup is working properly. You can click on one of the cameras to expand its view.
That’s how you use Motion to create a simple surveillance system on your Ubuntu.
Conclusion
Motion is a Linux package that supports creating a surveillance system using the connected webcam or cameras. Once you install the Motion package, configure the configuration file for the webcam as discussed in this guide. Then, open your browser to confirm your setup. You now have a personal surveillance system on your Ubuntu.