This post will examine how to apply transitions using the CSS display property.
How to Apply Transitions on the CSS “display” Property?
Users cannot apply transitions directly on the CSS “display” property. However, there is an alternative way to apply transitions on the display property. For this purpose, go through the below-mentioned procedure.
Step 1: Make a “<div>” container
First, create a div container using the “<div>” tag along with the assigned class with a specific value.
Step 2: Add a Heading
Next, insert a heading by utilizing any “<h1>” to “<h6>” tags. For instance, “<h1>” adds a heading.
Step 3: Add Data to the List
In order to insert the data in the form of a list, use the “<li>” tag:
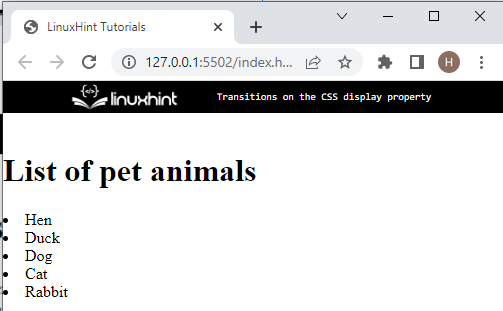
The output of the above-mentioned code is as follows:
Now, move ahead toward the CSS section for styling the list.
Step 4: Style “.pet-animal” Element
Access the “<div>” element with the help of the assigned class “.pet-animal” and apply the listed properties:
border: 2px dotted rgb(230, 15, 15);
margin: 50px;
background-color: rgb(252, 239, 169);
}
Here:
- “border” property is used to specify the boundary around the element.
- “margin” defines the space around the element boundary.
- “background-color” allocates a color at the backside of the element.
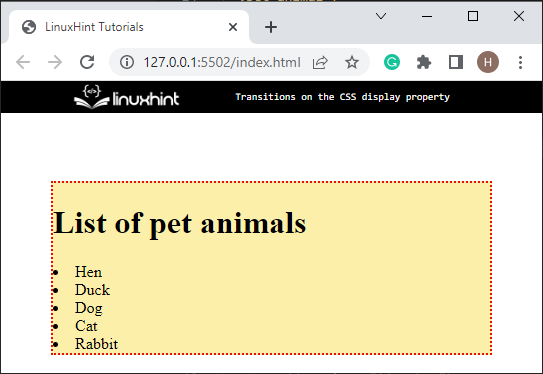
The resultant image shows the output of the above code:
Step 5: Style Added List “li”
Now, access the list of the “div” container having class “pet-animal” using “.pet-animal> li” and apply the below-mentioned properties:
visibility: hidden;
opacity: 0.2;
transition: visibility 0s, opacity 0.5s linear;
}
Here:
- The “visibility” CSS is utilized to set the visibility of the element without changing the layout of a document, such as hidden or visible.
- “opacity” specifies the transparency of an element.
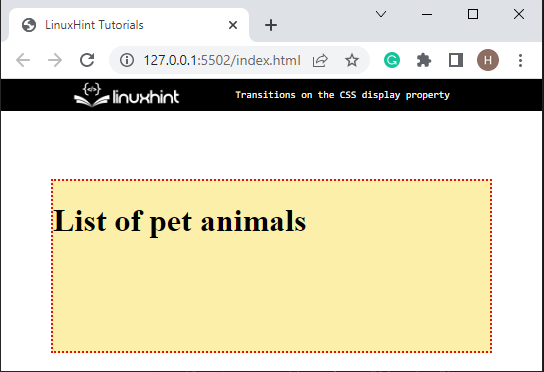
- “transition” allows users to change property values smoothly over a given duration:
Step 6: Apply “hover” Pseudo Class
Now, apply the “hover” property on the list:
visibility: visible;
opacity: 1;
}
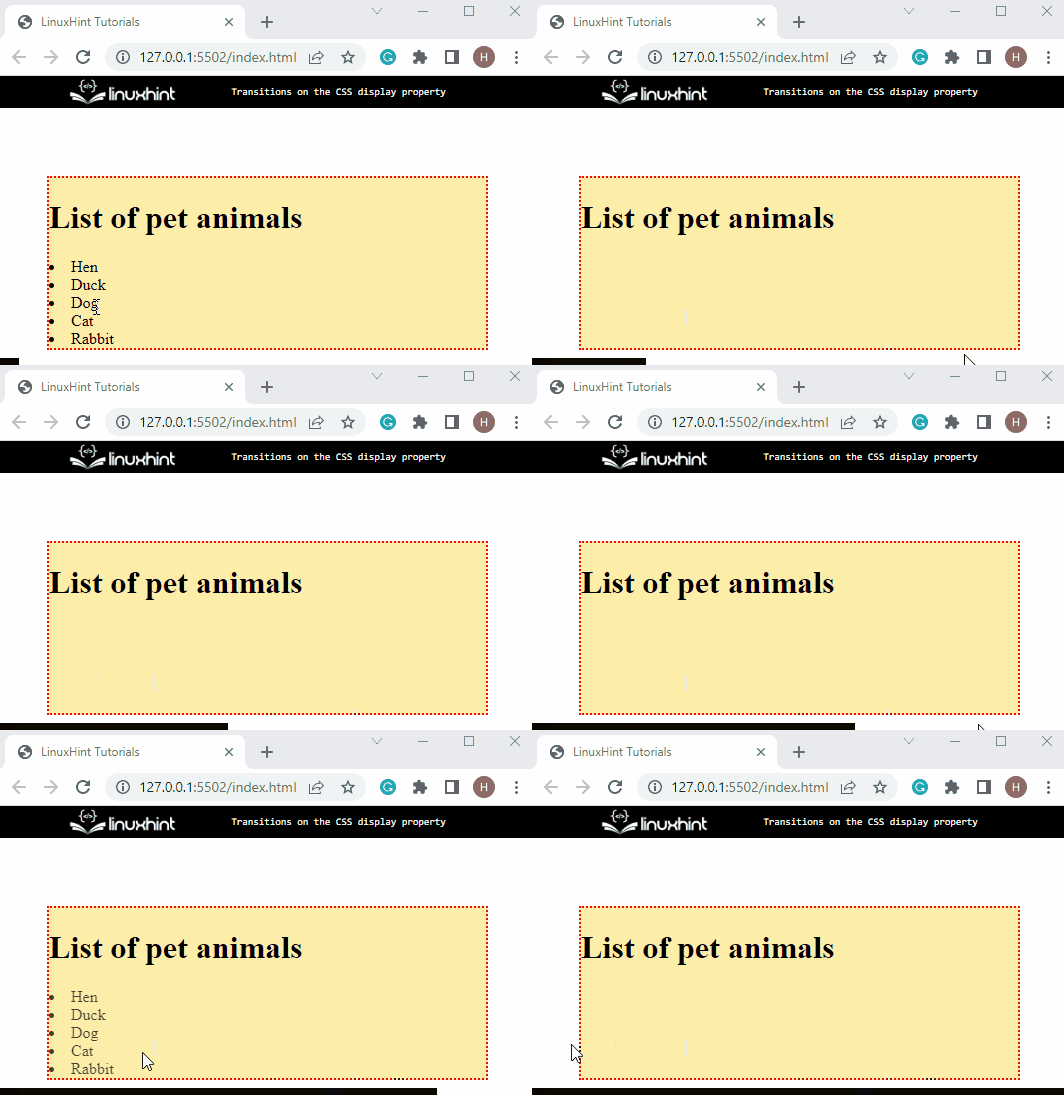
The “:hover” CSS is a pseudo-class that makes changes on run time when the mouse pointer is moved over the element. Make a list visible using the “visibility” and set the transparency using the “opacity” CSS properties to the list on hover:
It can be observed that we have successfully applied transition on the “display” property.
Conclusion
The CSS transition can not be directly applied to the “display” property. However, it can be applied in an alternative way. To do so, add the list tag on the HTML document, access the list by tag name, and apply “transition”, “opacity”, and “visibility” CSS properties on the list. Then, utilize the “: hover” pseudo-class and set the visibility value as “visible”. This post has explained how the transition is applied to the CSS display property.


