This article will demonstrate:
- Method 1: Open Git Bash from Windows Command Line Using Commands?
- Method 2: Manually Open Git Bash Using Windows Command Line PowerShell?
Method 1: Open Git Bash From Windows Command Line Using Commands?
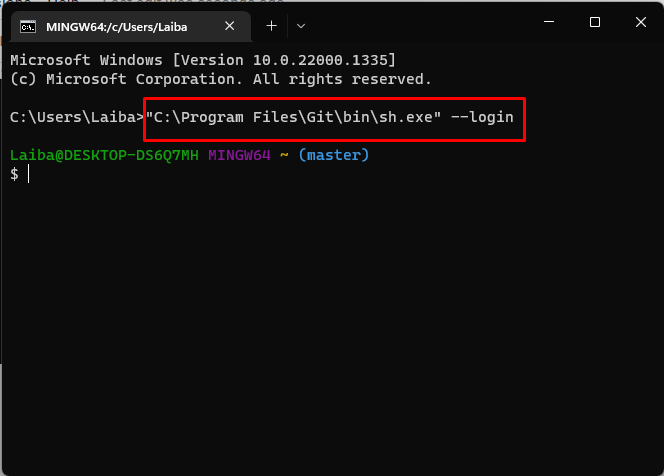
To launch Git Bash from the Windows command line, execute the “start “” “%PROGRAMFILES%\Git\bin\sh.exe” –login” or ““C:\Program Files\Git\bin\sh.exe” –login” commands in Command prompt.
Check out the following steps for a better understanding!
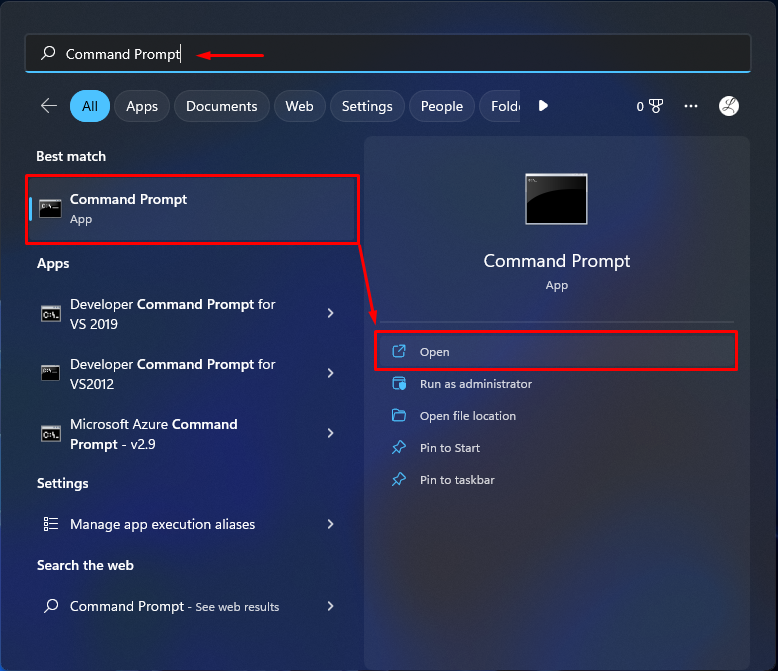
Step 1: Open Command Prompt
From the Start menu, search “Command Prompt” and open it:
Step 2: Launch Git Bash New Window
Execute the provided command in the Command prompt to launch Git bash:

As you can see the Git bash has launched in the new tab:

Note: If you want to launch Git bash in the same terminal, then utilize the below-provided command:
Let’s move to the next section to learn how to launch Git bash manually!
Method 2:Manually Open Git Bash Using Windows Command Line PowerShell?
To open the Git Bash from the Windows command terminal PowerShell, first, open Windows PowerShell. Then, open settings and create a new profile. Set the name, path, starting directory, and icon for Git bash. Lastly, save settings and close the setting window.
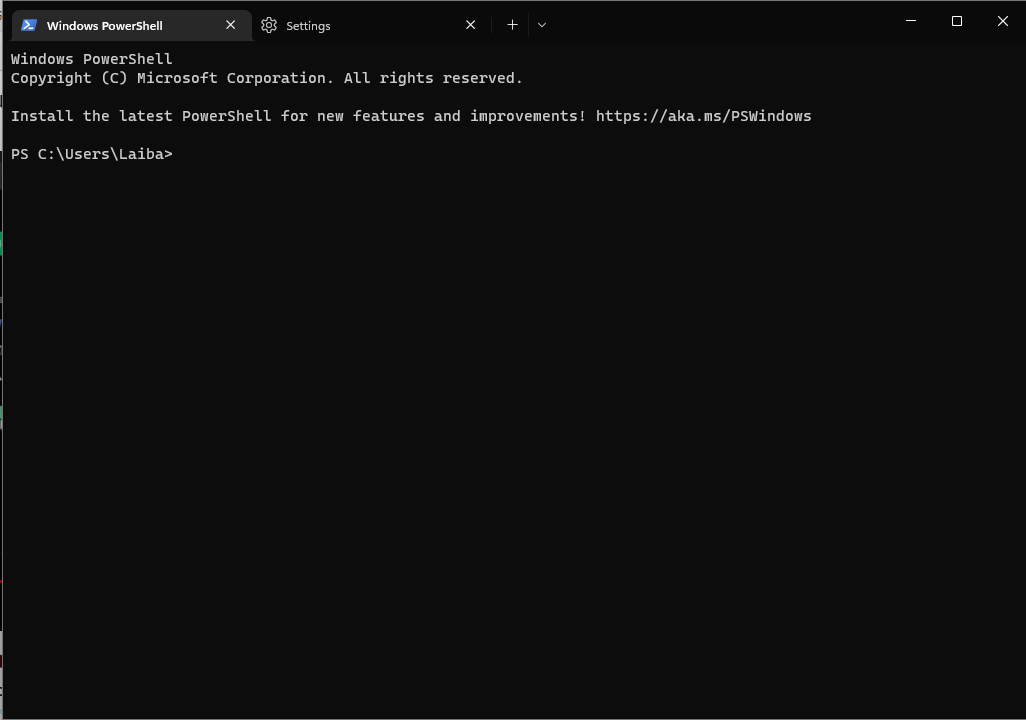
Step 1: Open Windows PowerShell
Search and open the “Windows PowerShell” with the help of the Start menu:
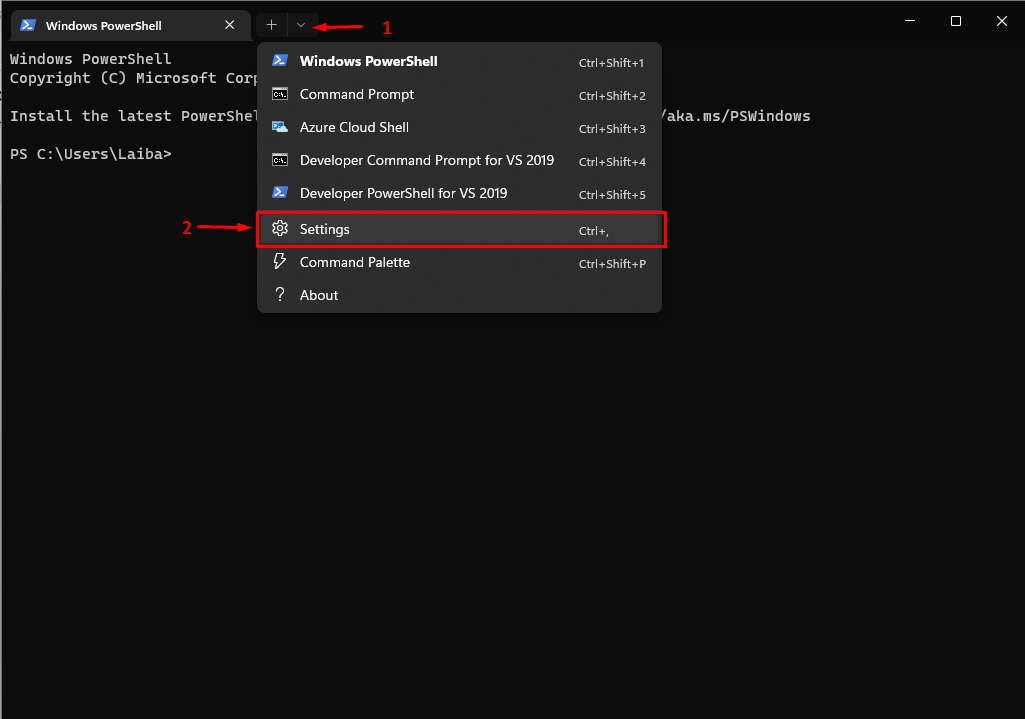
Step 2: Open Settings
Next, click on the below-highlighted icon from the drop-down menu, choose the “Settings” option and open it:
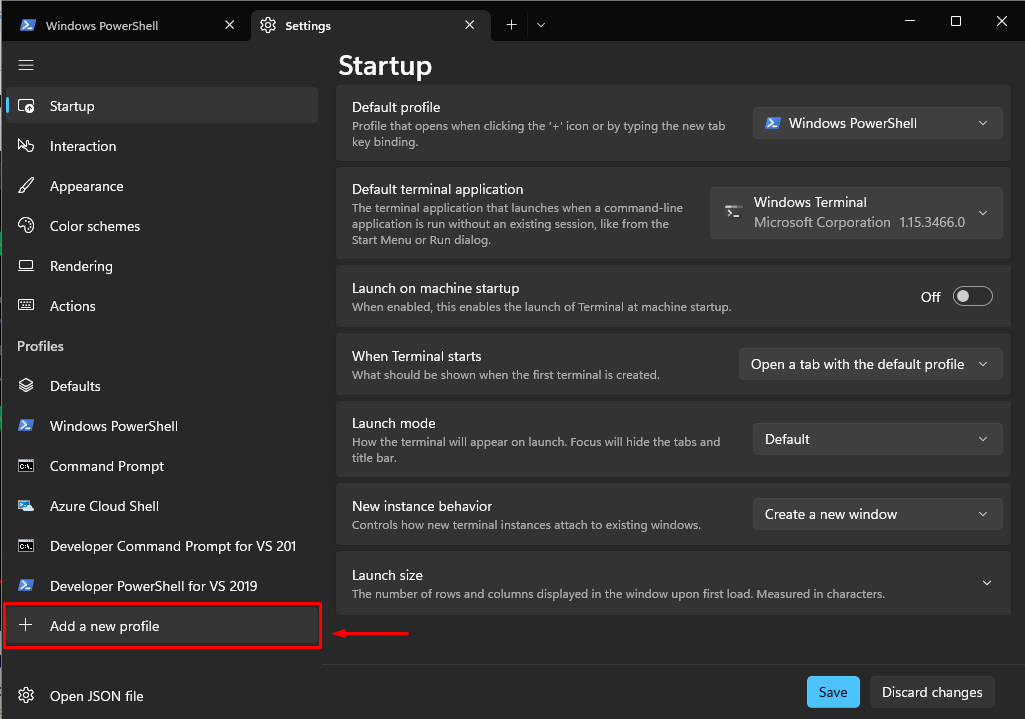
Step 3: Add New Profile
Then, hit the “Add a new profile” option from the side panel:
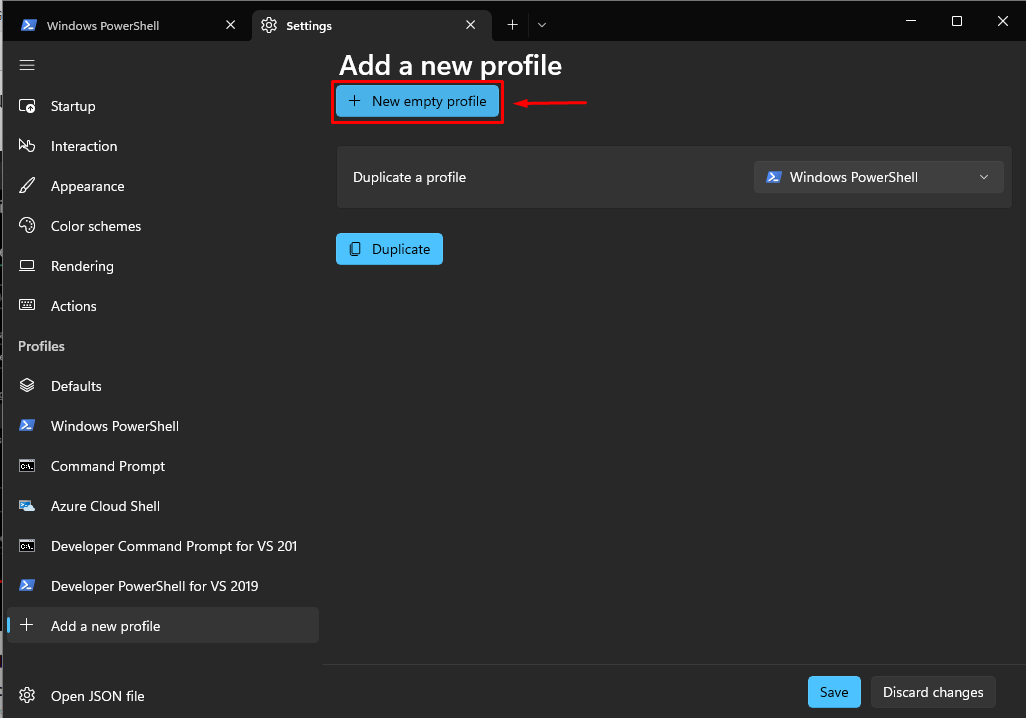
Step 4: Create New Profile
Next, click on the “New empty profile” button to create a new profile:
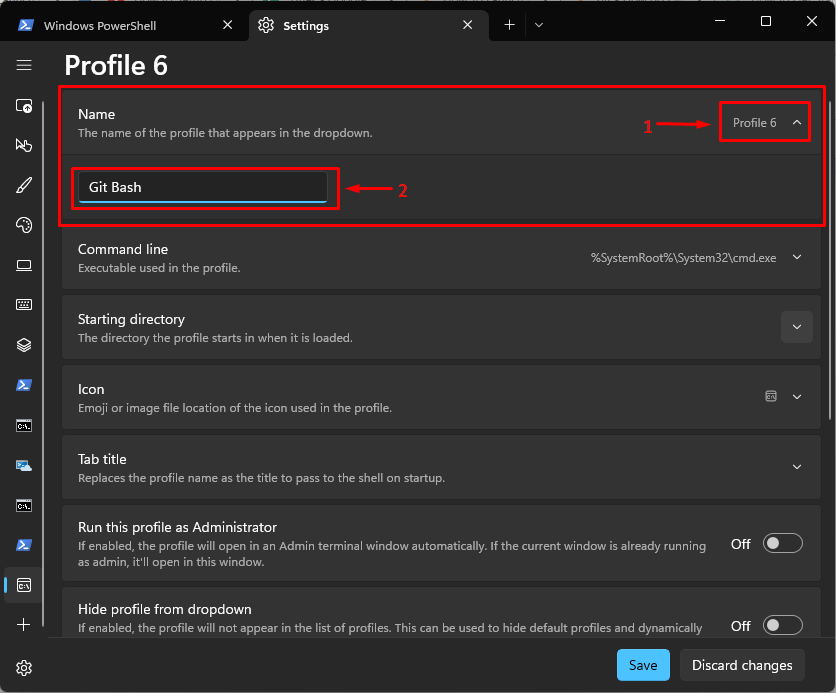
Step 5: Set Profile Name
First, open the drop-down menu, and add the name of the terminal in the specified field. For instance, we have specified the profile name as “Git Bash”:
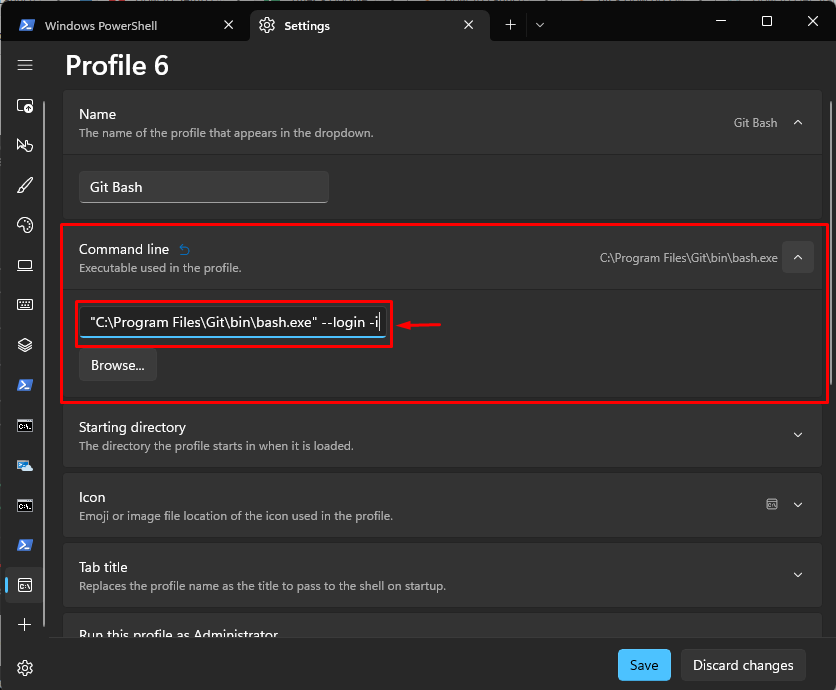
Step 6: Add Terminal Path
Set the command line “Git Bash” path according to your system. For instance, our system path is as follows:
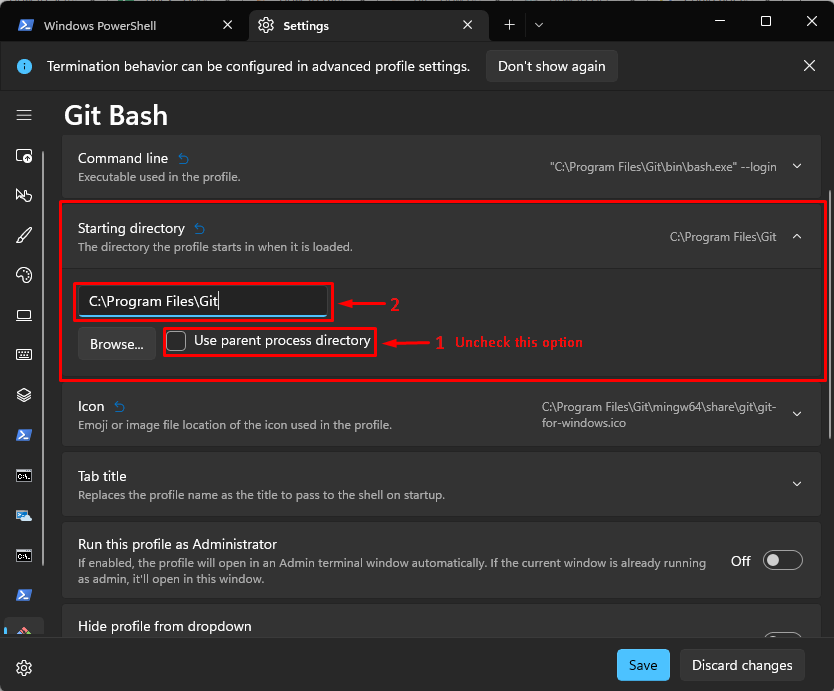
Step 7: Add Start Directory Path
Uncheck the “Use parent process directory” box and set it to where your source normally goes or where Git has been installed:
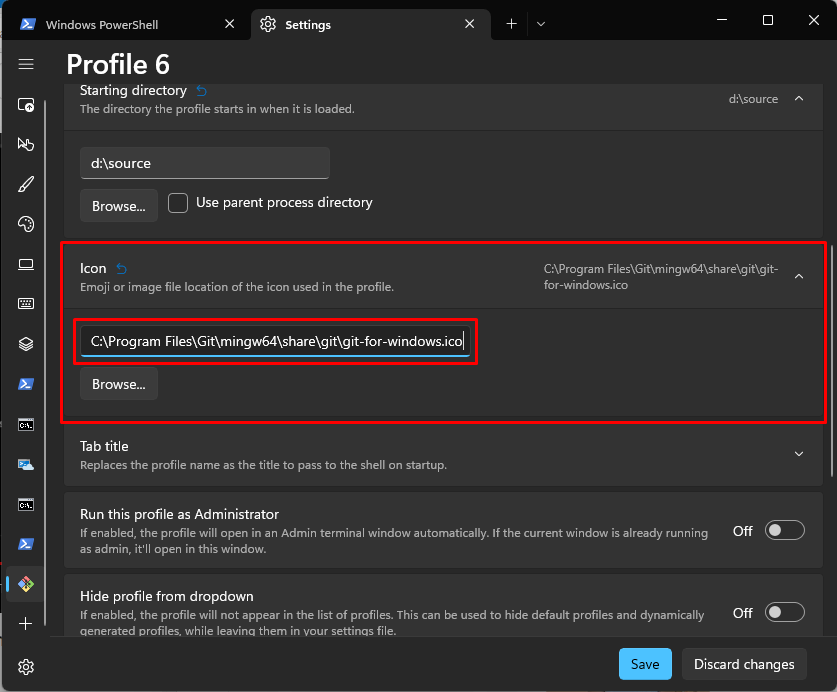
Step 8: Set Git Bash Icon
Add the provided path to set the Git bash icon:
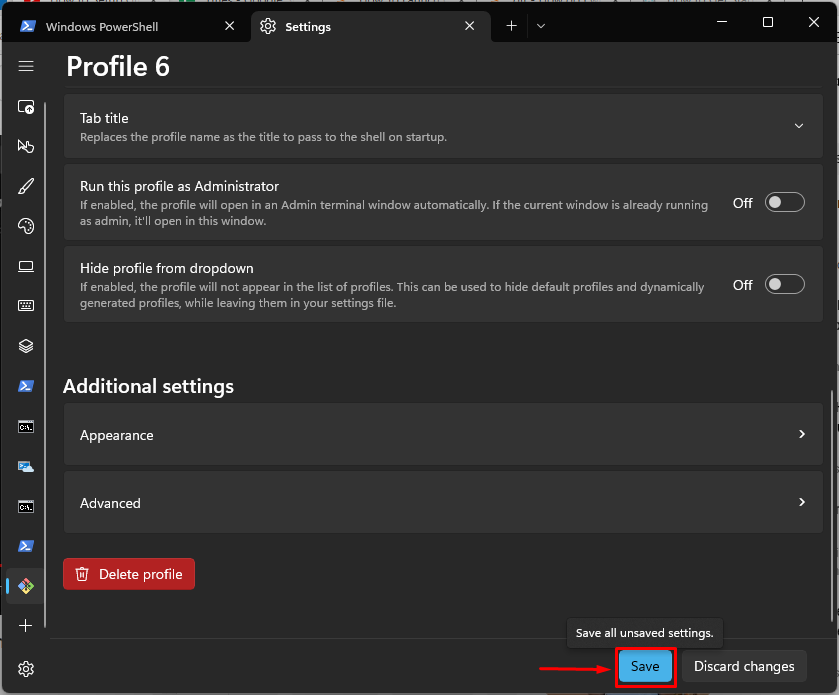
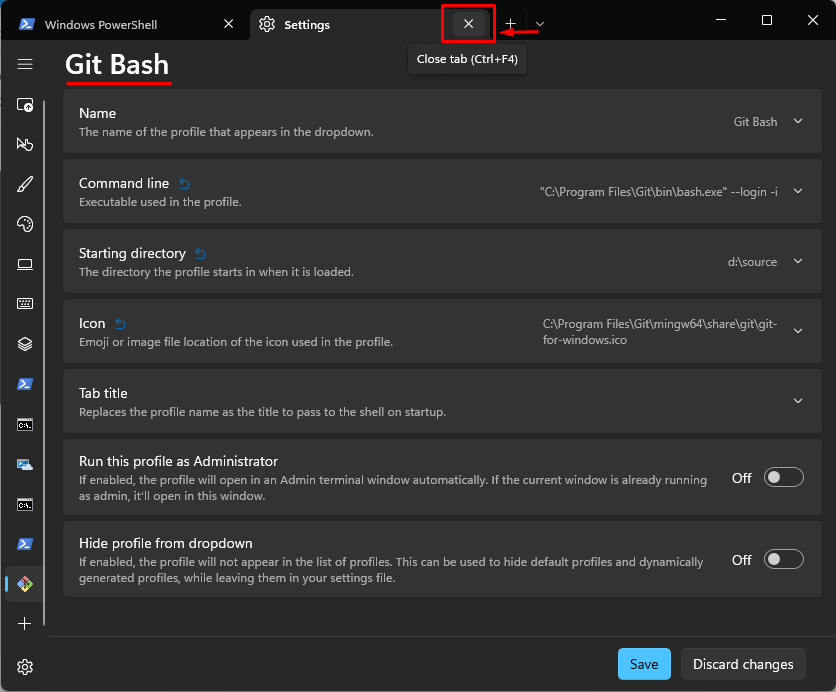
Step 9: Save Settings
Lastly, click on the “Save” button to save all new settings:
Now, close the Settings tab by clicking on the highlighted icon:
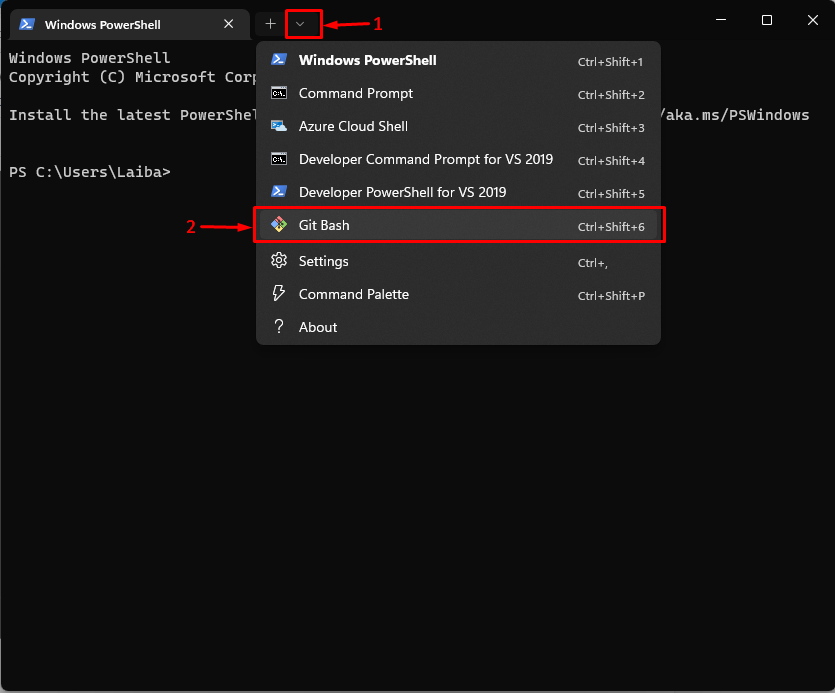
Step 10: Open Git Bash
Press the “Git Bash” option from the appeared drop-down menu and launch it:
As a result, Git bash will be launched on your system:
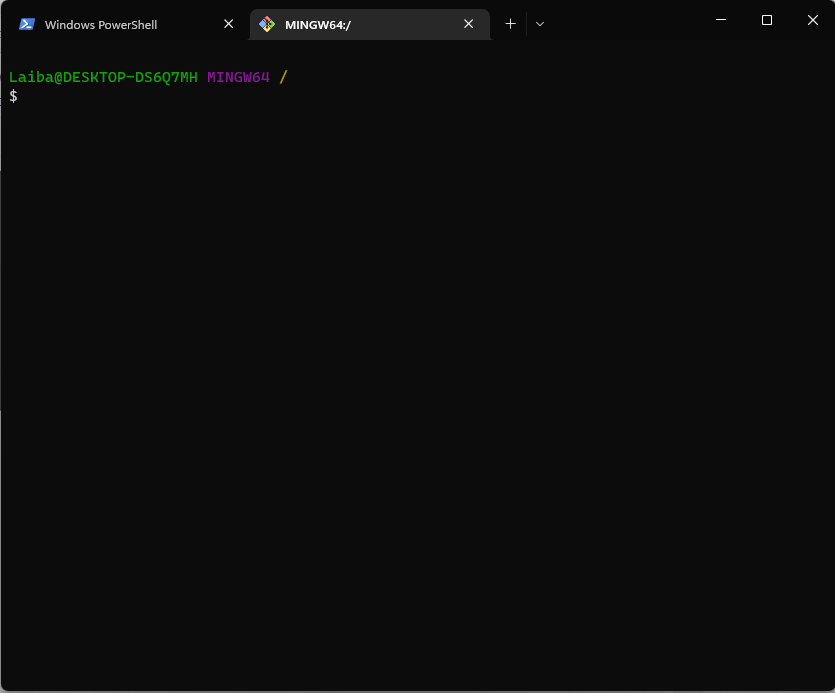
We have elaborated on the methods of launching Git bash from the Windows command line.
Conclusion
Run the “start “” “%PROGRAMFILES%\Git\bin\sh.exe” –login” command in the Command Prompt to launch Git bash. If you want to launch Git bash manually, then open Windows PowerShell settings and add a new profile for Git bash. This article has demonstrated the process of launching a Git bash from the Windows command line.