Table of Contents
1. How To Use XFS_repair
2. Conclusion
Hence, this filesystem works well due to its immense speed. However, it is not immune to issues and errors, so XFS_repair comes in handy in this situation. Although XFS_repair is a popular utility, many beginners don’t know about it. This guide will give you a brief on how to use the XFS_repair easily.
How To Use XFS_repair
The XFS filesystem errors commonly occur due to the expected shutdown, write errors, hardware failure, etc. Let’s start with the basic information about the XFS_repair.
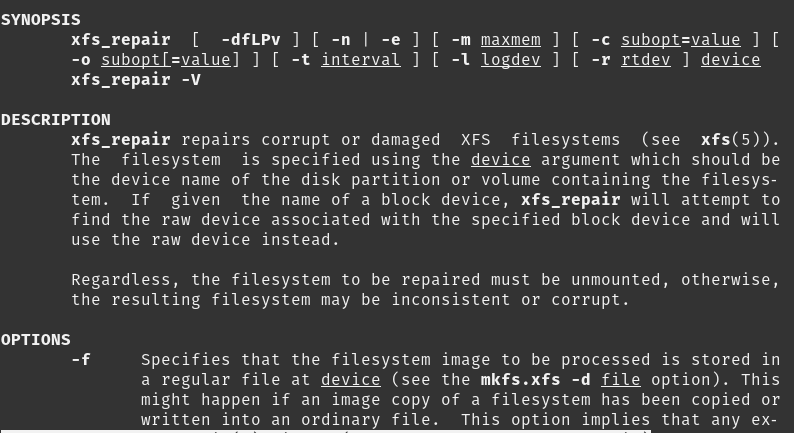
XFS_rapair is a highly scalable utility developed to repair the large file system quickly. This utility only works at boot time if you cleanly unmount the XFS file system. In case of the unclean unmount, the XFS_repair utility replays a log at the mount time to ensure a consistent file system. Therefore, it is essential to unmount the file system, or else the XFS_repair file does not repair the corrupted file system. Here is the basic syntax of XFS_repair you can use:
Moreover, the XFS_repair only works in the debug version of xfs_db so use it accordingly.
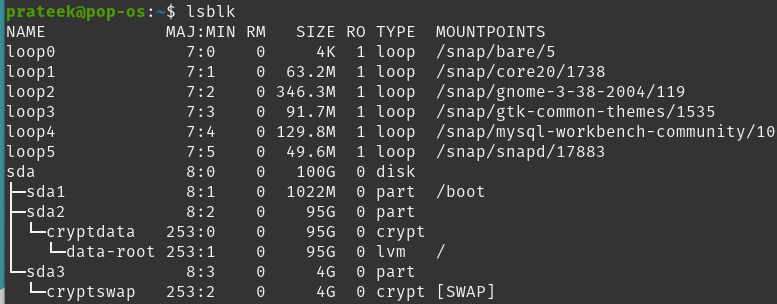
First, run the lsblk command to list all the available devices:
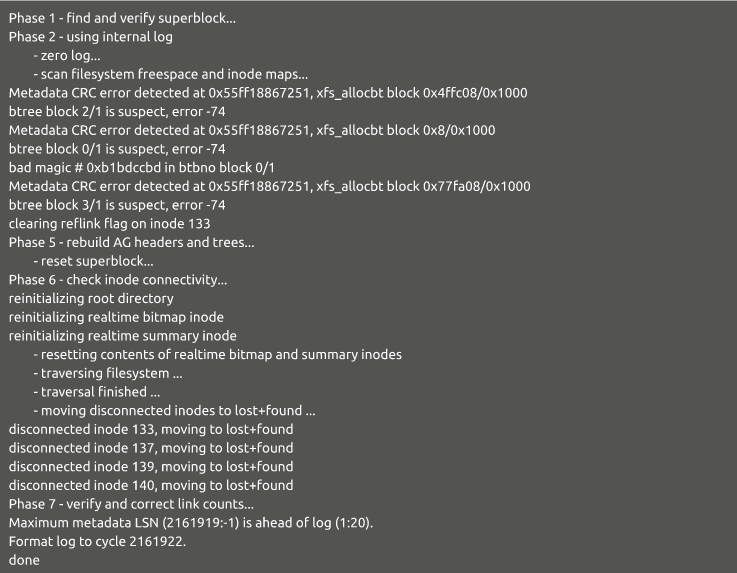
Here, you will get the information about the XFS file system mount point. Now, run the following command to repair the XFS file system. For instance, the XFS is present in the /dev/sdb so that you can run the following command:
To make sure everything works fine, you can run the following command to mount the point again:
If you want to check more about the XFS_repair, then you can run the following command:
Conclusion
This is how you can easily use simple commands and perform the XFS_repair in Linux. We used Pop!_OS to perform the previous steps because it is based on Ubuntu. We recommend you check the mount point because it is essential to get information about it while running the XFS_repair. Moreover, you also need to mount and unmount the device correctly to eliminate the chances of errors.


