Putty is a tool that makes the SSH connection for the user and provides a GUI to configure this connection. Putty can easily be used to SSH into an EC2 instance of Amazon. This post will explain the process of using the Putty for SSH into an AWS EC2 instance.
Download and Install Putty
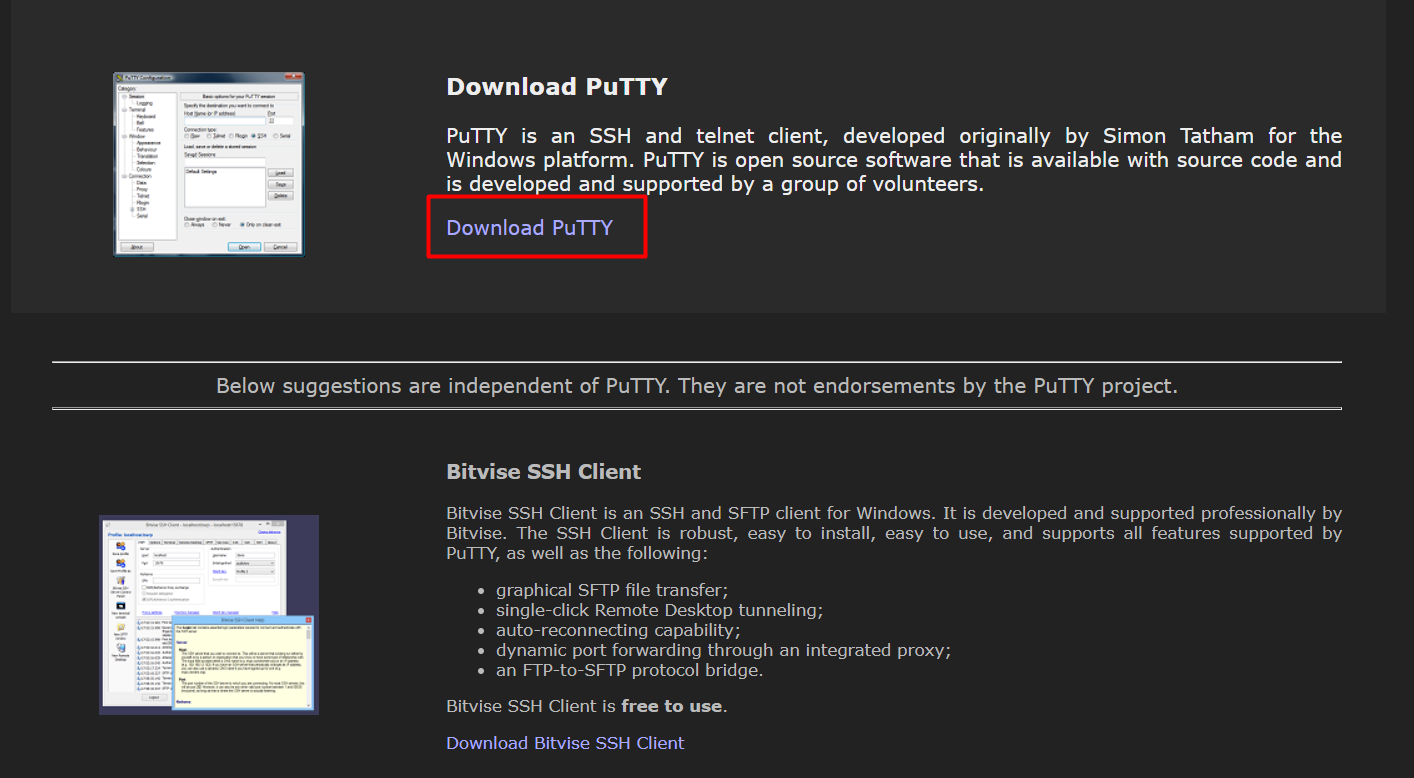
Most of them are not installed in the user’s machine, therefore, the first step is to actually download and install putty on the user’s machine. For this, visit the Putty’s official webpage by simply clicking here. From the Putty’s webpage, click on the button that says “Download Putty”:
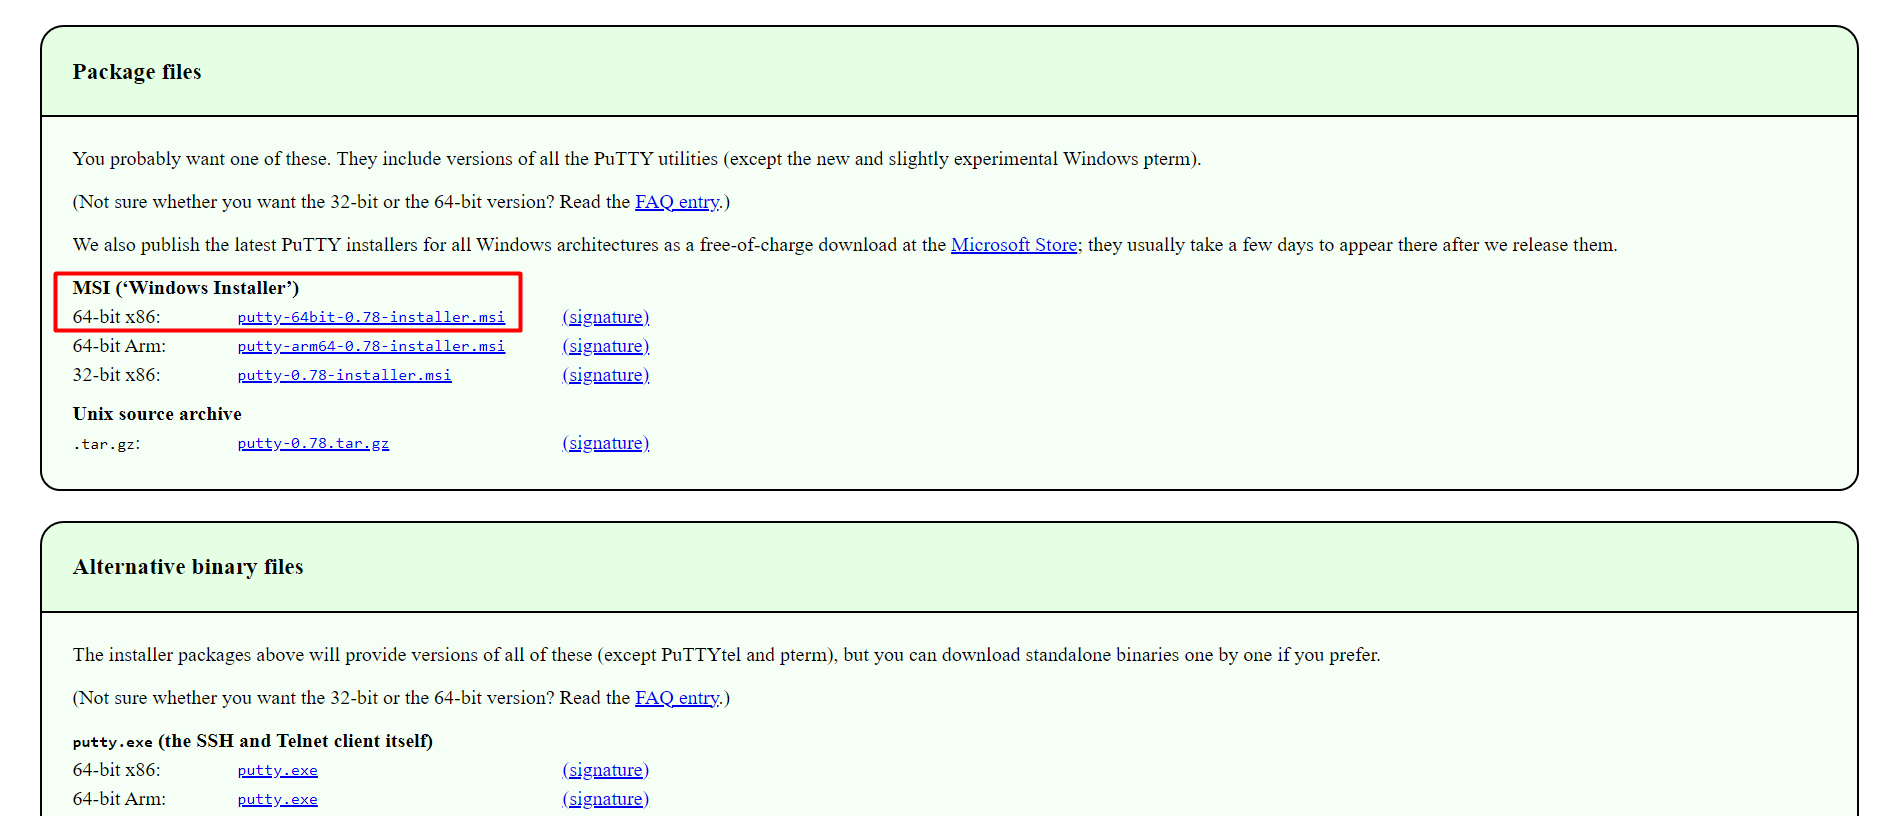
After that, the download page of the Putty will open up. From this page, select the version of Putty according to the architecture and the operating system on which it is to be installed. For this post, it is going to be x64-bit for Windows:
Once the Putty has been downloaded, execute the downloaded file to begin the installation process of Putty:
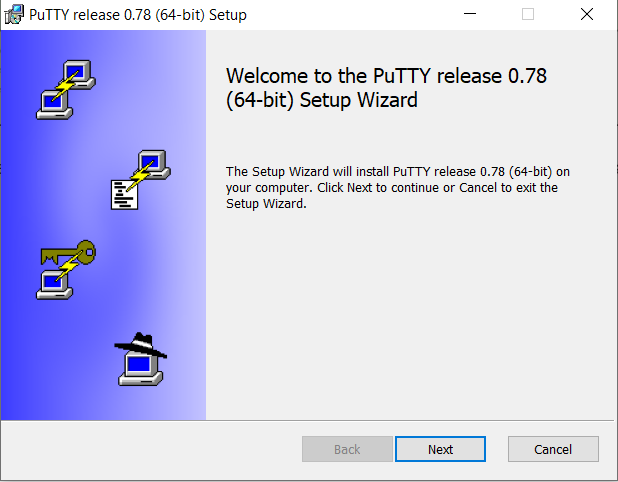
Go through the installation wizard of Putty and install it in your system. Once the installation process is done, search Putty from the Start Menu:
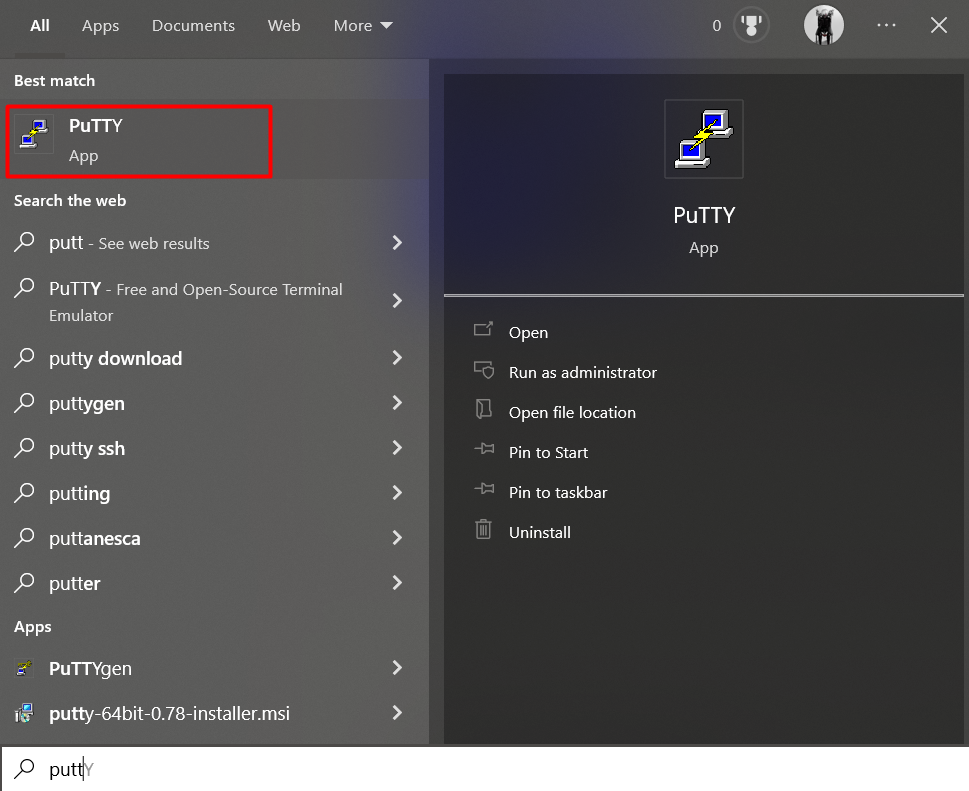
Clicking on the application from the start up will launch it:
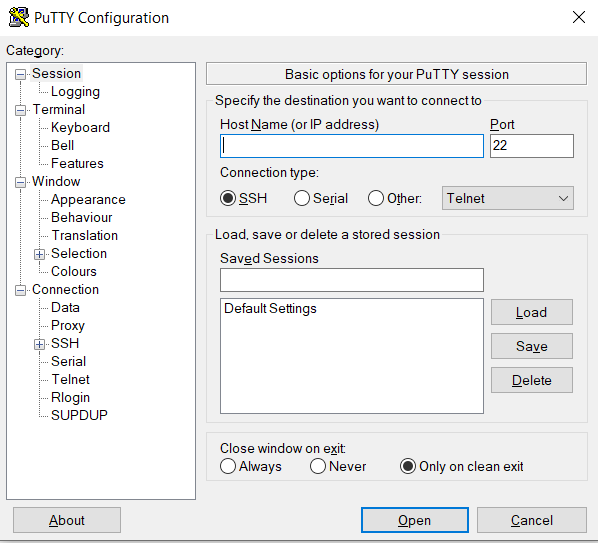
Using Putty to SSH Into EC2 Instance
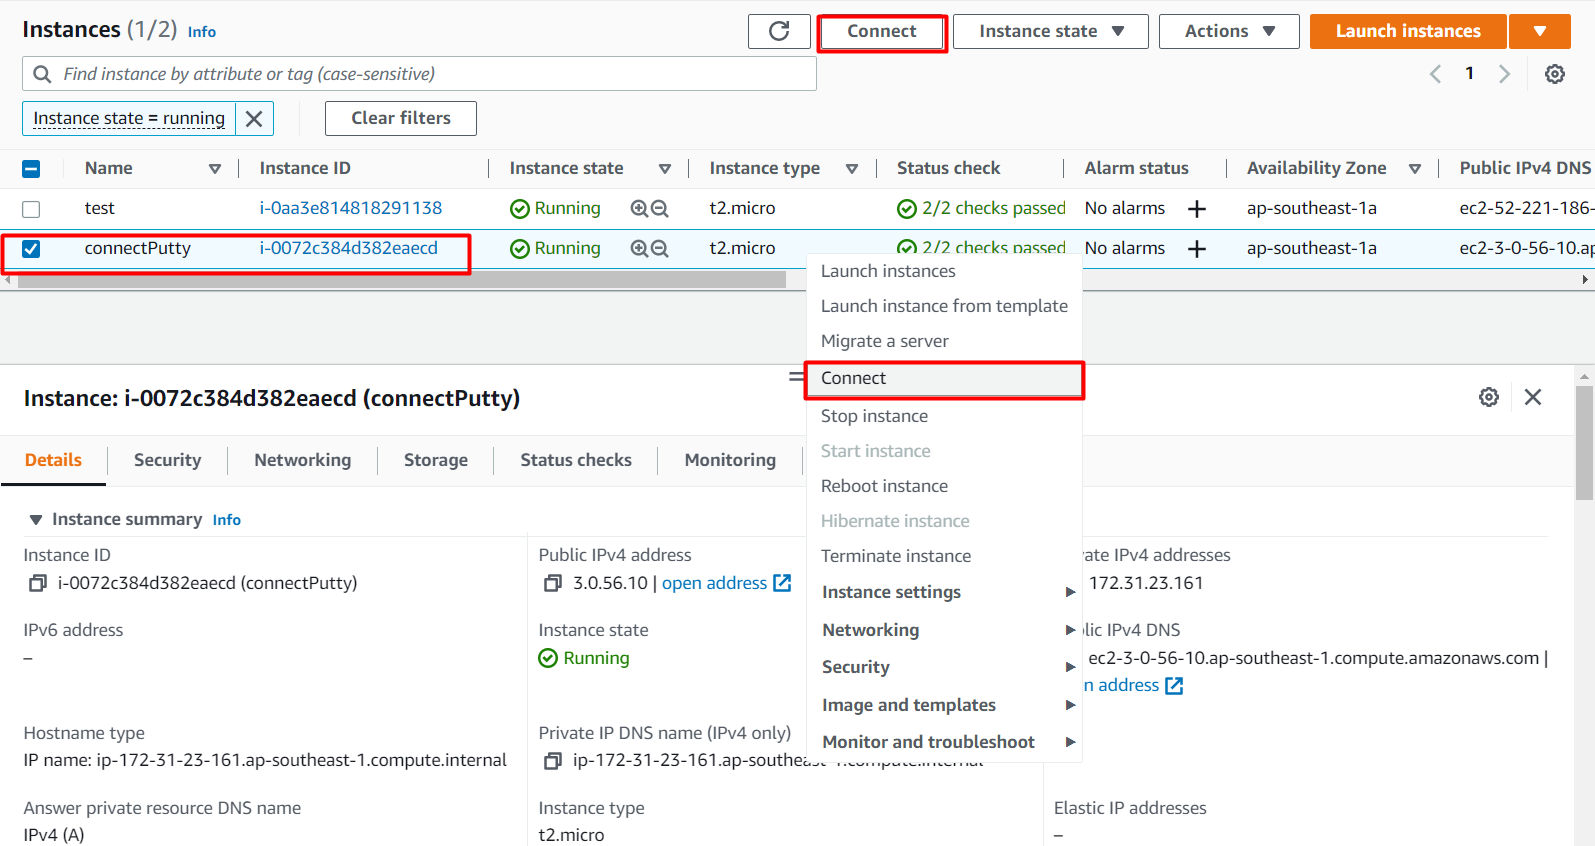
To connect to an EC2 instance using Putty, you need to configure your connection. First of all, get the address of the EC2 instance and the username from the “Connect Page” of the EC2 instance. So open up the connect page by right clicking on the EC2 instance and select the “Connect” option from the menu:
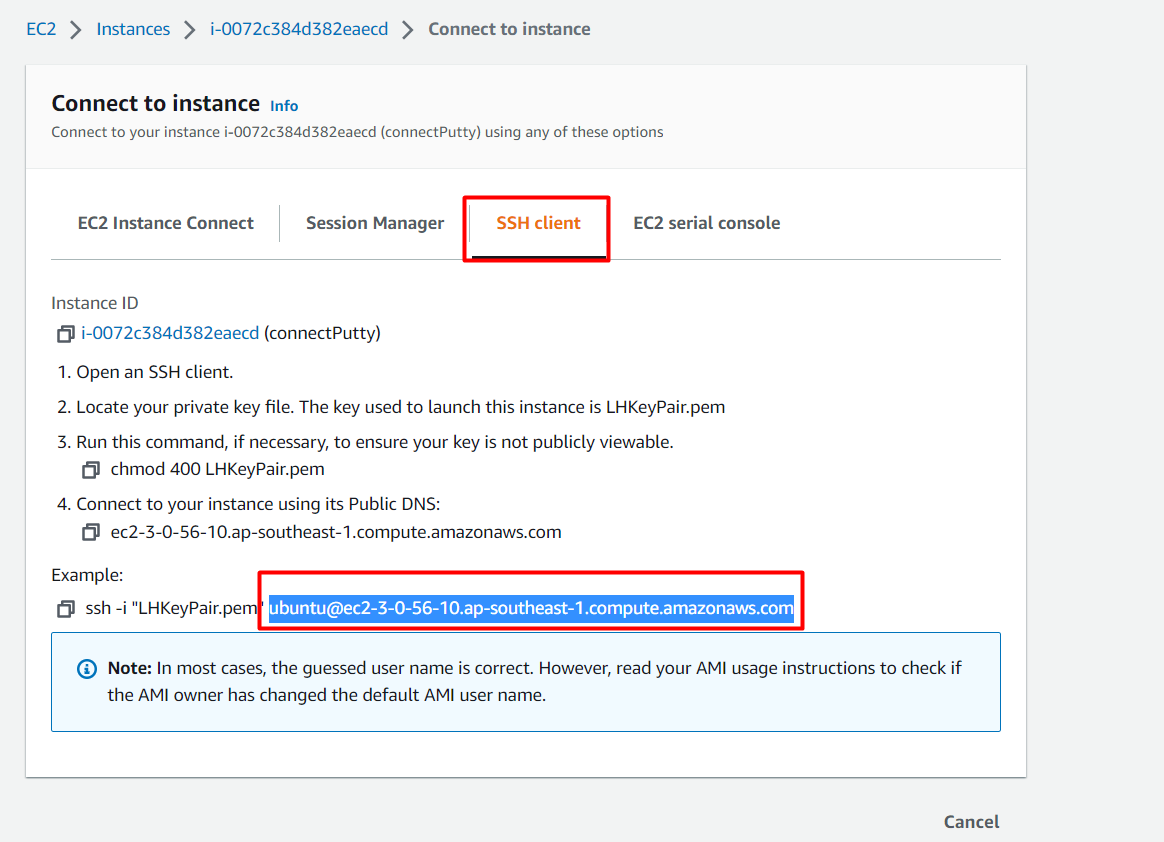
From the connect page, shift over to the “SSH client” tab and copy the “username@publicadress” from the SSH command example:
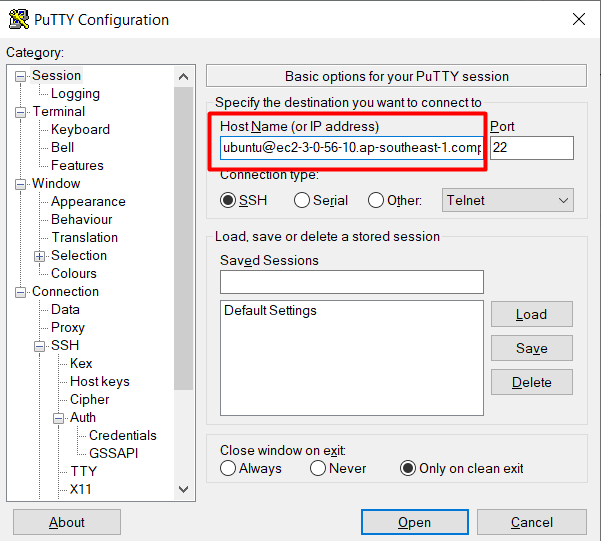
Head back to Putty and paste in this username@publicaddress in the “Host Name” field and keep the port to “22”:
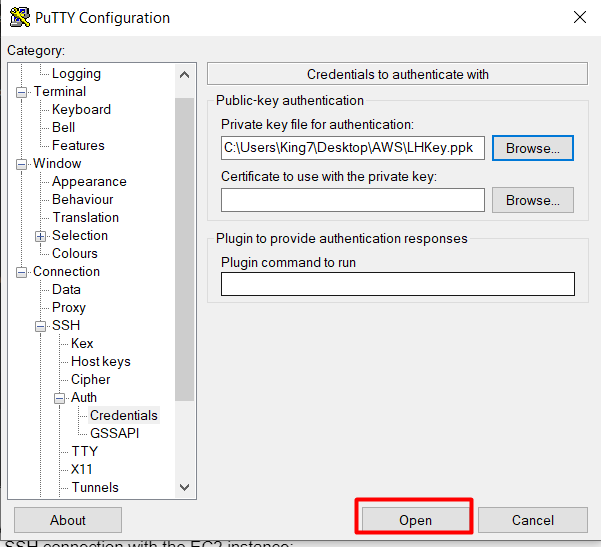
After that, we need to attach the .ppk key pair file, for that, from the left navigation menu, open up “Credentials: under “Auth” inside “Connection => SSH”:

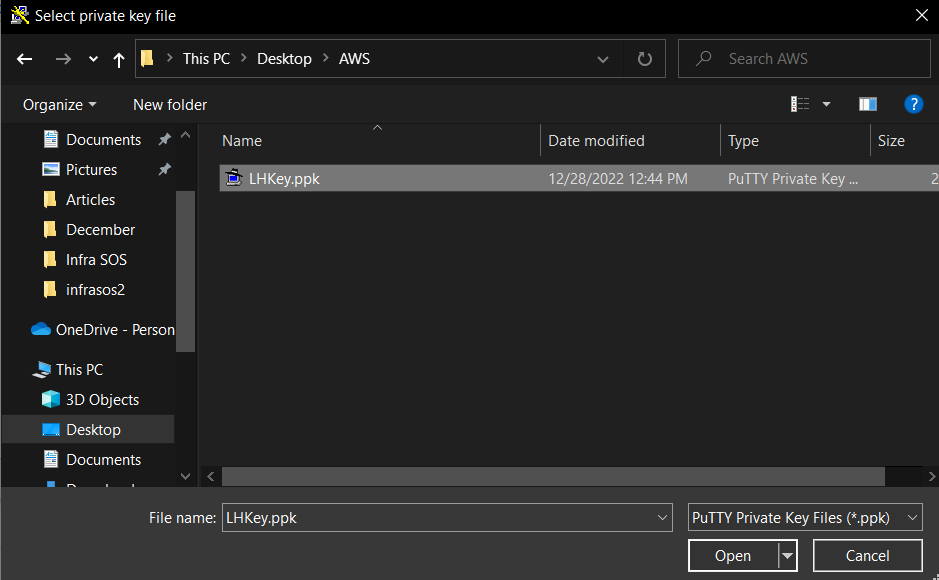
After that, Click on the Browser Button and search from the ppk file (Incase the ppk file is not available and only the .pem, then visit the next section and then comeback to this step):
Once the private key is loaded into Putty, all the configurations are now in place. Simply click on the Open Button to initiate the SSH connection with the EC2 instance:
After that, a terminal will open up with a pop-up confirmation, simply click on the “Accept” option:
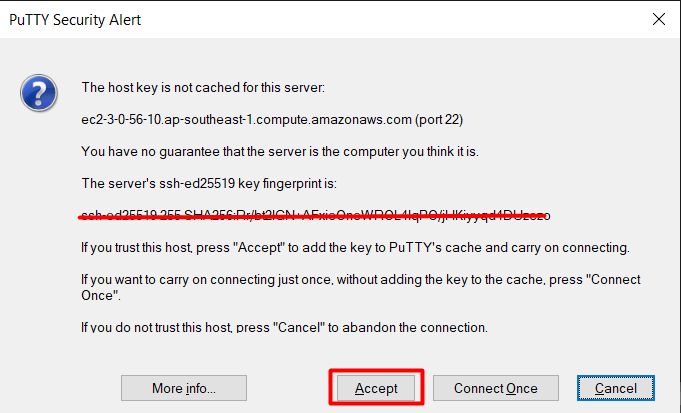
After that, inside the terminal, the SSH connection will be made with the AWS EC2 Instance:

That concludes the connection with AWS Instance through Putty.
Generating PPK File From Pem File With PuttyGen
The Key-pair attached to the EC2 instance cannot be changed once the creation of the EC2 instance is done. This means that if the user has created a key-pair that is the pem format then that key-pair cannot be used with Putty. To solve this, Putty provides a “puttygen” application that can convert the “pem” key-pair files to “ppk” key pair files.
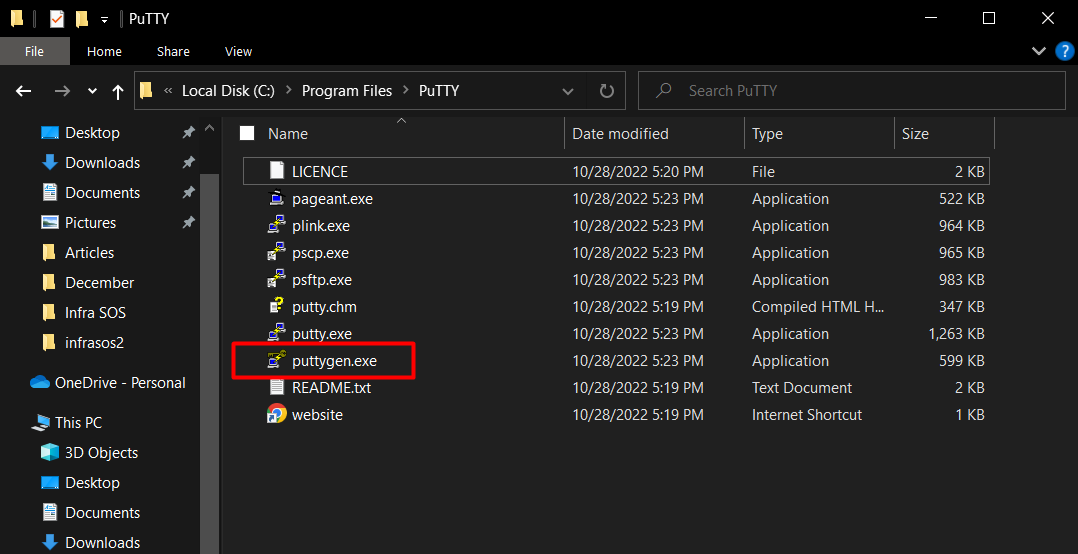
For this, open up the installation folder of Putty on the user’s machine and inside that folder open up the application named as “puttygen”:
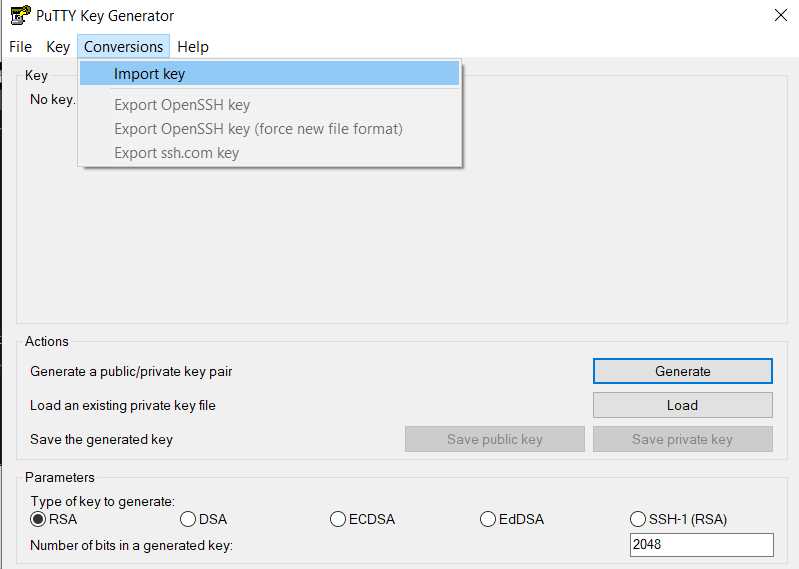
Within this Putty Key Generator application, click on the “Conversions” tab and then “Import”:
And then search for the pem file that is attached to your EC2 instance and load it:
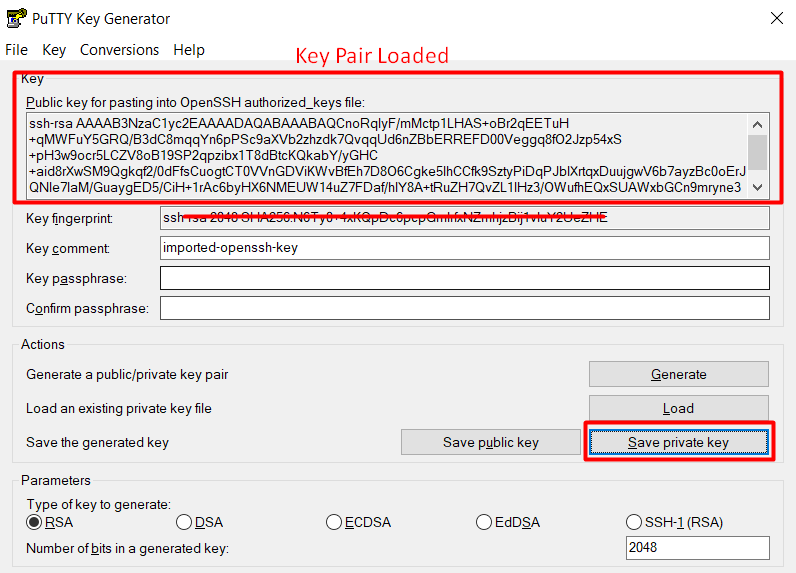
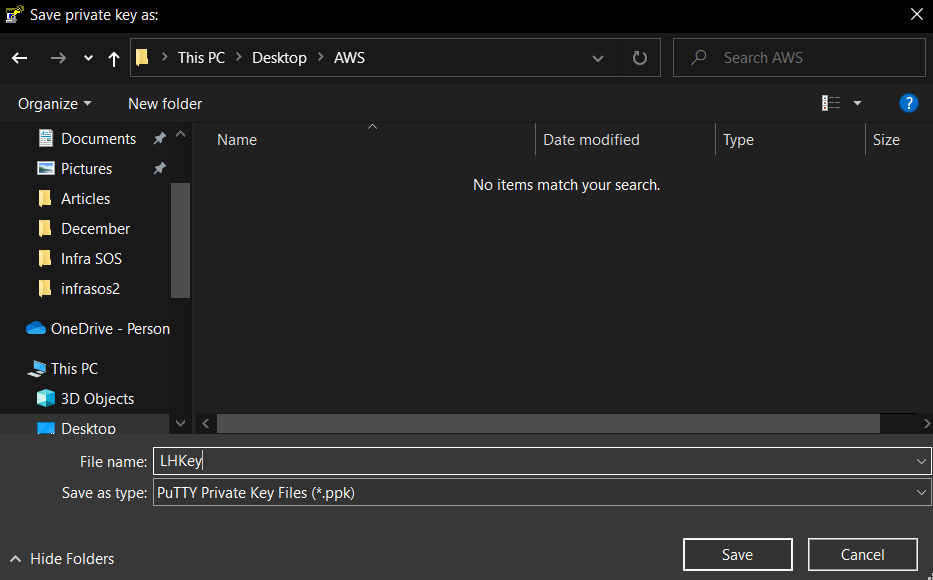
Once that is done, simply click on the “Save Private Key” and save the private key in the PPK format:
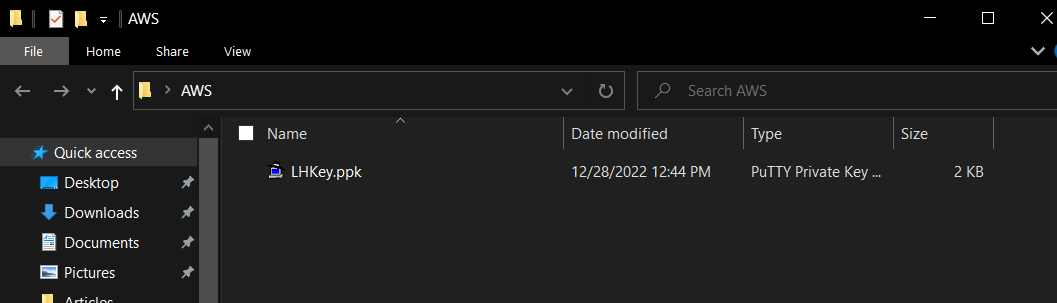
After that, head inside the folder and verify the existence of the ppk file:
That is all about creating a ppk file from a pem file for EC2 instance.
Conclusion
Putty can be used to form an SSH connection with the AWS EC2 instance quite easily, for that the user needs to make sure that Putty is installed on his machine. After that, open up Putty and provide all the necessary details. Once the connection configurations are done, simply click on the “open” button in Putty and a new terminal will open up which will then connect to the SSH of the EC2 instance.