Oracle database is considered one of the most popular relational databases. This is because it comes packed with features for small to massive applications.
It is, therefore, no surprise you will encounter a scenario where you need to connect a Python application to an Oracle database.
Through this post, you will understand the basics of connecting a Python application to an Oracle database using the cx_Oracle interface.
What is cx_Oracle?
Cx_Oracle is a free and open-source Python module that allows you to connect a Python application to an Oracle database. The module conforms to the Python Database API specifications, making it a popular choice for executing PL/SQL commands using Python.
You can check the source code for the module in the resource defined below:
https://github.com/oracle/python-cx_Oracle
Requirements
To follow this tutorial, you will need access to the following:
- An Oracle Database installation running on your machine.
- The latest Python Interpreter installed on your machine.
- Sufficient database permissions on the server.
You can also use a remote Oracle database installation. Keep in mind you may need the credentials to the target server.
Step 1 – Setting Up a Database User
The first step is setting up a new database user for your Python application. You can skip this step if you already have an existing database user you wish to use.
Although this step is not a requirement, it is good to limit the application to a specific database and permission in the event of a security compromise.
Start by launching the SQL Plus command as shown:
Next, enter the username for the privileged user you wish to connect to. This will prompt you for a password you defined during your database installation.
Enter username: sys as sysdba
Enter password: **********
Once logged in, you should be dropped to the PL/SQL Shell as:
Connected to:
Version 19.3.0.0.0
SQL>
You can also run the command above to log in directly to PDB:
Replace the username and password with your target credentials.
Once logged in, run the command below to create a user.
Alter the created user and set the target properties such as tablespace and quota limit.
DEFAULT TABLESPACE users
TEMPORARY TABLESPACE temp
quota unlimited ON users;
The above query sets the default tablespace, temporary tablespace, and the created user’s quota limit, respectively.
Finally, grant the necessary permissions to the created user as shown:
CREATE VIEW,
CREATE SEQUENCE,
CREATE TRIGGER,
CREATE TYPE,
CREATE MATERIALIZED VIEW,
CREATE SESSION,
CREATE PROCEDURE
TO linuxhint;
GRANT succeeded.
The above query grants the user permission to create various database objects such as tables, views, procedures, triggers, materialized views, sequences, etc.
Finally, set a password to the target user as:
You can then exit the SQL Plus Session and proceed to the next section.
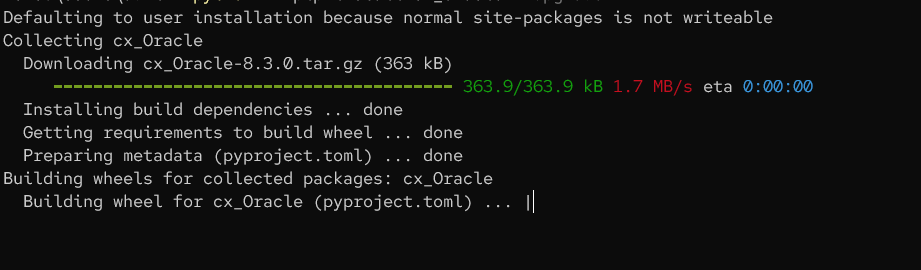
Step 2 – Installing the cx_Oracle Python Module
The next step is to set up and install the cx_Oracle module in Python. This step requires you to have Python and PIP installed on your machine.
Check our tutorials on the topic to learn more.
Run the pip command:
Once setup, we can proceed with our application configuration.
Step 3 – Application Setup
Start by creating the parent directory to store your application code:
Navigate into the created directory and define a new db_config.py file. This will be used to store the database configuration.
Edit the db_config.py file with your favorite text editor and add the database configuration information as shown in the sample below:
Configuration information:
password = 'password'
dsn = 'localhost/orcl'
port = 1512
encoding = 'UTF-8'
The configuration file holds information to log in to the server. The user and passwords refer to the user we created in step 1.
The DSN defines the Data Source Name, which includes the server hostname and the pluggable database name. In this case, PDBORCL1.
Step 4 – Connect to the Database
Once you have the configuration of the database set, we can connect the application to the server.
Start by creating a file to store your application code:
Edit the file and add the code:
import db_config
try:
conn = cx_Oracle.CONNECT(
db_config.USER,
db_config.password,
db_config.dsn,
encoding=db_config.encoding)
print("Database Version: ", conn.version)
except cx_Oracle.Error AS e:
print(e)
finally:
IF conn:
conn.CLOSE()
We start by importing the cx_Oracle module and the db_config file in the code above.
Next, we wrap the connection block inside a try-catch block. The connection object is stored in ‘conn’ using the cx_Oracle.connect function.
If the connection is successful, we print the database version using the conn.version. If not, we catch the error and print it.
Finally, we close the connection using the conn.close() function.
We can run the code as:
This should return the output as:
DATABASE Version: 19.3.0.0.0
Conclusion
This is a discussion on the process of connecting your python application to your Oracle database using the cx_Oracle module.