Installing Hamachi on Linux
Hamachi is a virtual private network provider that is free for up to 5 users and can also be used to extend a LAN network. Not only that it is also a best fit for the gamers to create servers as it does not require port forwarding so below are some steps one need to follow to install Hamachi on Linux:
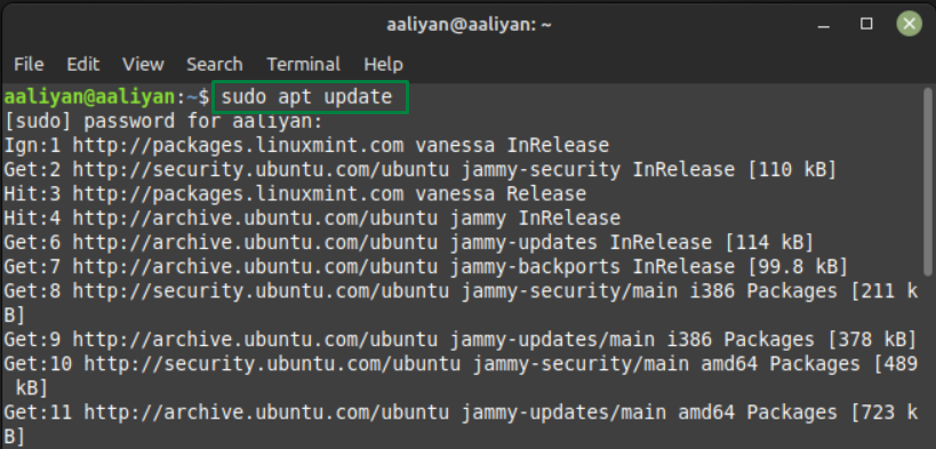
Step1: Before beginning the process of installation first update the packages list of your Linux system using:

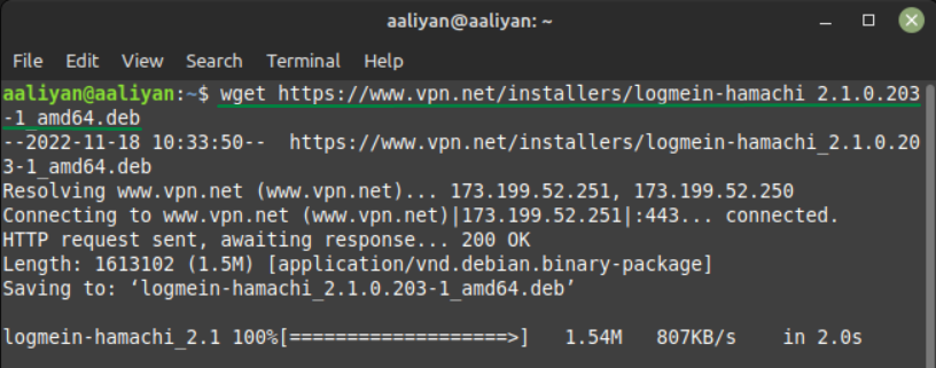
Step2: Next download the Hamachi .deb file by getting the download link or by directly downloading it from official site:

Step 3: Now install Hamachi application using dpkg application using:
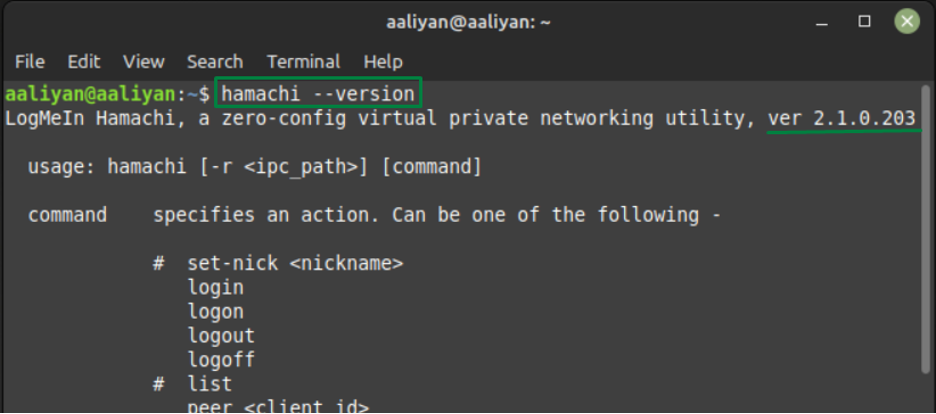
Step 4: Just to be sure that if the application is installed successfully check the version of Hamachi using:
So, this is how one can install Hamachi on Linux so now let’s move towards configuring the application
Using Hamachi on Linux
To begin will using this virtual private network provider one needs to go through the steps mentioned below one by one:
Step 1: First login to the Hamachi using:
Step 2: Now it’s time to create a network and for that follow the syntax given below:
For further illustration, an example that is done for you:
Step 3: Now you or other users can join network with the network ID and the password for the created network, using the following syntax:
For example, if you want to join the network as Linux user (Ubuntu) then:
Step 4: Next, if any user wants to leave the network, then use the given syntax:
For example:
Step 5: Now if you want to delete the network then use the following syntax:
For example:
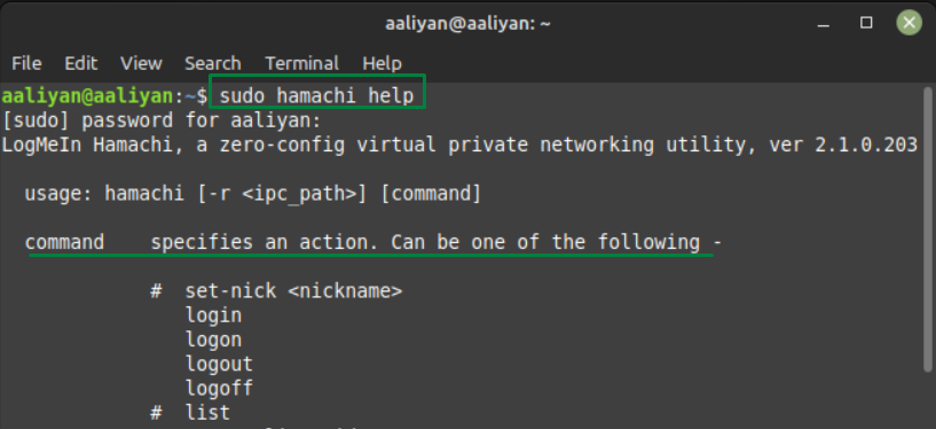
Further if you need more information about different commands used for Hamachi then execute:
Conclusion
Hamachi is one of the most secure virtual private network providers that is quite easy to operate and use. For the Linux system just download it from its official website and afterwards install it using the dpkg package manager.


