This article provides the easiest procedure to show the staged changes.
How to Show the Stage Changes in Git?
Try these steps to show the staged changes:
- Go to the particular Git repository.
- Check the repository list of content.
- Update and add a file to the staging area.
- Run the “$ git status -v” or “$ git diff –cached” command to display changes.
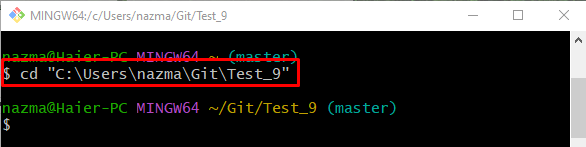
Step 1: Git Local Repository
Move to the Git repository by executing the “cd” command:
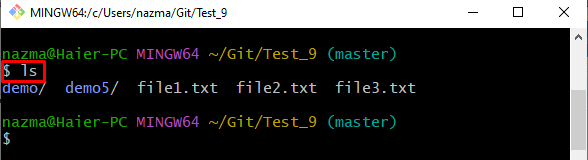
Step 2: Display List of Content
Then, view the repository list of content by running the “ls” command:
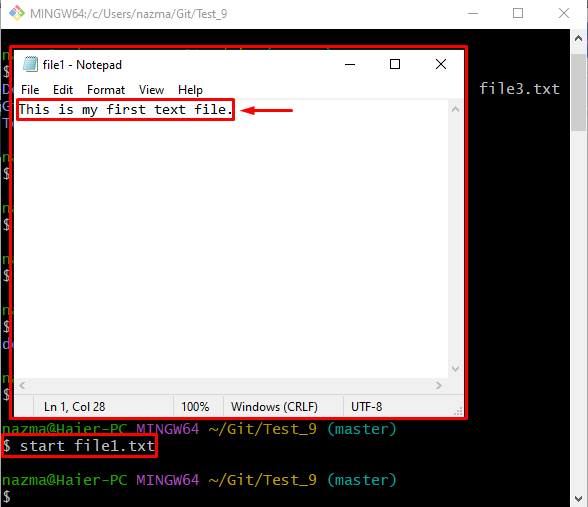
Step 3: Update File
Next, execute the “start” command to update the existing desired file:
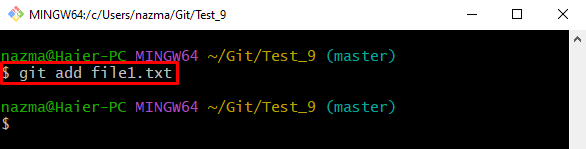
Step 4: Stage Changes
Now, stage all made changes in the working directory to the tracking area with the help of the “git add” command:
Step 5: Show Changes Using “git status” Command
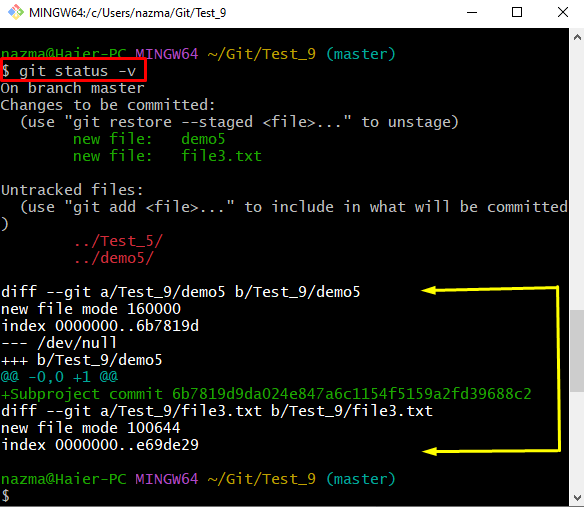
To show added changes that have been staged, execute the “git status” command along with the “-v” option:
Here, the “-v” option is the same as the “–verbose” which will display the staged changes for the next commit. In the highlighted area, you can see:
- “–” symbol indicates the initial file.
- “+” symbol shows the changes that were made.
- “1” represents line number 1:
Step 6: Display Changes Using “git diff” Command
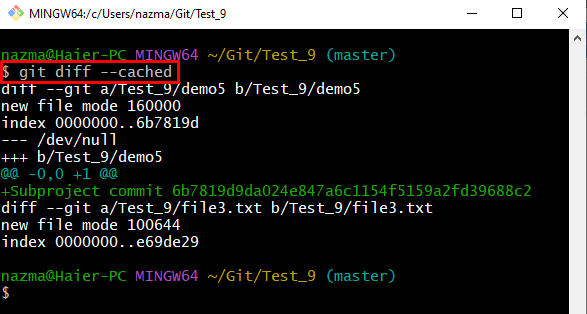
The use of the “git diff” command is another way to view the staged changes that are as follows:
In the above-stated command, the “–cached” option is used to show the staged changes for the next commit that are related to the HEAD:
We have described Git’s command to show the staged changes.
Conclusion
To show the staged changes, first, navigate to the Git repository and check the content list. Then, open one of the desired existing file, add changes, and track into the staging area. After that, execute the “$ git status -v” or “$ git diff –cached” command to display changes. This article demonstrated the procedure to show the staged changes.