This post will explain the procedure to create a new branch from a tag.
How to Generate a New Local Branch From a Tag?
To create a new local branch from the existing tag, try the below-stated steps:
- Navigate to the Git root directory.
- Show all remote and local branches.
- See the available tags and choose one of them.
- Run the “$ git checkout” command.
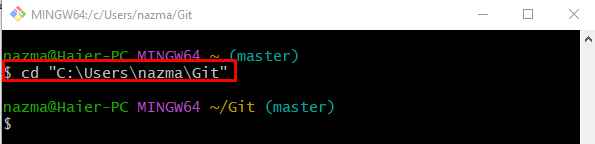
Step 1: Move to Root Directory
Run the below-listed command to navigate to the root directory:
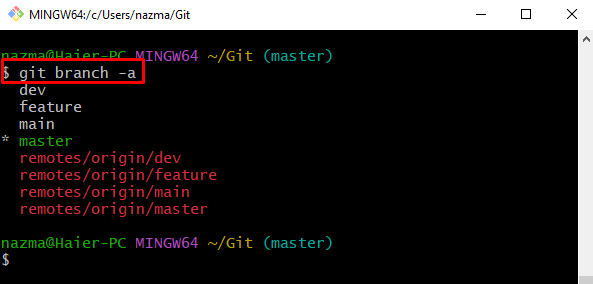
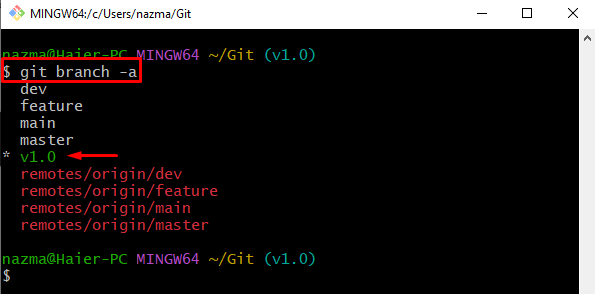
Step 2: View All Branches
Run the “git branch” command along with the “-a” option to display the list of all existing remote and local branches:
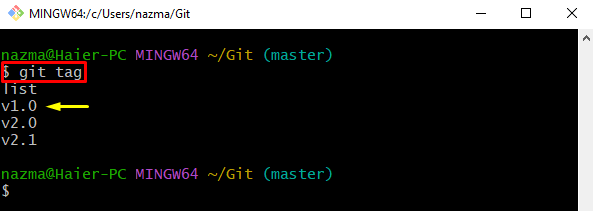
Step 3: Show All Existing Tags
Then, to view all existing tags, execute the “git tag” command:
As a result, the list of all tags will be displayed, and now choose one of your desired tags for creating a new branch, as we have selected the “v1.0” tag:
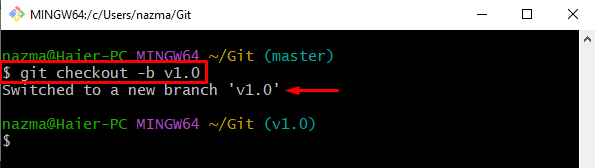
Step 4: Create New Branch
Now, create a new branch using the “git checkout” command along with the “-b” option and previously copied tag:
According to the below-listed output, the new branch from a tag is created, and we have switched to it successfully:
Step 5: Verify Created Branch
Lastly, check the list of all branches to verify the newly created local branch is present:
According to below-provided image, the created branch exists in the list, and the asterisk “*” symbol indicates that it is also a current working branch:
That’s it! We have described the easiest way of creating a new branch from a tag.
Conclusion
To create a new branch from the existing tag, first, go to the Git root directory and display the remote and local branches. Then, view all the tags and choose according to your need. After that, execute the “$ git checkout -b <tag>” command to generate a new branch. This post illustrated the method of creating a new branch from a tag.