
In this post, you will learn about:
- How to Use “git checkout –track branch origin/branch” Command?
- How to Use “git checkout -b branch origin/branch” Command?
How to Use “git checkout –track branch origin/branch” Command?
To use the “$ git checkout –track <branch>origin/<branch>” command, first, move to the Git local repository and check the list of existing remote and local branches. Then, execute the particular command.
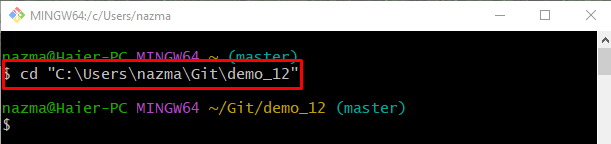
Step 1: Move to Git Directory
First, execute the “cd” command along with the Git local repository path and move to it:
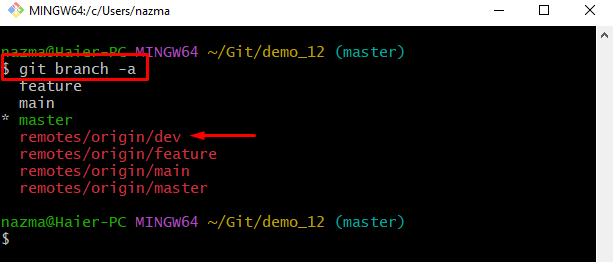
Step 2: View Existing Local and Remote Branches
To list the existing branches, utilize the “git branch” with the “-a” option to display both remote and local branches list:
It can be observed from the output that we have an “origin/dev” remote branch which is not tracked into the local repository:
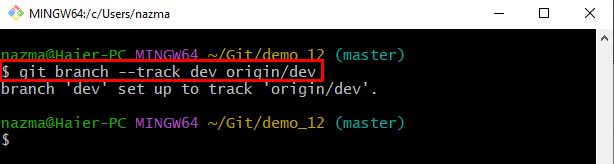
Step 3: Set Remote Branch as Local Tracking Branch
Now, run the “git branch” command along with the “–track” option to track a branch and specify the local and remote branch’s name:
The below output shows that the specified remote branch is set as tracking the local branch:
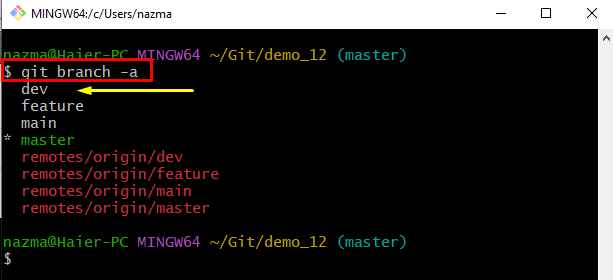
Step 4: Ensure Tracked Branch
Check if the newly added tracked branch exists as a local branch in the list by executing the “git branch” command with the “-a” option:
As you can see, the specified branch is present in the list:
How to Use “git checkout -b branch origin/branch” Command?
The “git checkout -b <branch>“ command creates and switches to a new branch. However, the “origin/<branch” along with the previously described command can be used to set the newly created local branch as a new tracking branch.
Follow the below-listed steps to understand the above-provided statement!
Step 1: Create, Set and Switch to New Tracking Branch
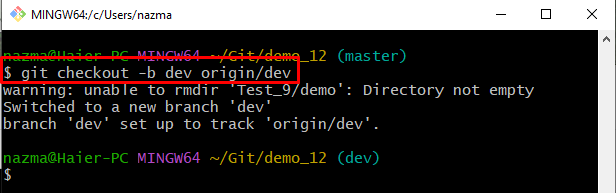
Execute the “git checkout” command with the “-b” option with desired branch name:
In the above-stated command:
- “-b” option is used to create a new branch.
- “git check” command is used to switch to a new branch.
- “dev” is the newly created branch name.
- “origin” is the remote name and “dev” is the remote branch name. Whereas the “origin/dev” sets the newly created branch as a remote-tracking branch.
Here, it can be seen that the new local branch is created and switched successfully, as well as it is settled as a new tracking branch:
Step 2: List Existing All Branches
Lastly, run the below-provided command and verify if the new branch is created and set as a new tracking branch:
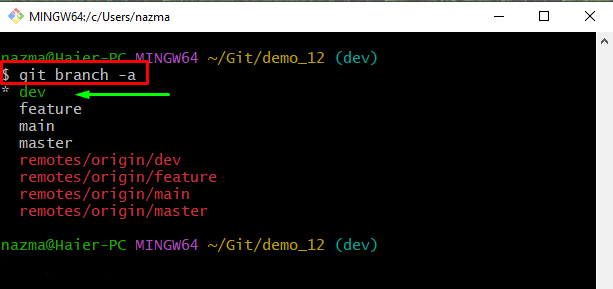
That’s all! We have explained the difference between the git checkout –track <branch>origin/<branch> and the git checkout -b <branch> origin/<branch> commands.
Conclusion
The “$ git checkout –track <branch>origin/<branch>” command is utilized when developers need to create and set a new local branch as a new remote-tracking branch without switching to it. However, the “$ git checkout -b <branch> origin/<branch>” command can be used to create, switch, and set as a new remote-tracking branch. This post provided a brief explanation of the git checkout –track <branch>origin/<branch> and the git checkout -b <branch> origin/<branch> commands.
About the author
Maria Naz
I hold a master's degree in computer science. I am passionate about my work, exploring new technologies, learning programming languages, and I love to share my knowledge with the world.