There are different scenarios for cloning remote repositories. For instance, only clone the current tracking branch content or all the extended references or any other case.
The outcomes from this blog are:
- Difference Between git clone –mirror and git clone Commands
- How to Clone Repository Using “$ git clone” Command?
- How to Clone Repository Using “$ git clone –mirror” Command?
Difference Between git clone –mirror and git clone Commands
The “$ git clone <remote-url>” command is used to clone the project files that are being tracked into Git or where developers perform the commands. In contrast, the “$ git clone –mirror <remote-url>” command will clone all the extended references on the mirror and overwrite the remote repository with the local branches (local references).
How to Clone Repository Using “$ git clone” Command?
To build a connection by cloning a Git remote repository using the “$ git clone” command, first, we will navigate to the Git local repository and execute the “$ git clone <remote-url>” command. Then, push the remote URL and download the updated remote repository.
Let’s move forward and implement the given scenario.
Step 1: Navigate to Git Repository
Use the “cd” command to move to the required local repository:
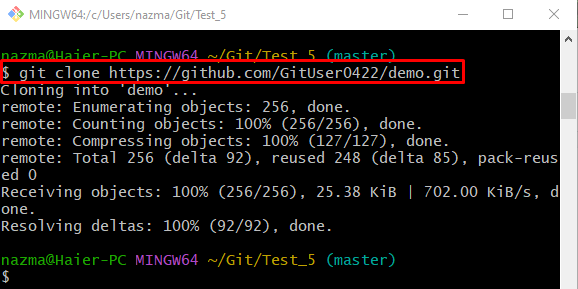
Step 2: Clone Repository
Now, run the provided command to connect the remote repository with the local repository:
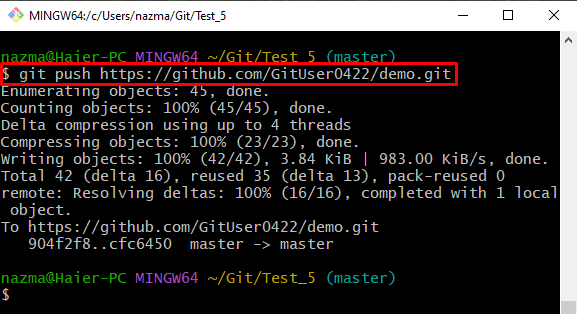
Step 3: Push Local Repository
To push the local repository content into the remote repository, run the “git push” command along with the remote URL:
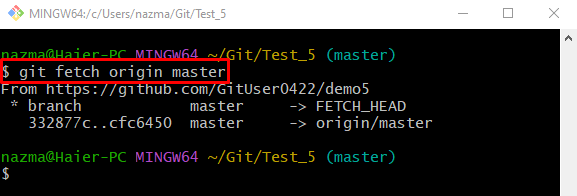
Step 4: Download Update Remote Repository
Lastly, download the updated version of the remote repository using the “git remote” command with the remote and local branch name:
According to the below-provided output, the specified remote branch is fetched successfully:
How to Clone Repository Using “$ git clone –mirror” Command?
When the developers want to clone the remote repository along with the targeted local branches, including remote branches, and set them up as a reference configuration, they can create a mirror copy with the help of the “–mirror” option in the git clone command.
Follow the instruction below to clone a Git remote repository with the “–mirror” option.
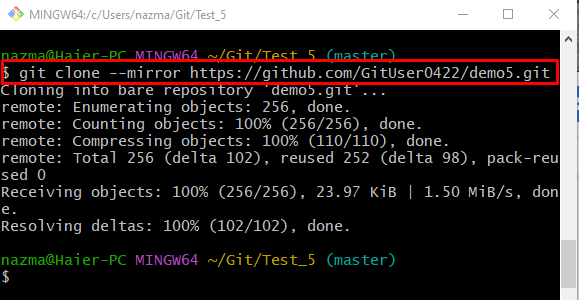
Step 1: Clone Remote Repository With “–mirror” Option
Run the “git clone” command to the local repository with the “–mirror” option:
As a result, all the extended references of the remote repository and the remote branches tracking configuration will be maintained:
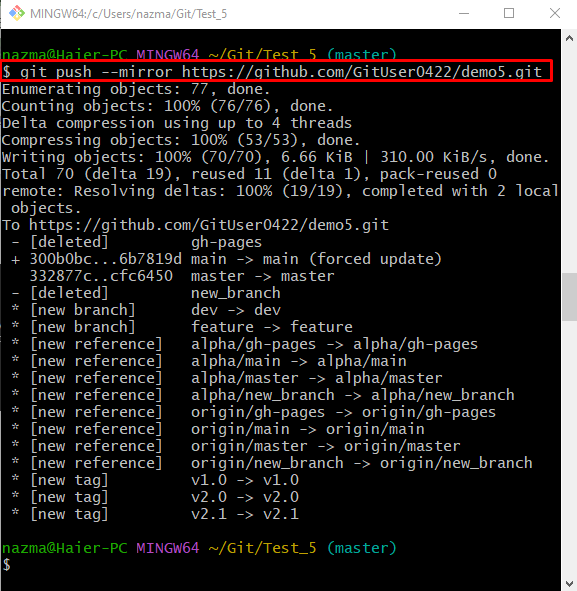
Step 2: Git Push With “–mirror” Option
Next, push all local changes into the remote repository through the provided command:
Step 3: Fetch Updated Remote Repository
Lastly, execute the git fetch“ command to update the local repository with the new version of the remote repository:
That’s all! We have explained the difference between the “git clone” and “git clone –mirror” commands.
Conclusion
If developers need to clone all the extended references on the mirror and overwrite the remote repository with the local branches (local references), the “$ git clone –mirror” command can be utilized. However, the “$ git clone” command is used to clone the development project files that are being tracked into Git or where developers perform the commands. This post demonstrated the difference between the “git clone” and “git clone –mirror” commands.


