This post will elaborate on:
- What is the Difference Between the “git rm –cached” and “git reset” Commands?
- How to Use the “git rm –cached” Command?
- How to Use the “git reset” Command?
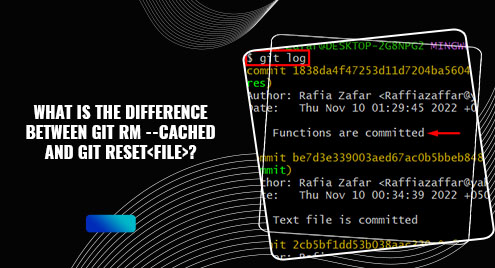
What is the Difference Between the “git rm –cached” and the “git reset” Commands?
Both “git reset <file>” and “git rm –cached” are used to remove the file from the staging environment. More specifically, the “git reset” command can undo changes, go back to a previous commit, and completely remove files from the working repository of Git. However, the “git rm –cached” command can remove a file from the local repository and move it back to the unstaging area.
How to Use the “git rm –cached” Command?
To “git rm –cached” is utilized to remove files from staging areas and from local repositories. We have listed down the methods for removing files from the staging area and the local repository.
- Method 1: Remove File From Staging Area Using “git rm –cached” Command
- Method 2: Remove File From Local Repository Using “git rm –cached” Command
Now, we will check out both methods individually!
Method 1: Remove File From Staging Area Using “git rm –cached” Command
To remove files from the staging area, follow the below-given steps.
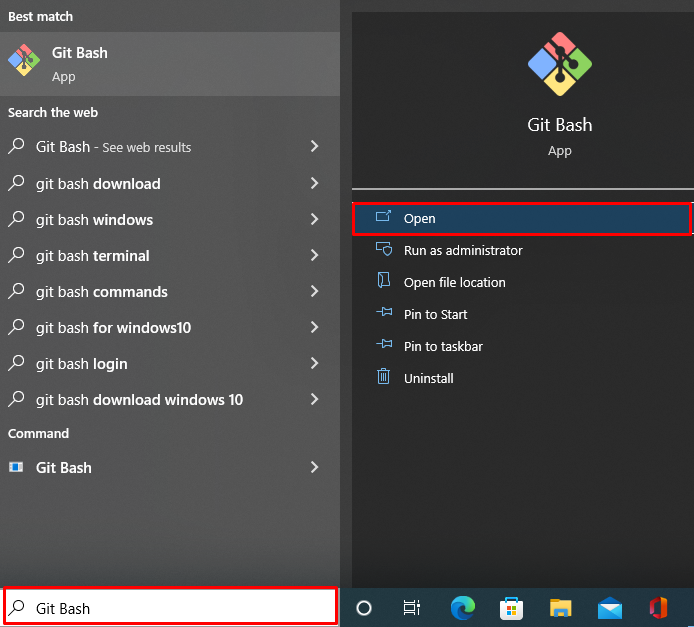
Step 1: Open Git Bash Terminal
From the Startup menu, launch the “Git Bash” terminal:
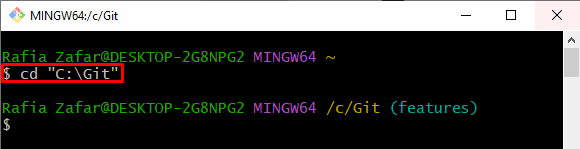
Step 2: Go to Git Repository
Go to the Git repository by utilizing the “cd” command:
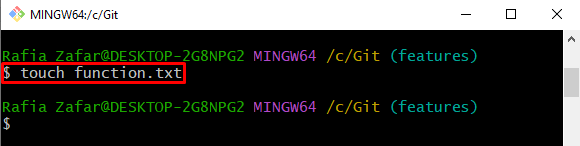
Step 3: Create a New File
Create a new file through the “touch” command. For instance, we have created “function.txt” file:
Step 4: Add File to Tracking Index
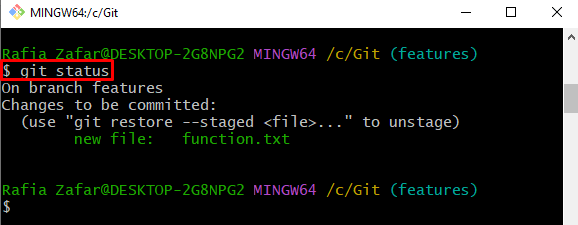
Add the file to the tracking index using the “git add” command:

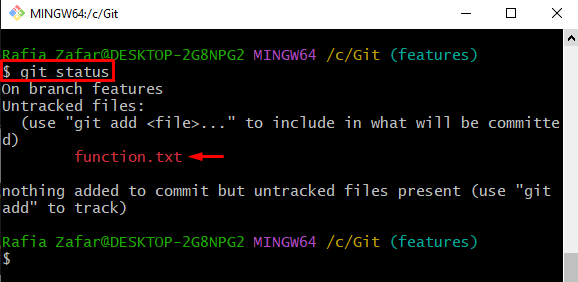
Check out the “git status” to verify whether the file is added to the tracking index or not:
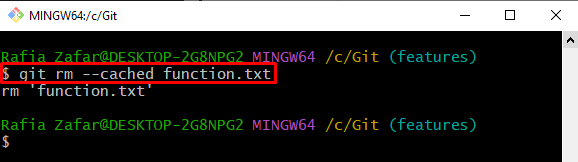
Step 5: Remove File From Staging Area
Next, utilize the “git rm –cached” command along with the file name to remove the file from the tracking index and move it back to the unstaged area:
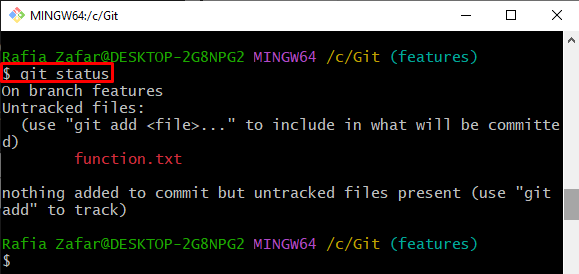
Again, execute the “git status” command to verify if the file is removed from the staging area or not:
Method 2: Remove File From Local Repository Using “git rm –cached” Command
To remove the committed file from the local repository, look at provided steps.
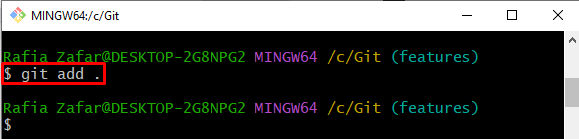
Step 1: Add File to Tracking Index
Add the untracked file to the tracking index (staging area) through the “git add .” command:
Step 2: Commit the Tracked File
Next, commit the tracked file to save it in the local repository using the “git commit” command:
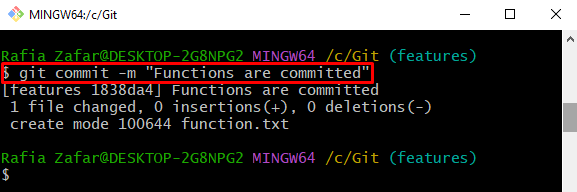
Step 3: Check Repository Log
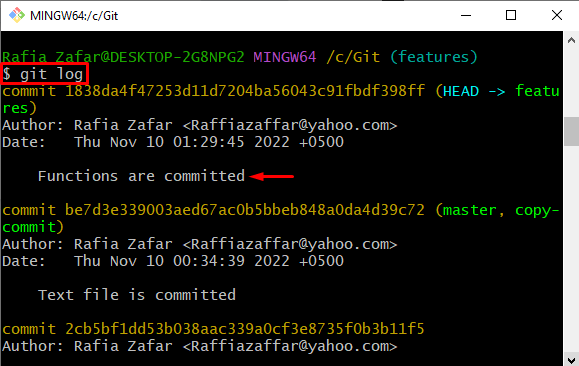
Check out the Git log to verify if the changes are saved to the local repository or not:
The below output shows that we have successfully saved the file in the local repository:

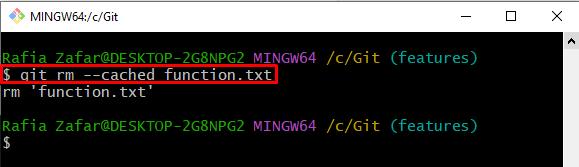
Step 4: Remove File From Local Repository
Lastly, remove the committed file from the local repository through the “git rm –cached” command:
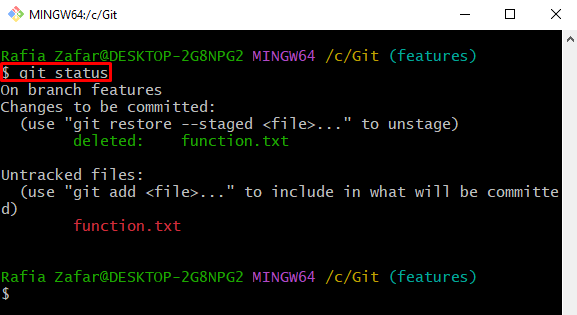
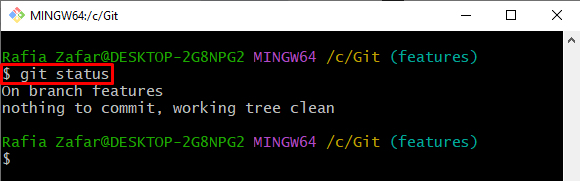
Now, check the Git repository state to verify if the file is removed from the local repository as well as the staging area:
It can be observed that we have successfully removed the file from the local repository:
Now, let’s check out the usage of the git reset command.
How to Use the “git reset” Command?
The fundamental use of the “git reset” command is to return to the previous commit and undo all changes without sending them back to the unstaging area.
Check out the below-listed methods to visualize the uses of the “git reset” command:
- Method 1: Remove File From Staging Area Using “git reset” Command
- Method 2: Revert Commit Changes Using “git reset” Command
Look at the given methods one by one!
Method 1: Remove File From Staging Area Using “git reset” Command
Take a look at the given procedure to use the “git reset” command for removing files from the staging area.
Step 1: Add Untracked File to Tracking Index
Add the untracked file to the tracking index (staging area) using the “git add” command:

Step 2: Remove File From Tracking Index
Remove the file from the tracking index (staging area) to the unstaging area using the “git reset <file-name>” command:
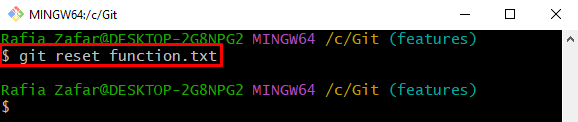
Check the git repository state to verify if the file is moved to the unstaging area or not:
The output shows that the file has been moved to the unstaging area:
Method 2: Revert Commit Changes Using “git reset” Command
To completely revert the commit changes from the local repository as well as from the Git working repository, utilize the below-mentioned instructions.
Step 1: Add File to Tracking Index
Firstly, add the file to the staging index using the “git add” command:

Step 2: Commit Changes
Commit the tracked changes and save them to the local repository through the “git commit” command:

Check the Git logs to verify if the tracked changes or committed or not:
Step 3: Revert the Committed Changes
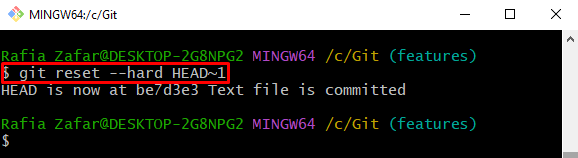
Now, the “git reset” command will completely delete the file from Git local and working repository:
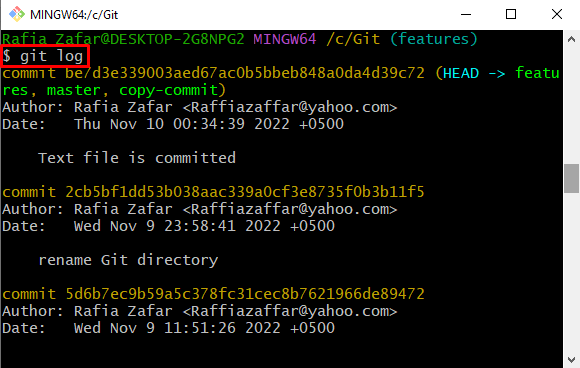
Verify if the changes are revered or not by viewing the Git log file:
Through the “git reset” command, you can see that we have successfully gone back to the previous commit:
Step 4: Check the Repository State
Lastly, verify that if the changes are removed from the Git working repository or not:
The below output indicates that the changes are successfully removed from the Git working repository:
We have demonstrated the difference between “git rm –cached” and the “git reset <file>” command.
Conclusion
The “git rm –cached” command and “git reset” command both are utilized for unstaging the files from the staging index. However, the “git rm –cached” command is used to remove the file from the local repository but revert it to the unstaging area. On the other hand, the “git reset” command can be utilized to revert changes from the Git local repository by saving them back to the unstaging area. This article demonstrates the difference between “git rm –cached” and “git reset” commands.