This blog will demonstrate how to revert a “git rm -r .” command.
How to Revert a “git rm -r .”?
The Git rm command can remove multiple files or a single file recursively. Check out the below-listed solution to revert a single file or the whole local repository:
So, let’s explore both solutions one by one!
Method 1: Revert “git rm -r .” for Specific File
To revert the single file that is deleted intentionally or accidentally through the “git rm” command, first, open the Git repository and list down all unstaged files or removed files using Git reset command. After that, utilize the Git “checkout” command to revert the file.
Check out the given procedure to revert the Git rm command.
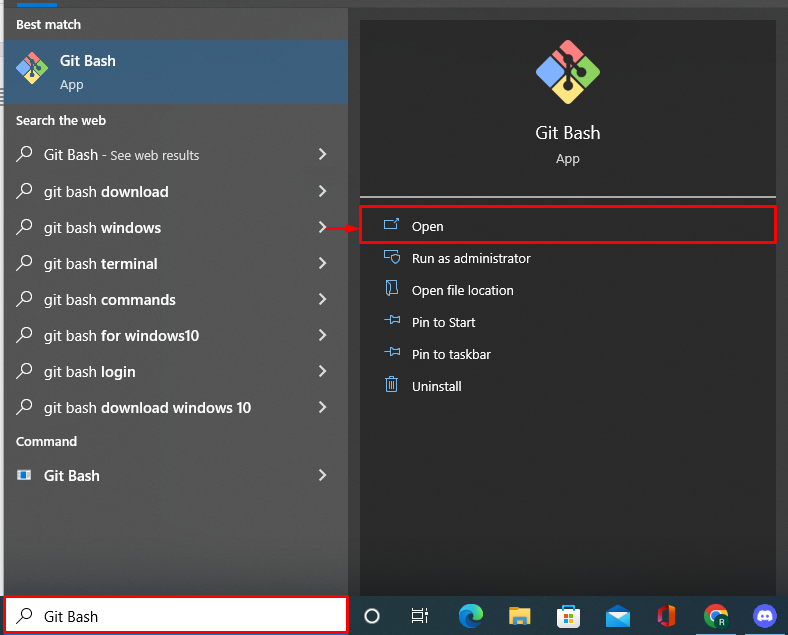
Step 1: Open Git Bash Terminal
First, launch the Git bash terminal from the Start menu:
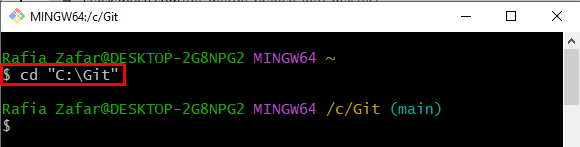
Step 2: Navigate to Git Local Repository
Next, open the local Git repository by utilizing the “cd” command:
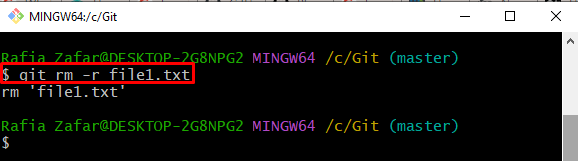
Step 3: Remove File
In order to remove the specific file from the repository, utilize the “git rm -r” command and also specify the file name:
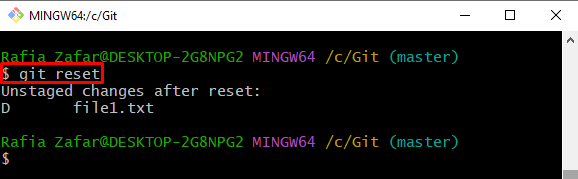
Step 4: Restore File
Now, execute the “git reset” command to view deleted files:
The recently removed file can be viewed in the output:
Now, execute the “git checkout” command also specify the file name you want to revert:
The below output “updated 1 path from the index” indicates that we have successfully reverted the deleted file:

Method 2: Revert “git rm -r .” for All Files
To revert to the previous version of the local repository and to restore repository content after executing the “git rm -r .” command, check out the below-provided procedure.
Step 1: Remove All Files Recursively From Repository
First, execute the below provided commands to remove all files from the Git repository recursively:
Here, you can see the above command removed all files from the Git repository:

Step 2: Revert “git rm -r” command
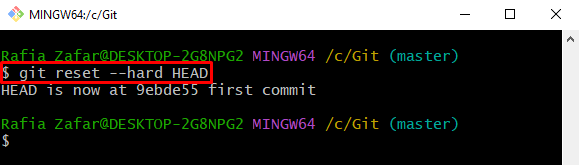
Now, revert the “git rm -r” command to restore all removed files to the repository and restore the Git repository to the previous version by utilizing the “git reset” command along with the “–hard” option:
The output shows that the HEAD pointer is reverted to the previous commit or changes:
Step 3: Check Git log
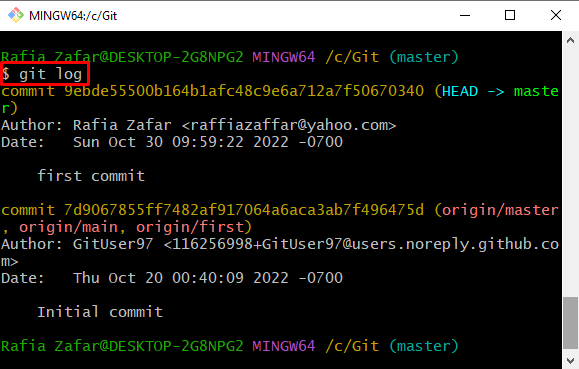
Check out the Git log using the following command to see if the Git repository changes were restored:
You can see, we have reverted the “git rm -r .” successfully:
We have elaborated on how to revert a “git rm -r .”.
Conclusion
To restore a specific file that was deleted due to the “git rm -r .” command, first, utilize the “$ git reset” command to list down all deleted or reset files, then use the “$ git checkout <Filename>” command to revert the deleted file. In order to revert all files and restore the repository to the previous version, utilize the “$ git reset –hard HEAD” command. This write-up has demonstrated how to revert a “git rm -r .”.