This article will demonstrate how to reset a file to a specific previous revision.
How to Reset a File to a Specific Revision?
To revert or reset the file to a specific revision, first, open the Git repository and utilize the “git reset HEAD~<revision>” command.
To revert or reset the file, follow the provided procedure.
Step 1: Open Git Bash Terminal
First, open the “Git Bash” terminal:
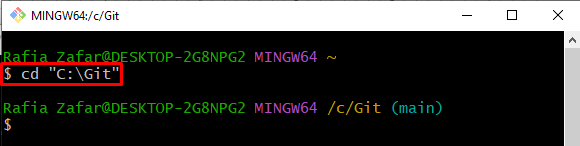
Step 2: Open Git Repository
Next, move to the local Git repository by utilizing the “cd” command:
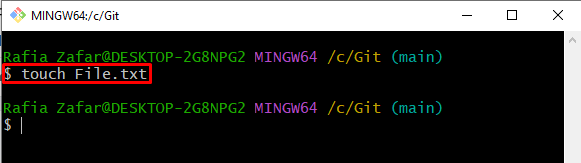
Step 3: Make New File
Make a new file through the “touch” command:
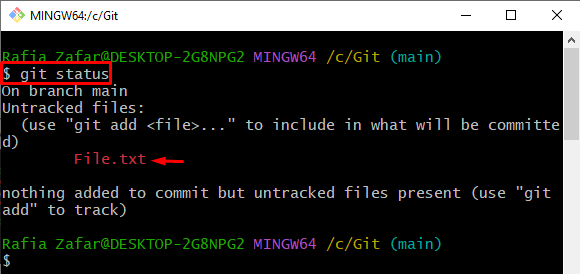
After that, check the repository state to verify whether the new file is created or not:
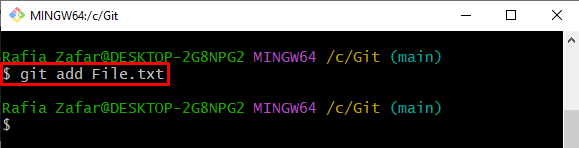
Step 4: Add File to Staging Environment
Utilize the provided command to enter an untracked file into the staging area:
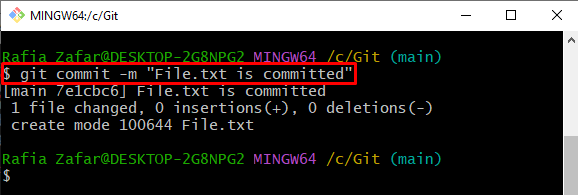
Step 5: Commit New File
Next, commit the new file to implement changes through the below command:
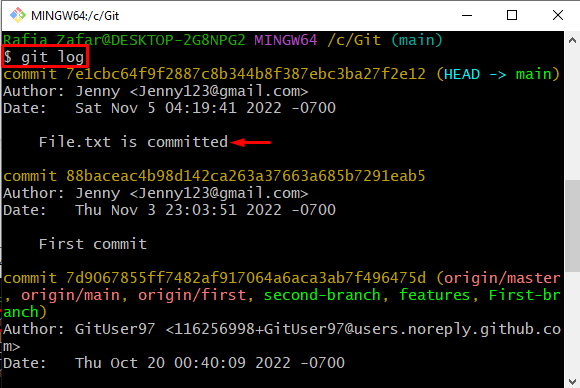
To verify whether the changes are committed or not, check out the repository log using the “git log” command:
Here, you can see the new file is committed successfully:
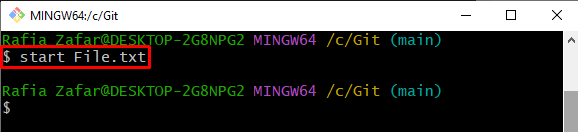
Step 6: Modify Committed File
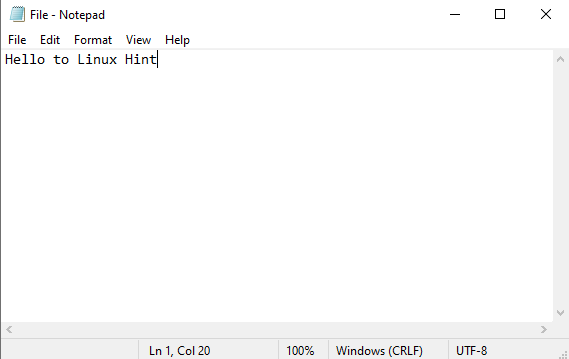
Open the file in the default Git editor by using the “start” command along with the file name:
Modify the file content and after that press the “Ctrl+S” keys to save changes:
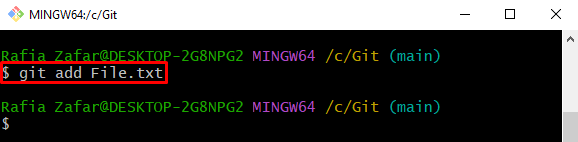
Step 7: Add Modified File to Staging Area
Again, utilize the “git add” command to add changes to the staging area and make them ready for commit:
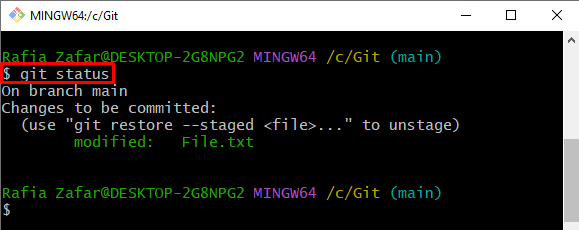
View the repository state and verify if the modified file is added to the staging area or not:
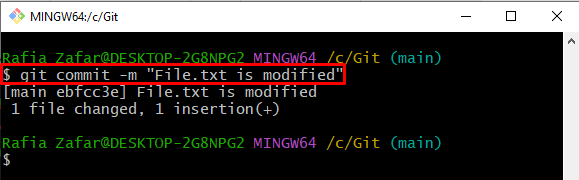
Step 8: Commit Modified File
To commit changes to the local repository, run the provided command:
Again, check the Git repository logs to verify if the modified changes or committed or not:

Step 9: Reset a File to Previous Revision
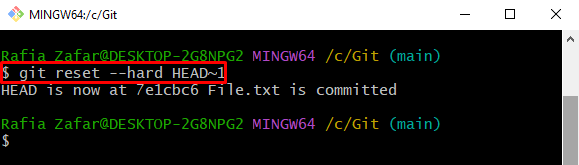
Next, reset the file to the previous version to undo the modification using the “git reset” command. The value along with “HEAD” specified the file revision:
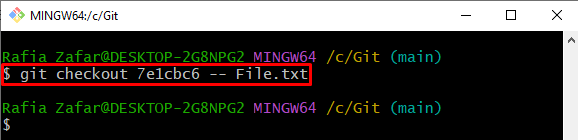
Alternatively, Git users can revert the file to a specific revision by using the “git checkout” command and specifying the commit id along with the file path:
Again, start the file to the default selected editor to verify whether the file is reverted to a specific revision or not:
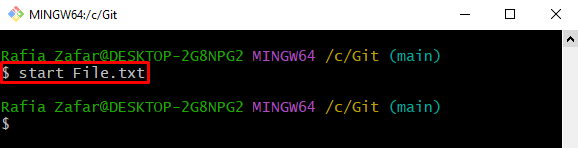
The following output indicates that the file was successfully reverted:

We have taught you how to reset a file to a specific revision.
Conclusion
To revert or reset the file to a specific revision, first, open the Git local repository. Next, modify the file content and commit that file to implement changes. In order to revert the file into a specific revision, utilize the “git reset –hard HEAD~<revision>” command or “git checkout <commit/revision id> –<Filename or Path>” command. We have demonstrated how to reset files to a specific revision.