This blog will describe:
- How to Name a Git stash by Name?
- How to Retrieve the Git stash Using Name?
- Bonus Tip: How to Retrieve the Git stash by Index?
So, let’s begin!
How to Name a Git stash by Name?
Git stash allows users to switch repositories or branches easily by saving the repository’s current work and repository working index in the stash file. To store the Git stash by name, utilize the “git stash push -m” command.
Check out the below-mentioned steps to name the Git stash.
Step 1: Launch Git Bash Terminal
From the Start menu, first, launch the Git Bash terminal:
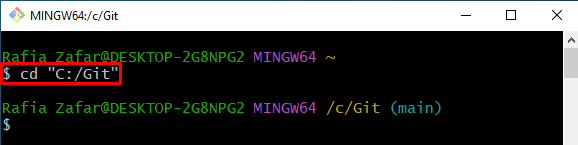
Step 2: Open the Git Repository
Next, move to Git local repository through the “cd” command:
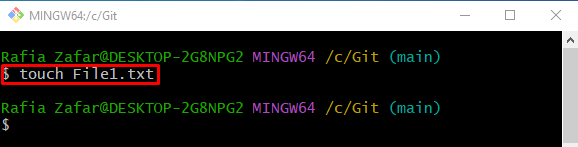
Step 3: Make a New File
For making a new file in the Git working repository, use the “touch” command:
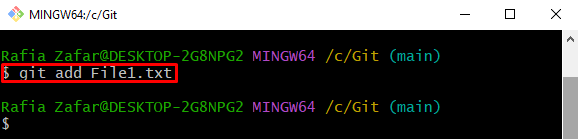
Step 4: Add File to Staging Area
Next, add the file to the staging area with the help of the “git add” command:
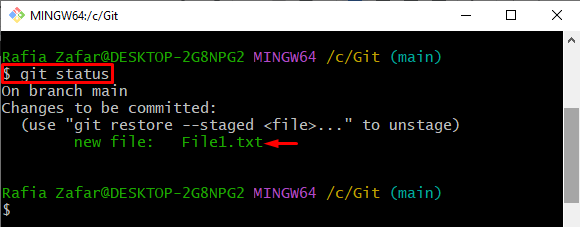
After adding the file, check out the state of the Git working repository:
The output shows that the file is successfully added to the staging or indexing environment:
Step 5: Store stash by Name
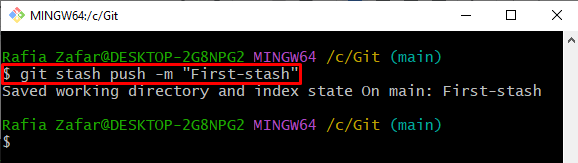
After that, utilize the “git stash push” command along with the “-m” option that will embed the stash name or message:
Step 6: Verify stash is Saved by Name
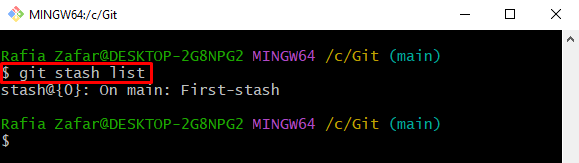
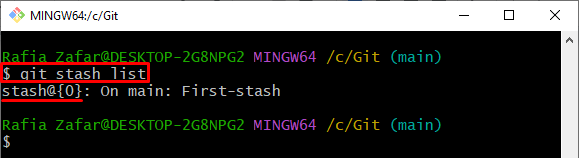
To verify whether the stash is saved by name or not, utilize the “git stash list” command:
It can be observed that the stash is successfully saved by the “First-stash” name:
How to Retrieve the Git stash Using Name?
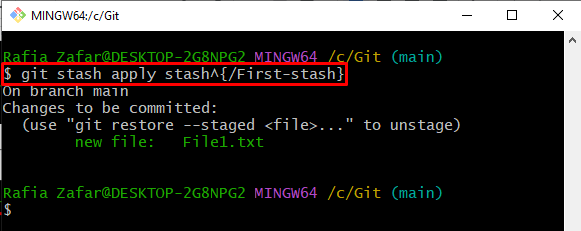
To access the Git stash, users can utilize the “git stash apply” or “git stash pop” command. To retrieve the stash by name, check out the mentioned command:
The below output shows that we have successfully retrieved the Git stash by name:
Bonus Tip: How to Retrieve the Git stash by Index?
The Git stash can be retrieved by different commands and methods. Some users also preferred to retrieve stash by indexes.
To access the stash using the index number, follow the mentioned steps.
Step 1: List Down All Stash
To list down all stashes, utilize the “git stash list” command:
Check out the stash number from the given output:
Step 2: Retrieve Stash by Index
Next, access the required stash by specifying its index in the “git stash apply” command:
It can be seen that we have successfully accessed the stash by utilizing its index number:

We have demonstrated how to name and retrieve a Git stash by name.
Conclusion
To name and retrieve a Git stash by name, first, open the Git local repository through the Git Bash terminal. Next, make a new file and add it to the staging area. Then, run the Git stage command “$ git stash push -m <“Stash Name”>” to store stash by name. This write-up demonstrated the method to name and retrieve a stash in Git by name: