Git is a well-known DevOps project management tool that manages different versions of projects and their source code. Git users can work with both remote and local repositories. More specifically, the local repository exists on the local machine. However, the remote repository is maintained on the server. The Git users can also access and add a remote repository in Git local repository.
This blog will illustrate a method for connecting to a remote repository.
Connect to a Remote Git Repository
To connect to a remote Git repository, first, open the Git repository, then utilize the “git remote add” command and specify the remote repository URL.
Follow the below-provided procedure to add a Git remote repository to Git local repository.
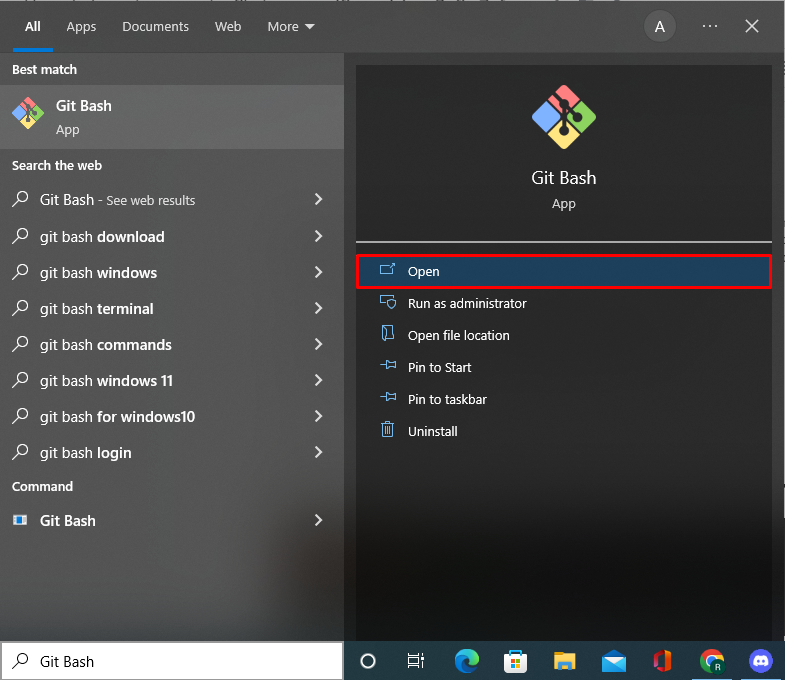
Step 1: Launch Git Bash Terminal
First, launch the Git Bash terminal from the “Startup” menu:
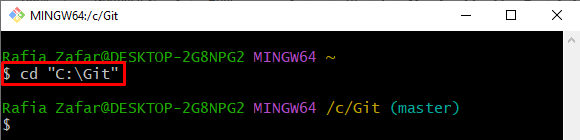
Step 2: Move to Git Repository
Next, move to the local Git repository by utilizing the “cd” command:
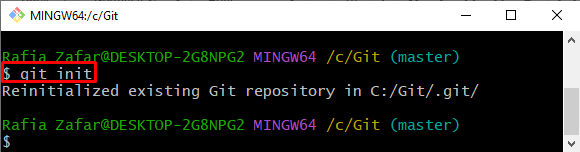
Step 3: Initialize Git Repository
Initialize the Git repository through the “git init” command:
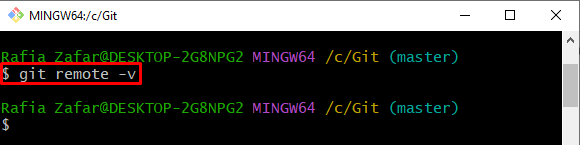
Step 4: Check Remote Repository Connection
To check if any remote repository is connected to the Git local repository, follow the below-provided command. Here, the “-v” option is utilized to view the remote connections:
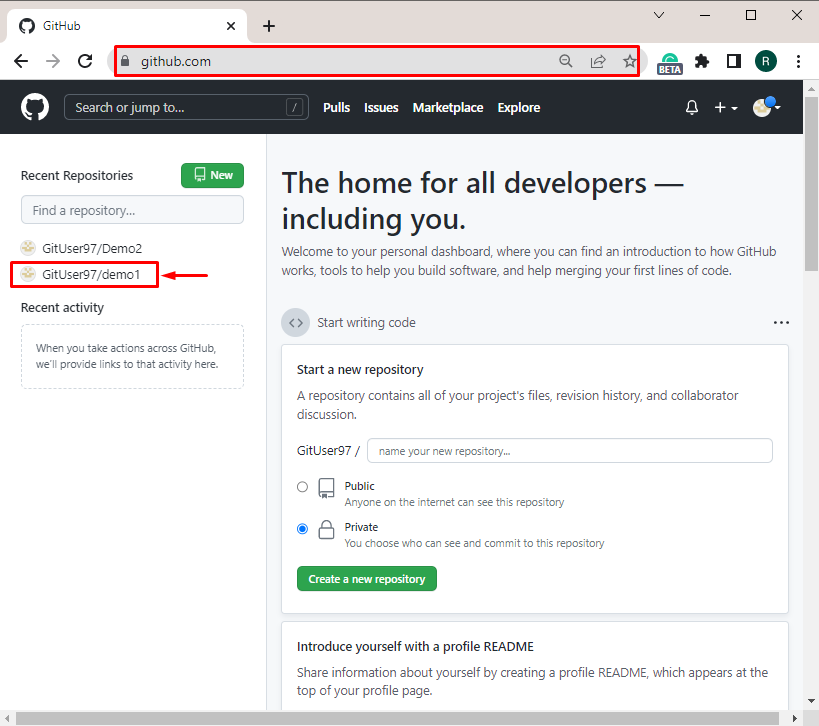
Step 5: Open GitHub
Next, open the GitHub official website and click on the repository you want to add to the local repository:
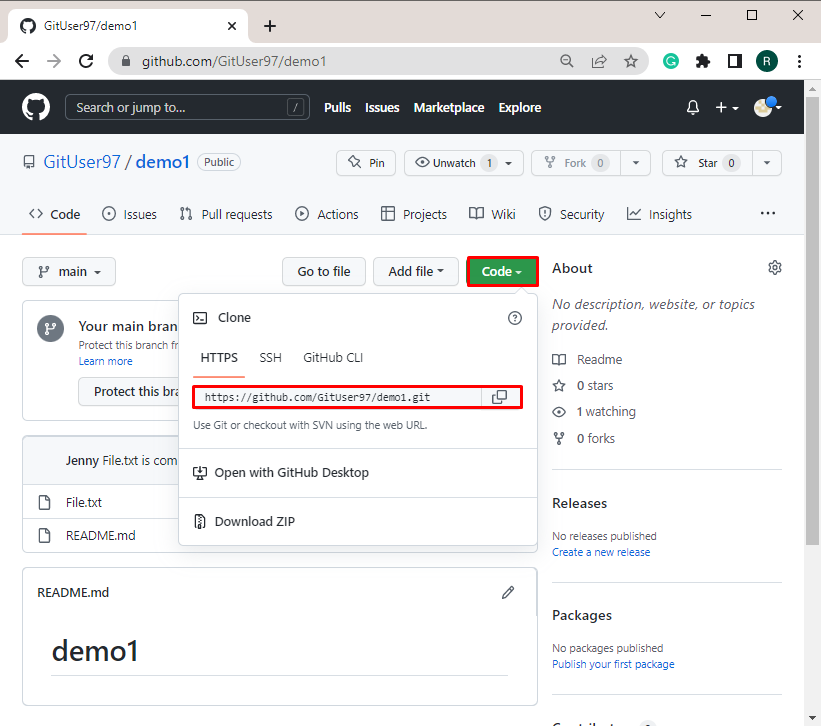
From the “Code” menu, hit the drop-down button, and copy the highlighted URL:
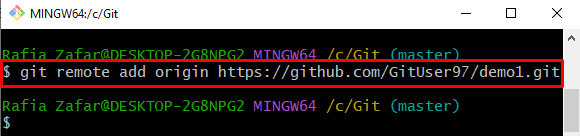
Step 6: Add Remote Git Repository
Next, execute the “git remote add <name> <URL>” command. Replace the name with the remote repository name and paste the copied URL here:
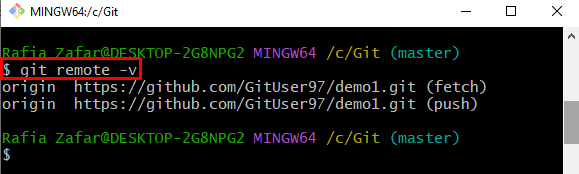
Again, check if the remote repository is added to Git local repository or not using the mentioned command:
Here, you can see we have successfully added the remote repository:
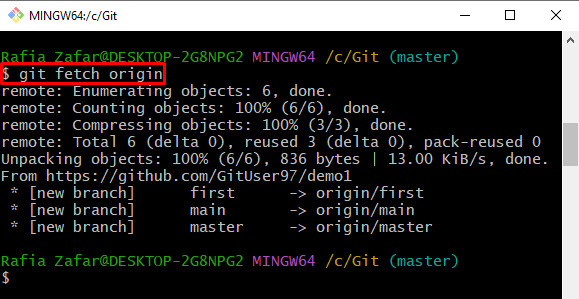
Step 7: Fetch Remote Repository
Next, fetch the copy of the remote repository through the “git fetch <repository name>” command:
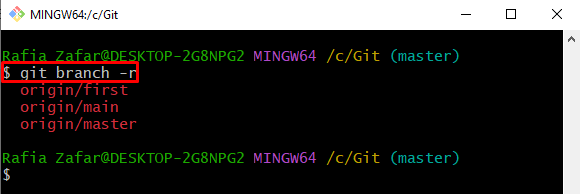
Step 8: View Remote Branches in Local Repository
To view the all-remote branches in Git local repository, utilize the “git branch” command along with the “-r” option:
Here you go! You have learned the method for connecting a remote Git repository.
Conclusion
To connect to a remote Git repository, first, visit the Git local repository. Next, open the Github website and copy the remote repository URL. Then, in the Git terminal, execute the “git remote add <remote name> <Remote URL>” command. After that, fetch the remote repository copy by utilizing the “git fetch <remote name>” command. This write-up has taught you the method for connecting a remote Git repository.