
This guide will talk about:
Let’s start!
What is Git Fast-forwarding?
In Git’s fast-forwarding operation, the source branch pointer is moved to the desired branch pointer without creating an extra merge commit.
How to Perform Fast-forwarding Operation?
To perform a Git fast-forwarding, first, navigate to the Git directory and initialize the Git local repository. Create and modify the file. Then, update the repository by committing. Again, modify the file and commit the added changes. Next, create a new local branch and switch to it. After that, update the previously created file into the new branch. Lastly, execute the “$ git merge <branch-name>” command to perform the fast-forwarding operation.
Now, it’s time to perform the fast-forwarding operation!
Step 1: Navigate to Git Local Repository
To move to the desired local repository, run the “cd” command:

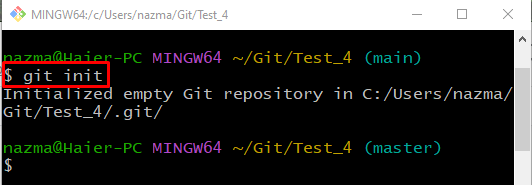
Step 2: Initialize Repository
Initialize the Git local repository by executing the “git init” command:
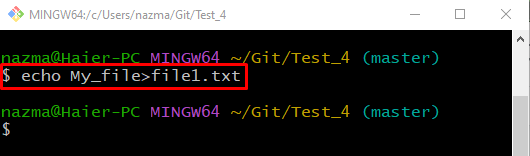
Step 3: Create or Modify File
To create or modify update a file, use the following command:
Step 4: Track file
Run the “git add .” command to track a newly created file:

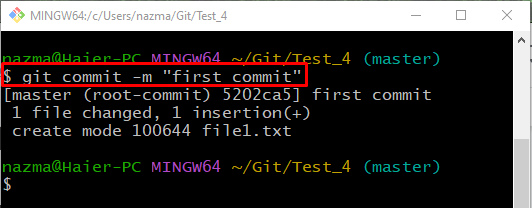
Step 5: Update Repository
Run the “git commit” command with the “-m” option to update the repository and add the commit message:
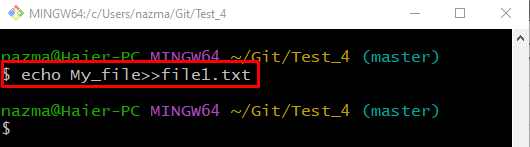
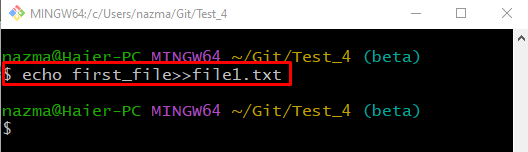
Step 6: Modify File
Update the previously created file using the “echo” command:
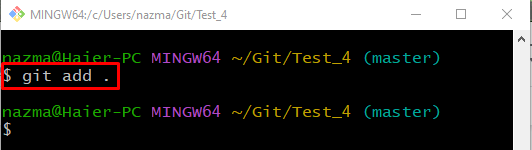
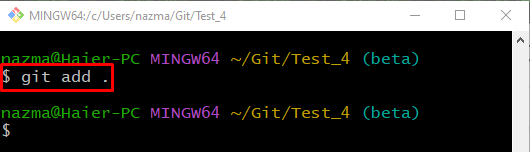
Step 7: Add File
Execute the “git add .” command to add the changes to the Git staging area:
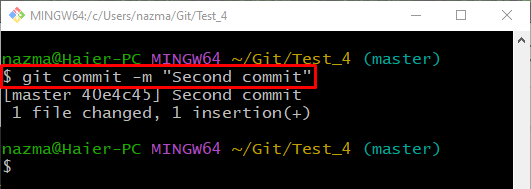
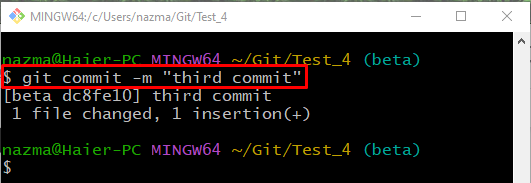
Step 8: Commit Changes
Next, commit all the added changes to the repository by executing the “git commit” command:
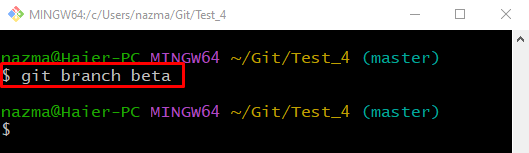
Step 9: Create Local Branch
Now, run the “git branch” command to create a new local branch:
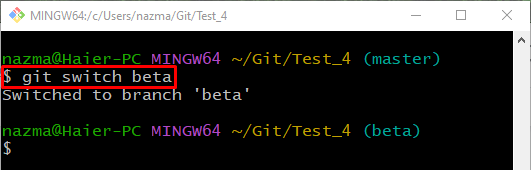
Step 10: Switch Local Branch
Now, switch to the newly created branch by utilizing the following command:
Step 11: Update File
Run the “echo” command to update the file of another branch in the current branch:
Step 12: Track File
To track all added changes to the staging area, execute the “git add .” command:
Step 13: Update Repository
Now, update the local repository with the newly added changes:
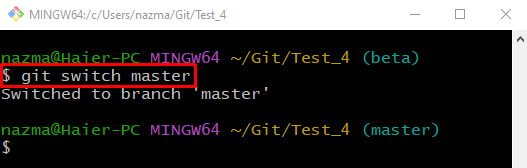
Step 14: Switch to Previous Branch
Run the “git switch” command to switch back to the previous local branch:
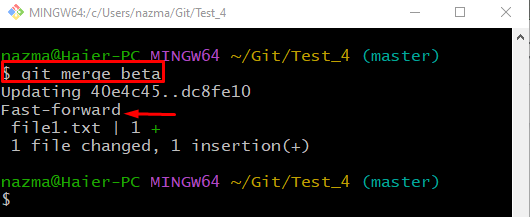
Step 15: Merge Branch
Lastly, execute the “git merge” command to merge the previous branch with the current branch:
As you can see, the source branch pointer is moved to the specified branch pointer without creating an extra merge commit:
We have offered the method to perform Git fast-forwarding.
Conclusion
To perform a Git fast-forwarding, first, navigate to the Git directory and initialize the Git local repository. Create and modify the file. Then, update the repository by committing. Again, modify the file, commit the added changes to the repository, and update it. Next, create a new local branch and switch to it. After that, update the previously created file into the new branch. Lastly, execute the “$ git merge <branch-name>” command to perform the fast-forwarding operation. This study explained the method to perform Git fast-forwarding.