
Usually, developers test different files and features on the project, and sometimes, the user does not want to add them to the project repository and wants to revert them to the unstaging area.
This post will provide methods to revert stage files to the unstage area:
- Method 1: Revert Stage Files Using Reset Command in Git
- Method 2: Revert Stage Files Using Restore Command in Git
So, let’s start!
Method 1: Revert Stage Files Using Reset Command in Git
To revert the stage files in Git, users can use the Git reset command. For this purpose, check out the below-given procedure to revert stage files.
Step 1: Open Git Bash
First, launch the Git Bash terminal from the Start menu:
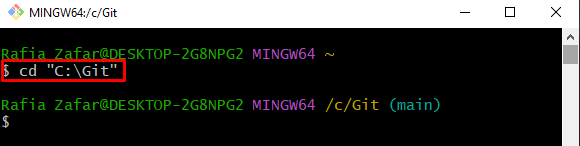
Step 2: Go to Git Repository
Next, open the Git working repository using the “cd” command:
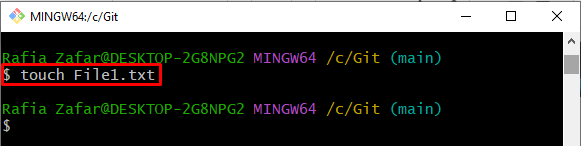
Step 3: Make New File
Make a new file in the Git repository as we will create “File1.txt”:
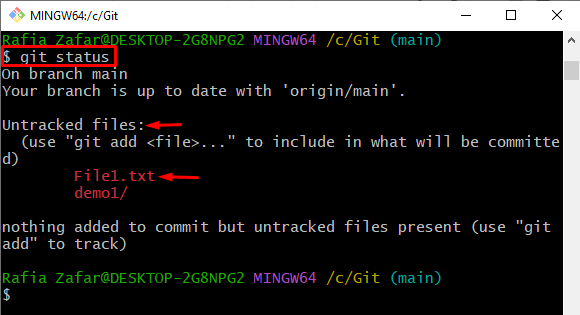
Check the file status to verify whether the file is created or not:
It can be observed that the file is created successfully, but it has not yet been tracked and is shown under untracked files:
Step 4: Add File to Staging Area
Next, add the file to a staging area using the provided command:
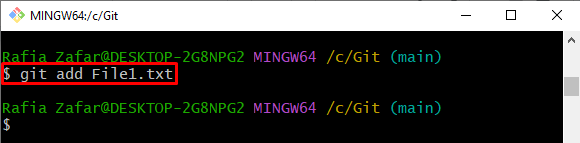
Again, check the file status:
Here, you can see the file is now added in the staging area and is ready to commit:

Step 5: Revert Stage File to Unstage Area
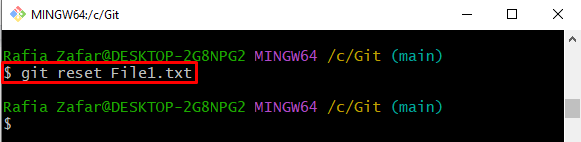
Revert the stage file to the unstage area using the git reset command:
Step 6: Check File Status
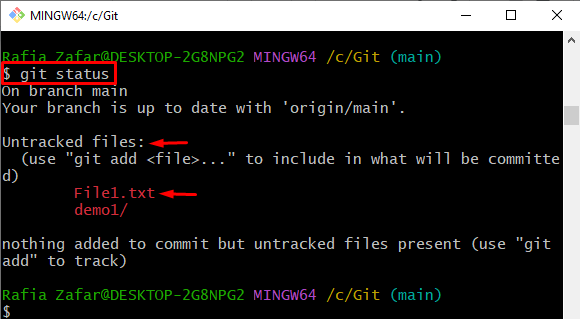
Verify whether the file is reverted from the staging area:
Here you can see we have successfully reverted stage “File1.txt” to the unstage environment:
Method 2: Revert Stage Files Using Restore Command in Git
To revert the stage file to an unstage area with the help of the git restore command, check out the procedure.
Step 1: Add File to Stage Environment
Utilize the “git add” command and specify the file which needs to be added in the stage area:
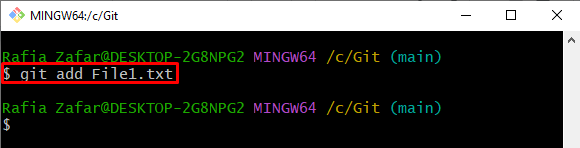
Now, move to the next step to verify whether the file is added to the stage area or not.
Step 2: Check File Status
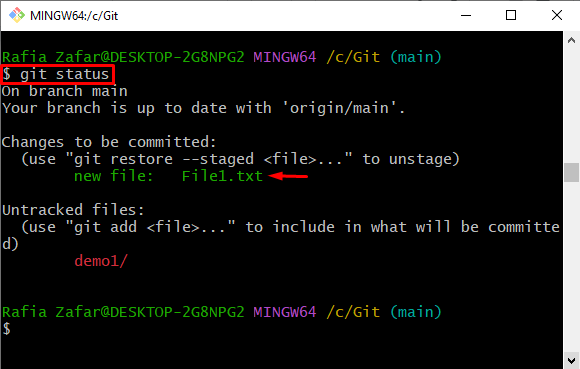
Check out the file status to verify if the file is added to the stage or not:
It can be observed that the specified file is ready to commit:
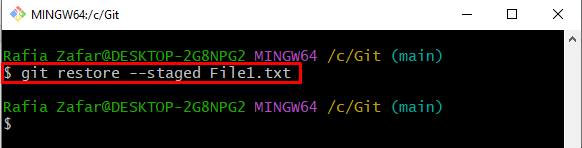
Step 3: Revert File to Unstage Area
To revert the staged file to the unstage area, run the “git restore” command along with the “–staged” option as follows:
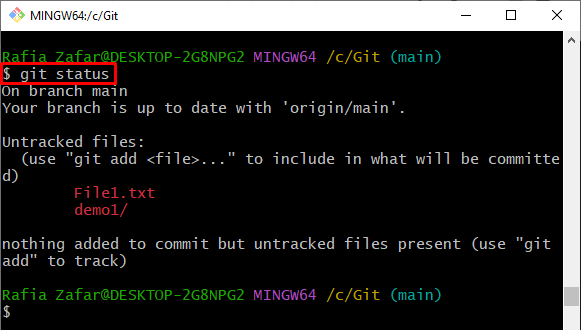
Again, execute the “git status” command to verify whether the file is reverted to the unstage environment or not:
The below output shows that the file is reverted to the unstaged area:
We have taught you how to revert the stage files in Git.
Conclusion
To revert the stage files in Git, first, open the Git working repository and check the file status to verify if any file exists in the staging area or not. Then, utilize the “$ git reset <Filename>” command to revert the file to the unstaging area. Alternatively, you can use the “$ git restore –staged <Filename>” command. This post has taught you how to revert stage files in Git.