This blog will illustrate how to remove the Git repository.
How to Remove Git Remote?
A remote repository is often known as a remote in Git. The developer attaches the remote repository clone to the local repository to access the remote from the local machine.
Check out the below-provided steps to remove the Git Remote.
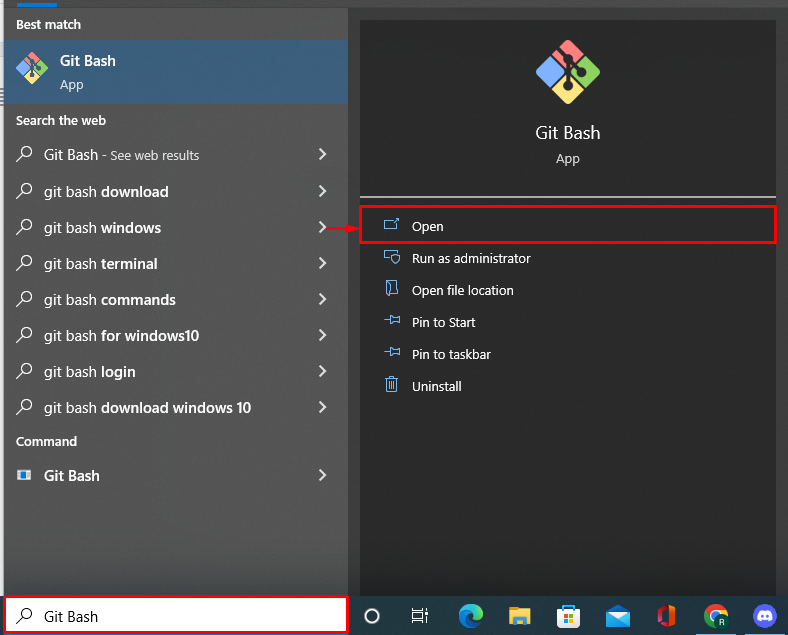
Step 1: Open Git Bash Terminal
First, open the Git terminal from the Start menu:
Step 2: Navigate to Git Local Repository
Next, move to the local repository by utilizing the “cd” command:
Step 3: Initialize Git Repository
Initialize the Git working repository using the “git init” command:
Step 4: Check Remote is Attached
Check out if any remote repository is attached to Git local repository or not using the provided command:
Here, you can see the “Origin” remote is currently attached to Git local repository:
Step 5: Remove Remote
To remove the remote repository, utilize the “git remote remove” command and also provide the remote name which you want to remove:
Again, verify whether the remote repository is removed or not using the “git remote -v” command:
The below output shows that we have successfully removed the Git remote:
We have illustrated how to remove a Git remote.
Conclusion
To remove the Git remote, first, open the Git bash terminal. Move to the Git local repository and execute the “$ git remote -v” command to check if any remote repository is attached or not. Next, execute the “$ git remote remove <Repository Name>” command to remove the remote from the Git local repository. This post has demonstrated how to remove the Git remote.


