Git is a popular DevOps tool frequently used for managing and testing the source code of various projects from small to large scale. The source code files are classified into two categories: Staging files and Unstaging files. More specifically, Unstaging files are untracked files that have not been added to the repository’s tracking index, whereas staging files are tracked files.
This write-up will illustrate how to unstage the Git files.
How to Unstage Files in Git?
Sometimes developers want to revert the committed changes and try to restore the previous version of the project. For this purpose, it is required to unstaged stages files and committed files.
To unstaged the staged or committed files, we have provided the methods listed below:
How to Unstage Stage Files?
To unstage a staged file, utilize the Git “restore” command. To do so, we have listed down a procedure that is effective enough.
Step 1: Open Git Bash Terminal
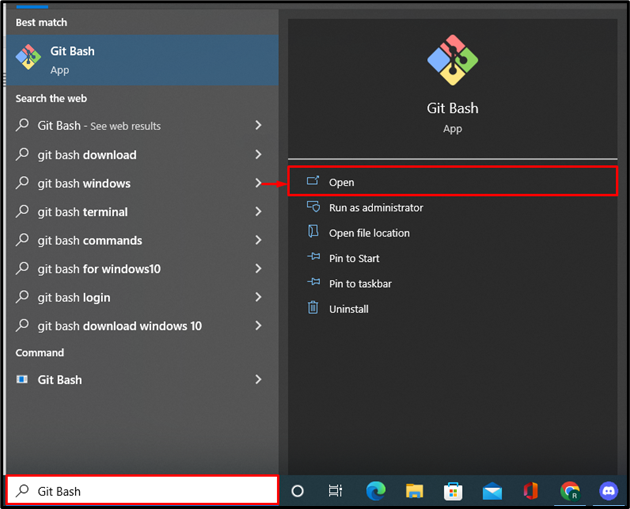
From the Window Start menu, launch the Git Bash terminal:
Step 2: Change Working Repository
Next, change the Git local repository through the “cd” command:
Step 3: Create New File
Create a new file with the help of the “touch” command and specify the file name:
Step 4: Add File to Staging Area
Next, add the newly created file in the Staging area by utilizing the “git add” command:
Let’s move to the next step.
Step 5: Check File Status
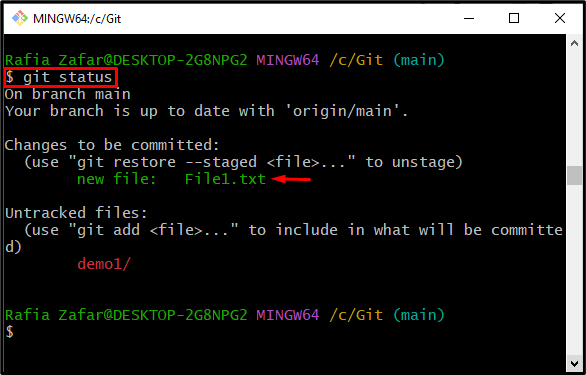
Check the file status to verify whether the file is added in the staged area or not:
You can see the file is now in the staged area:
Step 6: Unstage the Staged File
Now, move the staged file into the unstage area by utilizing the “git restore” command:
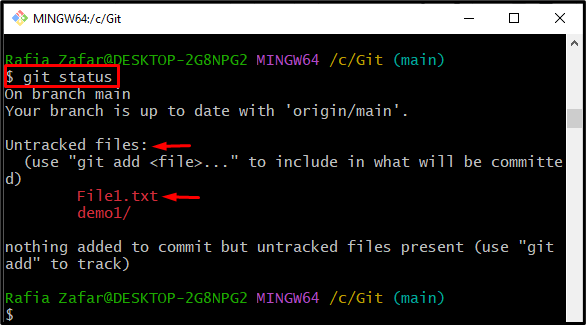
Verify whether the file is unstaged or not through the “git status” command:
The below output shows that we have successfully unstaged file in Git:
How to Unstage Committed Files?
To unstage the committed file in the Git repository, follow the below provided instructions.
Step 1: Add Files in Staging Area
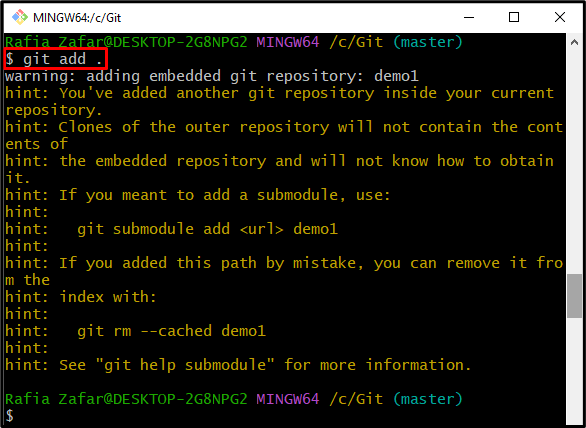
First, add untracked files in the staging area using the provided command. Here, the “.” sign will stage all files and directories in the unstaged area:
Step 2: Check File Status
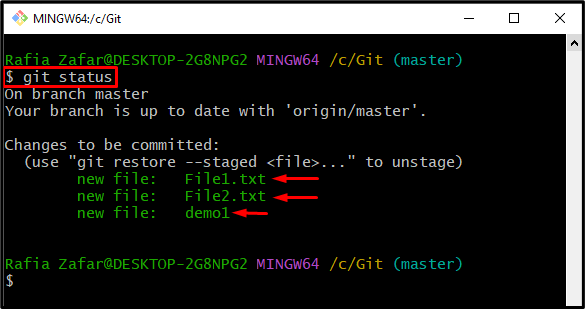
Check the repository status using provided command:
Here you can see we have added File1.txt, File2.txt, and a directory demo1 in the staging environment:
Step 3: Commit the Staged Files
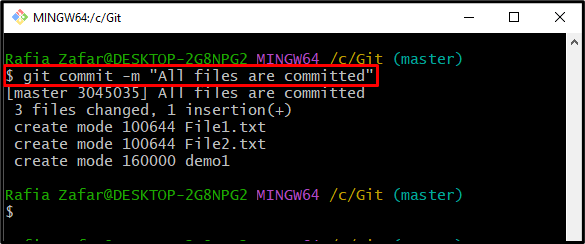
Commit the staged files using the “git commit” command along with the “-m” flag to add a message:
Step 4: Check Log
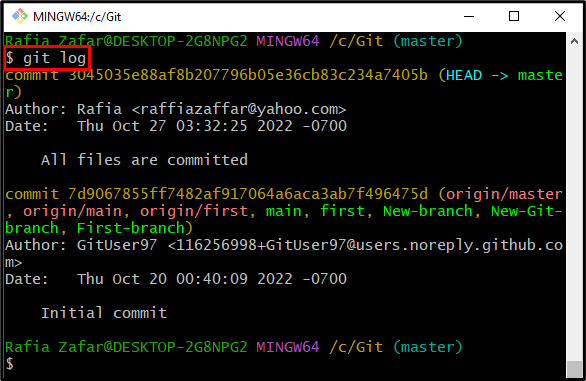
Print out the Git log to see committed changes:
The below output shows that staged files and directory are committed:
Step 5: Unstage Committed File
To unstage the committed file, utilize the “git rm –cached <Filename>” command as it removes the specified file from the Git cache:
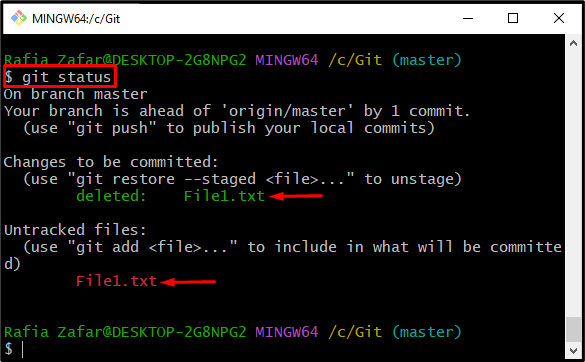
To verify whether the committed file is unstaged or not, execute the “git status” command:
Here, you can see, the file is deleted and added to the unstaged area:
We have learned how to unstage files in Git.
Conclusion
Users can unstaged the staging files and committed files. To unstage the staged files, first, open the Git repository and utilize the “git restore –staged <Filename>” command. To unstage the committed files, utilize the “git rm –cached <Filename>” command on the Git bash terminal. In this write-up, we have illustrated how to unstage files in Git.

