This write-up will illustrate the method to merge a Git branch into Master safely. So, let’s start!
How to Merge a Git Branch into a Master?
The master or main branch is the default branch of Git. However, users can create new branches and utilize them. To merge a Git branch safely, you can utilize the “$ git branch merge <branch-name>” command. For this purpose, check out the provided procedure.
Step 1: Launch Git Terminal
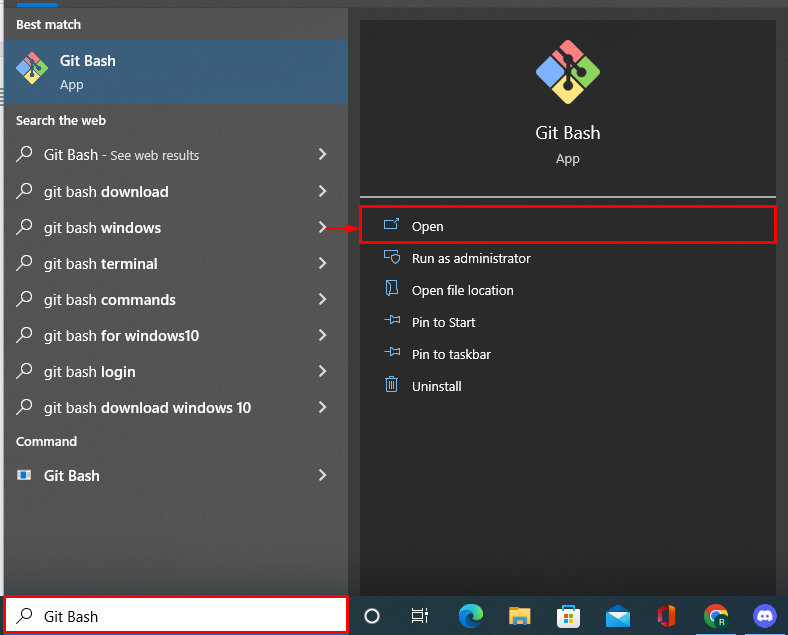
From the Start menu, launch the Git Bash terminal:

Step 2: Open Git Local Repository
Next, navigate to the Git local repository using the “cd” command:
Step 3: Initialize Git repository
Initialize the Git repository through the provided command:
Step 4: List Down Git Branches
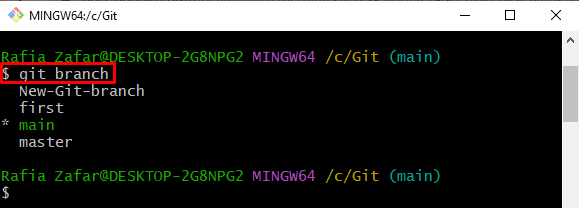
List down all local repository Git branches by utilizing the “git branch” command:
It can be seen that currently we are using the “main” branch, and we have a master branch that is next to the main branch in the given list:
Step 5: Switch to Master
From the main branch, switch to the master branch through the given command:
The below output indicates that we have switched to the Git master branch:
Step 6: Make a New Branch
After that, create a new branch that you need to merge later:
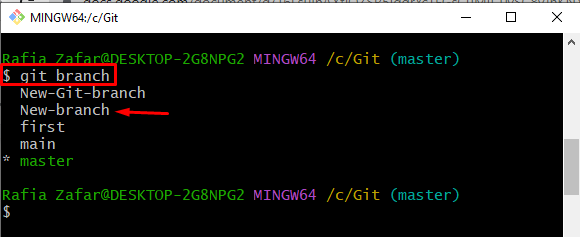
To verify whether the branch is created or not, again list down the local branches:
From the below output, you can see we have created a “New-branch” successfully:
Step 7: Merge Branch
Lastly, merge the newly created branch into the master branch:
We got the “Already up to date” message as we have already merged the required branch:
Note: To merge any branch into the master branch, you need to switch to the master branch.
Conclusion
To merge the Git branch safely into the master branch, first, open the Git repository and initialize it. Next, switch to the master branch through the “$ git checkout master” command. Then, create a new branch and merge it to the master branch using “$ git merge <branch name>”. In this blog, we have illustrated how to merge a Git branch safely into a master branch.


