Create Redshift Schema
First of all, let’s understand the basic concept of schema and how you can create it in your Redshift database. When a database gets created in Redshift, there is, by default, only one schema in it, but you can create more of them if you want to group your database tables and objects in different sections. This can also be helpful if you are trying to create a similar replica of your database tables and functions with the same naming convention. To create a new schema, you need to run the following query inside your Redshift cluster.
AUTHORIZATION demo_user;
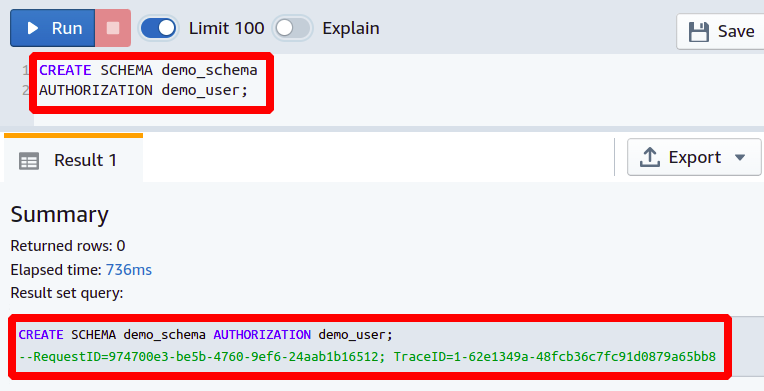
The above query will create a new schema in our Redshift database, and demo_user will be the owner of this schema.
Alter Redshift Schema
In the last section, we learned how we could create a Redshift schema using the CREATE SCHEMA command and now let’s see how we can change or alter the configurations of this schema. This is very helpful in case you come across the point where you don’t want to create a new schema just because you have to change a small setting in it.
Change Schema Owner
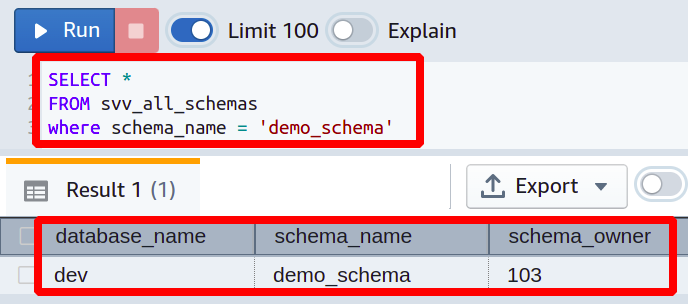
Suppose you are working in a large technology organization, and there is a new project launched for which you have created a new database schema. Now you want to make the team leader of that project to be the owner of this schema. Before going to see how you will change the schema owner, let’s first look at how you can check the current owner of a database schema. For this, simply execute the following query inside the Redshift cluster
FROM svv_all_schemas
WHERE schema_name = <‘Name of Schema’>
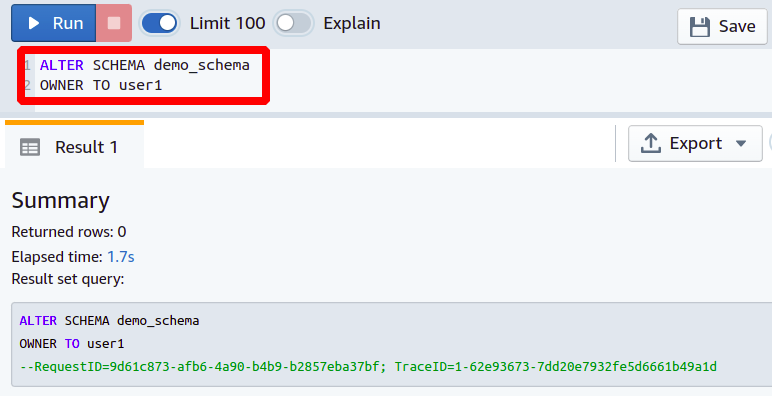
The above query will get the current owner of the schema defined in the query. Now in order to change the schema owner, the following Redshift query can be executed in the Redshift cluster.
OWNER TO <New Owner Name>
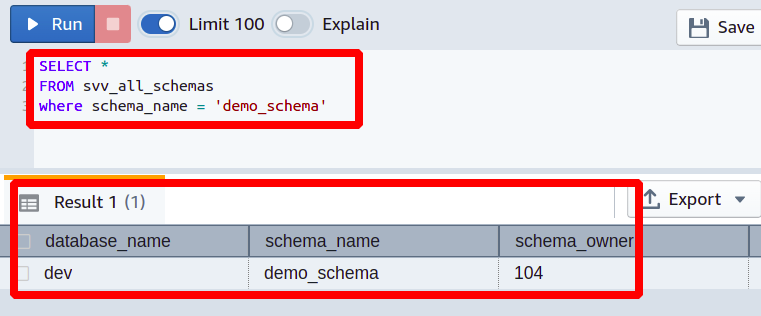
So the schema owner is successfully changed, and you can again check the current owner of this schema by executing the following query in the Redshift cluster.
FROM svv_all_schemas
WHERE schema_name = <Schema name>
In the output, you can see that the user_id of the schema owner is changed now.
Change Schema Name
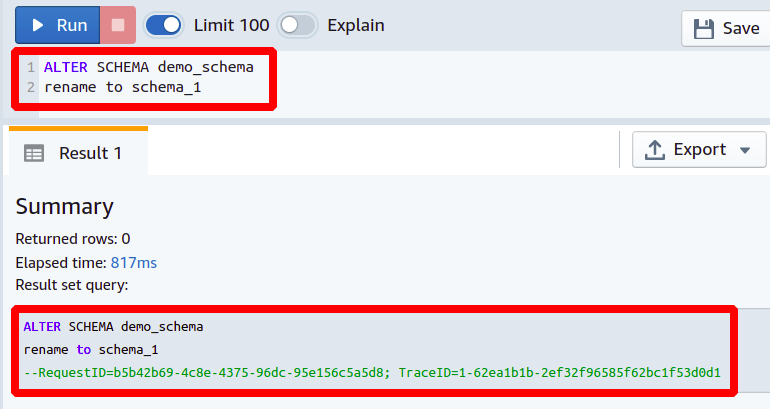
Amazon Redshift gives you the facility to change a schema name in your database by using the ALTER SCHEMA command in the Redshift cluster. Before renaming the schema, you must have enough privileges; otherwise, the Redshift will throw a permission denied error.
RENAME TO <New SCHEMA Name>
So here, you can observe how easily you can change the schema name in any Redshift database just by typing two simple lines of code. This can be useful while changing the name of your existing database schema in case you are facing some conflicts among different schema names.
Change Schema Size
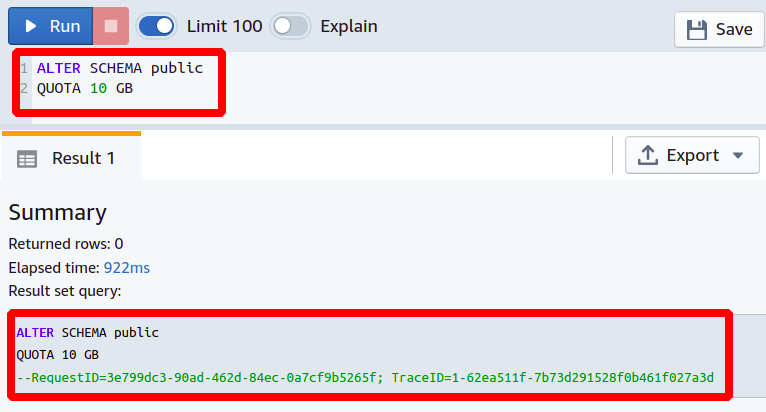
Changing the schema size in Redshift is one of the most important use cases for the ALTER SCHEMA command. You can set or change the quota of your database schema in Redshift. Although when you are working in a cloud environment, you can theoretically get an unlimited amount of space, all this space is used at the expense of high cost. In the redshift cluster, by default, there is no limit to the size of the schema.
Suppose you are requested to set a new limit on your database schema because the previous set limit of 5GB is about to end. You can increase the quota limit of your schema by executing the following Redshift query.
QUOTA TO <Size in GBs>
So we have increased the quota of the public schema to 10GBs. If this limit is also reached, you can further increase this limit whenever you want.
Conclusion
Amazon Redshift allows you to change some settings associated with your database schema. Using the alter schema command, you can change the owner or user of your schema and can also simply change the schema name in your database. Furthermore, you can also set a quota limit on the disk space for a particular schema which can help to maintain the size of your database within the specified limit. All these things can be very helpful from the point of a database engineer, and these can save a lot of time and difficulty in case we have to create all this again from scratch.

