
Git is one of the top decentralized version control systems primarily utilized when you want to work on the same project with multiple people as a team. On this platform, users can merge their work on branches. However, sometimes, while doing a merge, you may encounter conflicts if the same file exist in both of the merging branches. To resolve this specified issue, abort the ongoing Git merge.
In this blog, we have specified the process of aborting the Git merge. So, let’s get started!
How to Abort Git Merge with git reset Command?
To abort the Git merge, follow the below-provided method.
Step 1: Open Git Bash
Press the “CTRL + Esc” key to open the “Startup” menu, search for Git Bash and launch it:
Step 2: Navigate to Git Directory
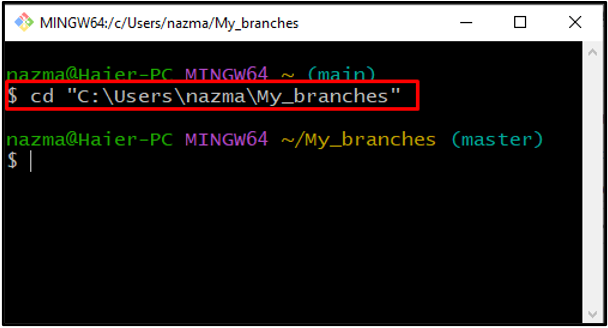
Execute the “cd” command with the path of the specified Git directory in which you want to move:
Step 3: Check Log History
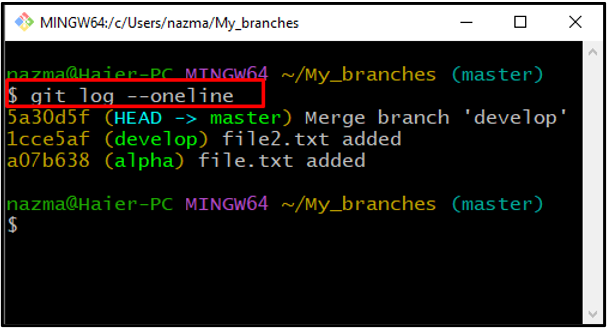
Check the Git directory log history:
Below output indicates that, our “master” and “develop” branches are merged:
Step 4: Reset HEAD
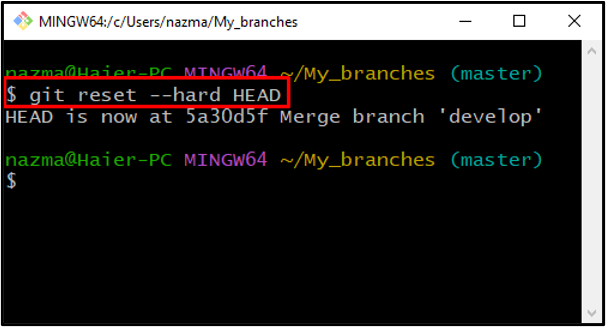
Now, run the “git reset” command to reset the position of HEAD:
As you can see, we have successfully moved the HEAD to the “develop” branch, and merging is aborted:
How to Abort Git Merge with git merge Command?
Sometimes users create files with the same name and extension in multiple branches. In such a scenario, merging branches encounter errors, and as a solution, it is recommended to abort the merge.
To do so, follow the below-listed steps.
Step 1: Create Git Local Directory
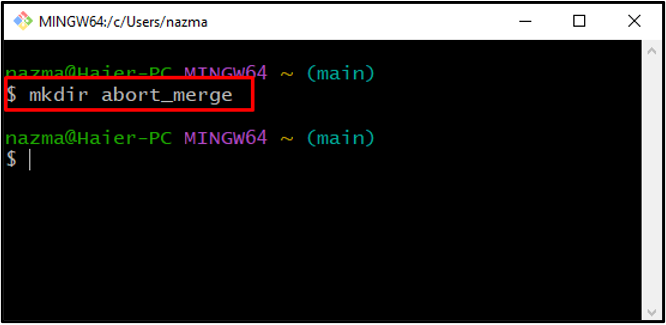
Run the “mkdir” command to create Git local directory:
Step 2: Navigate to Directory
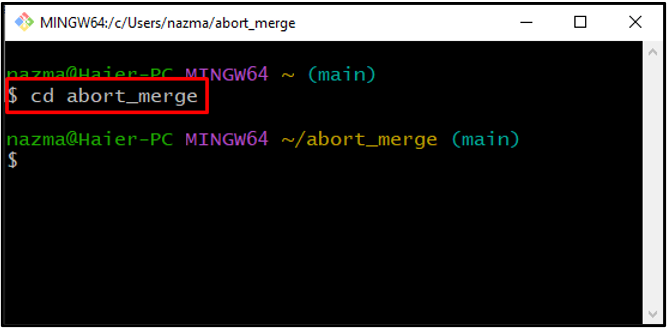
Navigate to the Git directory with the “cd” command:
Step 3: Initialize Git Directory
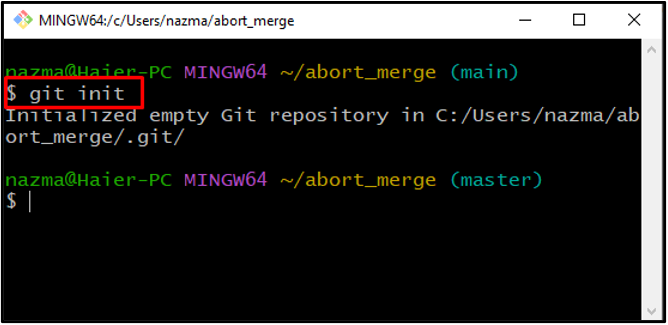
Initialize the Git repository by utilizing the “git init” command:
Step 4: Create File
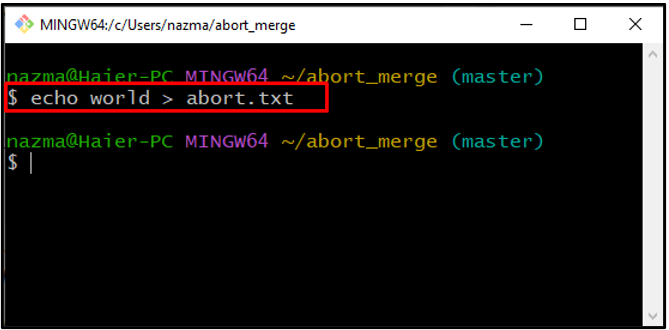
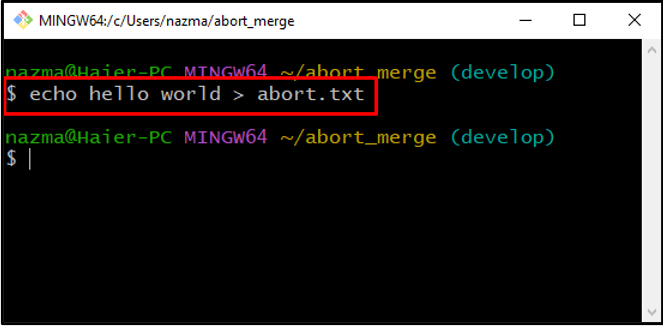
Create a file and placed some text in it:
Here, we have created a new file “abort.txt” in the “master” branch and placed a string in it:
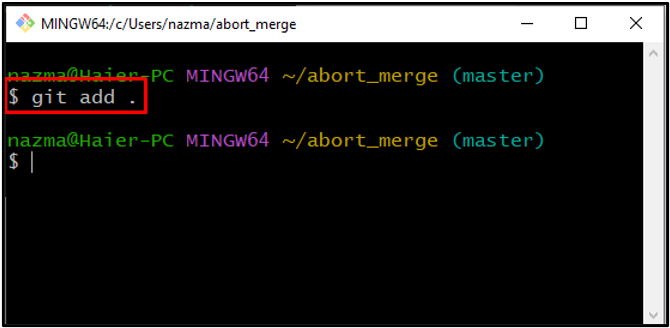
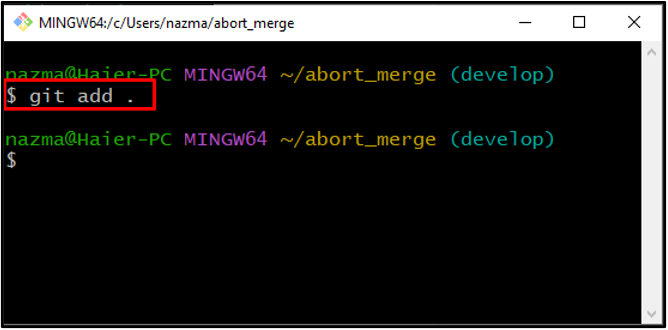
Step 5: Add File to Git Repository
Add the untracked file into the Git repository using the following command:
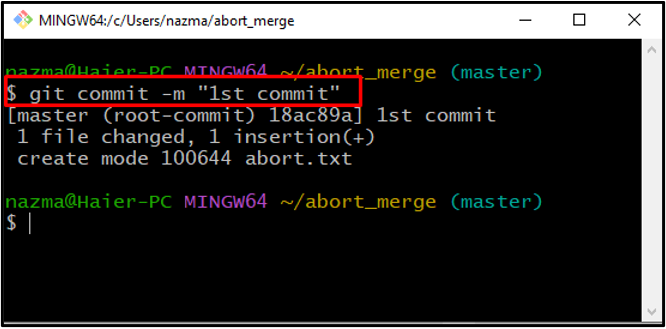
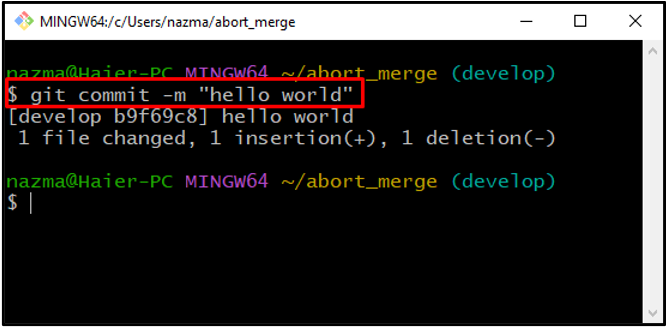
Step 6: Commit Changes
Commit the changes into the repository with the required message:
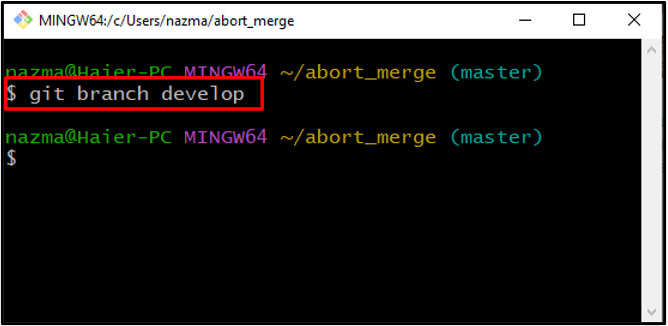
Step 7: Create Branch
To create a new branch, execute the “git branch” command:
For instance, we have created a branch named “develop”:
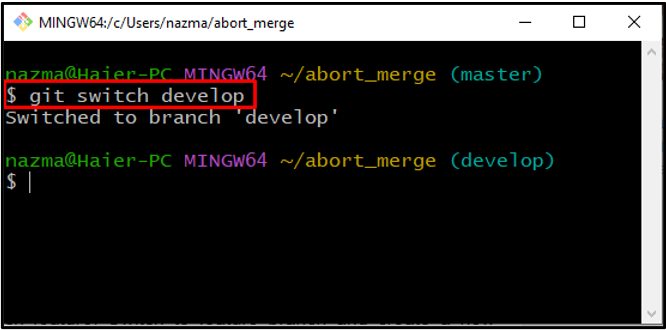
Step 8: Switch to Branch
Next, switch to the created branch:
Step 9: Create File
Create a new file within the branch:
Step 10: Add File
Run the following command to add the created file into the Git repository:
Step 11: Commit Changes
Commit the changes with a message:
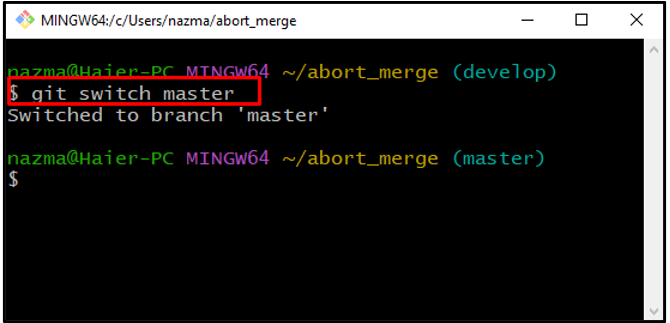
Step 12: Switch to Branch
Next, switch to the “master” branch using the “git switch” command:
Step 13: Display File Content
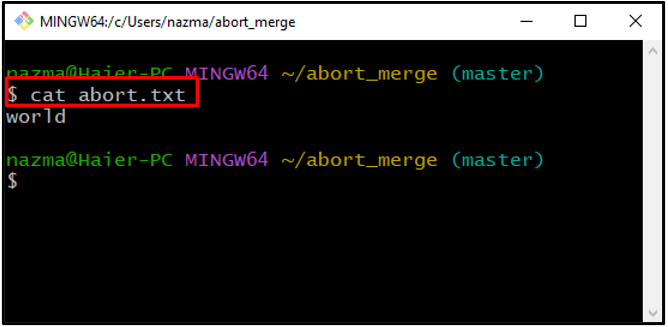
Run the “cat” command to display the content of the file:
As you can see, the content of “abort.txt” is displayed:
Step 14: Merge Branches
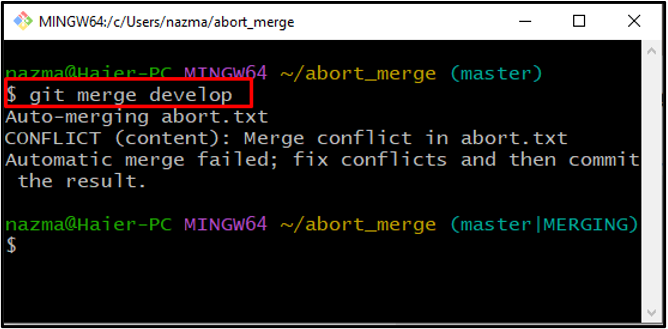
Now, merge the “develop” branch with the “master” branch by executing the given command:
The below output indicates that the branch merging process is in an intermediate state as the automatic merging failed due to conflict:
Step 15: Check Repo Status
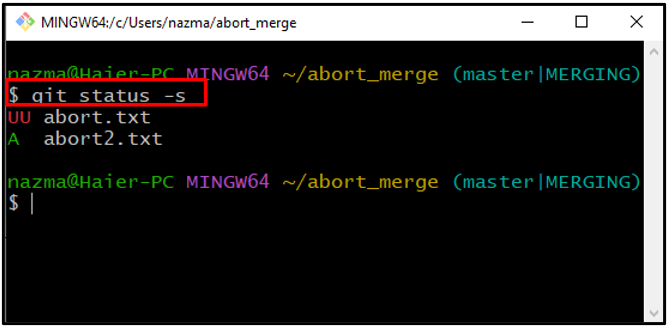
Check the repository status:
In the below output, the “UU” status indicates that the “abort.txt” file is currently in unmerging state and staging area:
Step 16: Abort Merging
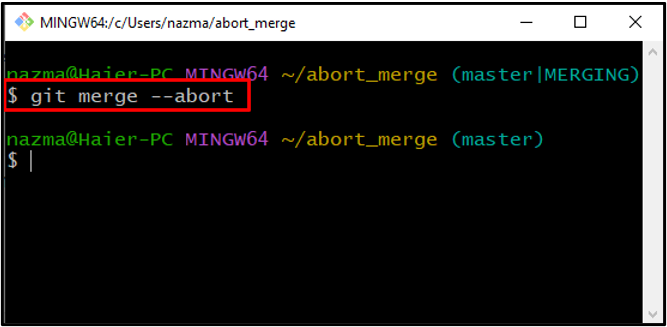
Lastly, abort the merging process by utilizing the “get merge” with the “–abort” option:
The error-free output indicates that the merging process of “develop” and the “master” branches is aborted successfully:
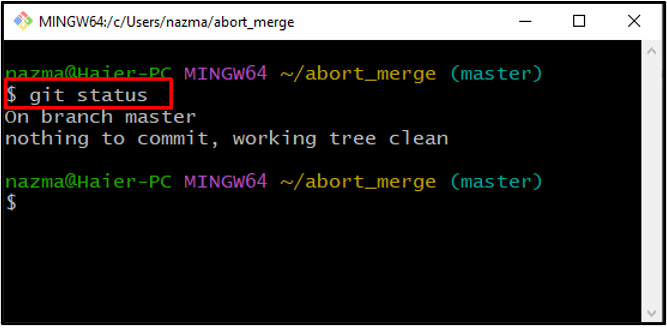
Now, check out the status of the Git repository to verify the abort merging:
That’s it! The specified operation is performed successfully:
You have learned the easiest methods to abort Git merge.
Conclusion
To abort the existing merge, move to the Git directory and check the log history of the repository using the “$ git log” command. Then, execute the “$ git reset –hard HEAD” command to reset the position of HEAD. To abort the merge when the branch merging process fails due to conflict, execute the “$ git merge –abort” command in Git Bash. In this blog, we provided the process of aborting the Git merge.