Git is a freely available and open-source distributed control system that can be utilized to store all types of projects, either small or large. Due to its user-friendly GUI, it is easily understandable by newbies. Different operating system users can install and use them without any hassle. However, after installing Git, you may want to check its version for verification.
This blog will discuss the method of checking the Git version. So, let’s get started!
How to Check Git Version?
It is important to check the git version from time to time and update if a new version is available. There are three ways to check the git latest version, such as using:
We will now discuss each of the mentioned methods one by one!
How to Check Git Version Using Git Bash?
Follow the below instructions to check the current git version.
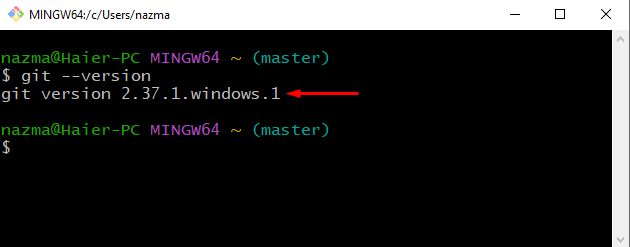
Step 1: Launch Git Bash
Search and launch the “Git Bash” command line on your system with the help of the “Startup” menu:

Step 2: Check Git Version
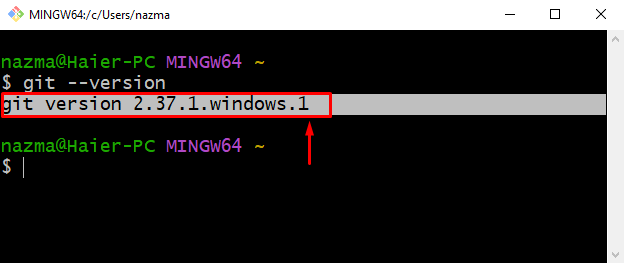
Now, execute the provided command to check the Git version:
The given output indicates that Git version “2.37.1” is currently installed on our Windows system:
Now, have a look at the second method.
How to Check Git Version Using Git CMD?
You can also check the version of git using “Git CMD”. To do so, follow the below-mentioned procedure.
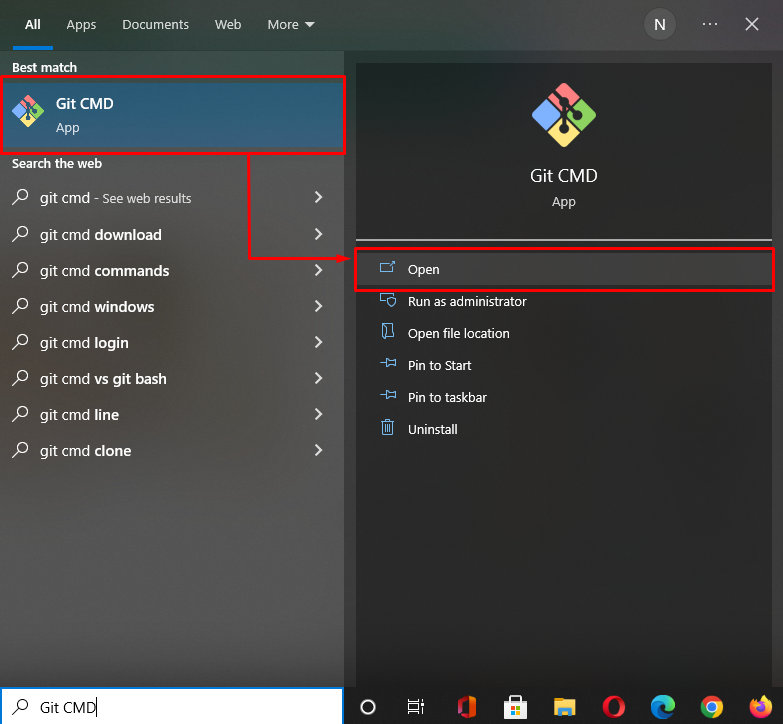
Step 1: Open Git CMD
Search the “Git CMD” using the “Startup” menu and open it:
Step 2: Check Git Version
Run the “git –version” command to check the Git version:
The below snippet indicates that our Git version is “2.37.1”:

How to Check Git Version Using Command Prompt?
Command prompt can also be utilized for checking the Git version. To do so, run the following command:
In case you have encountered the below-given error, you need to install Git first and then execute the given command:
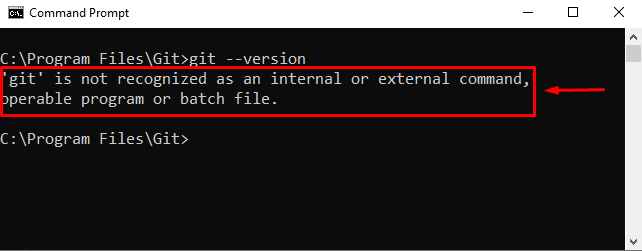
Let’s move to the section below for installing Git on your Windows system.
How to Install Git on Windows?
Follow the below-given procedure to install Git on your Windows system.
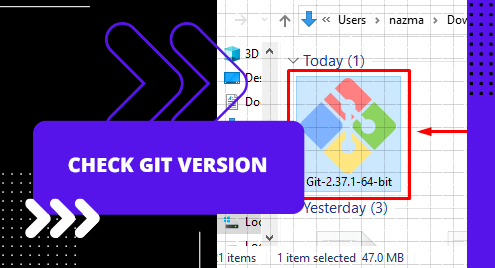
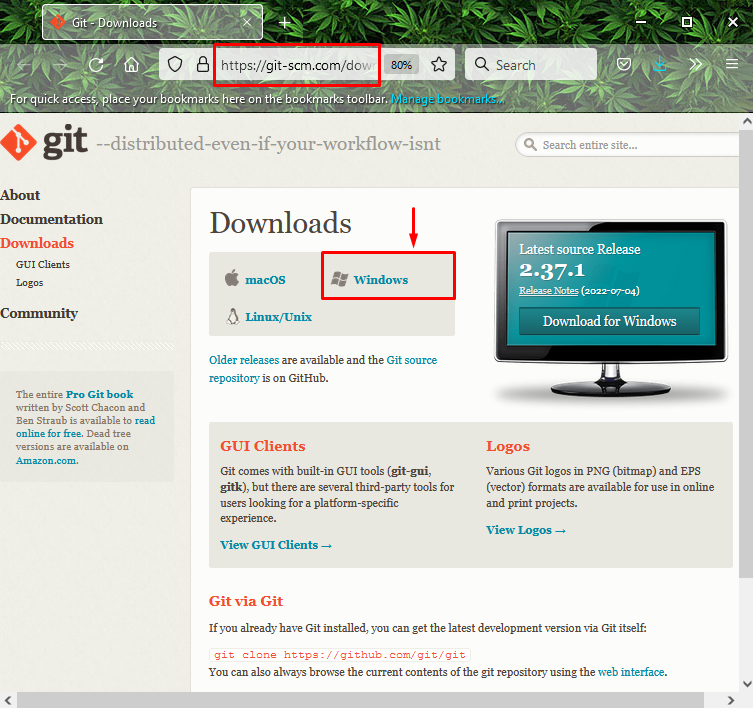
Step 1: Download Git
Open your favorite browser, visit the Git official website, and hit the download link for the Windows Git version:
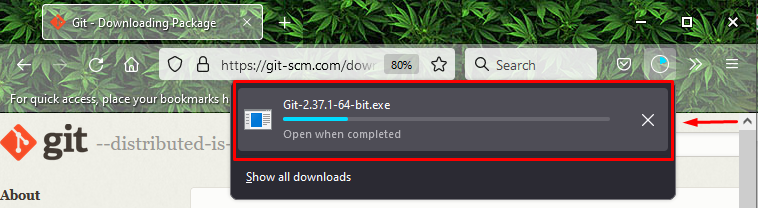
The downloading of the Git installer file will be started:
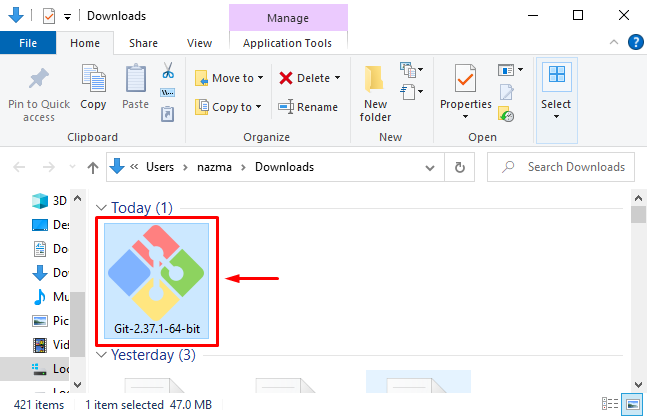
Step 2: Run Git Installer
Next, open up the “Downloads” directory and double-click on the downloaded “Git Installer” file:
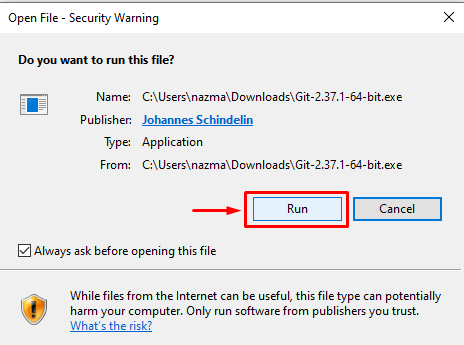
Allow your system to run the file by clicking on the “Run” button:
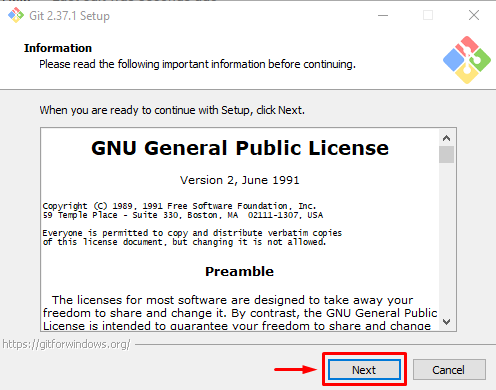
Step 3: Read GNU License
Read the “General Public License” and click on the “Next” button:
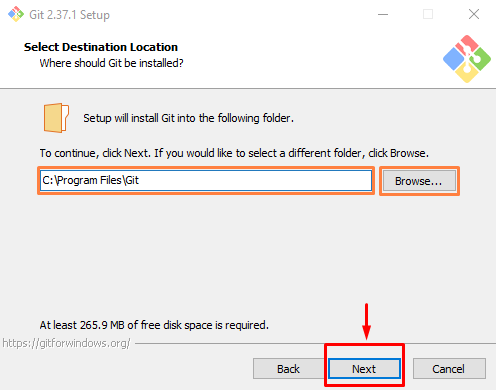
Step 4: Select Git Folder Location
Specify the desired folder for Git installation by clicking on the “Browse…” button and hit the “Next” button:
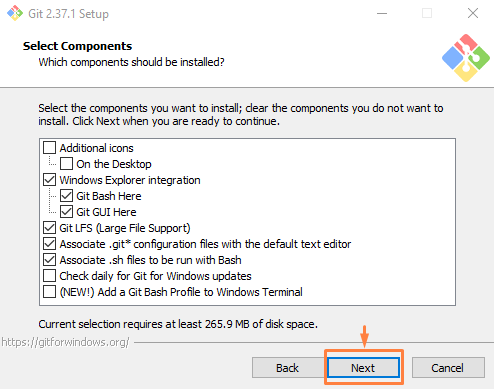
Step 5: Select Components
Next, check the Git components you desire to install. After that, press the “Next” button:
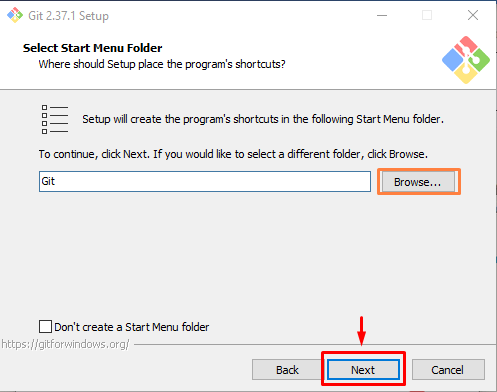
Step 6: Select Start Menu Folder
Browse for the “Start Menu” folder in which the application shortcut will be placed, and click on the “Next” button to go ahead. Here, we have selected the default “Git” folder:
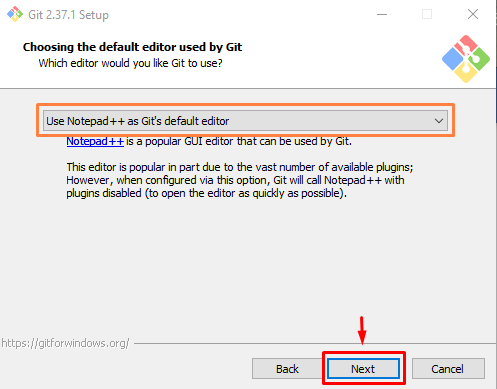
Step 7: Choose Git Text Editor
Choose the text editor you want to use by default with “Git”, specify it in the field, and click “Next”. For instance, we have selected “Notepad++” as the Git default editor:
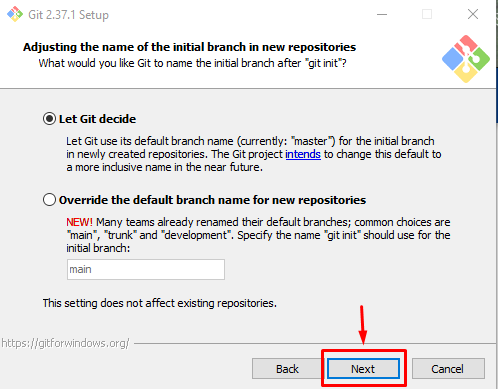
Step 8: Specify Initial Branch
Specify your initial branch by selecting the “Let Git decide” option or choose the name for your initial branch, and click on the “Next” button:
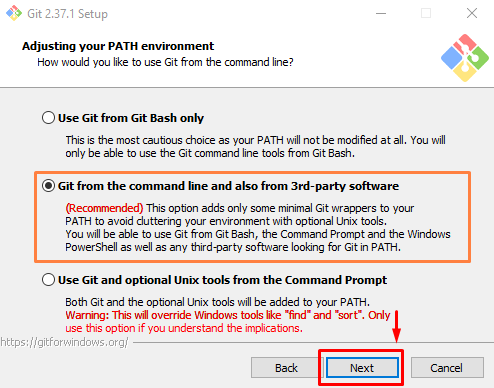
Step 9: Set PATH Environment
From the next screen, you can change the PATH environment according to your preferences:
- The first option will restrict you to using the “Git Bash” command-line tools.
- The second (Recommended) option will allow you to use Git from “Git Bash”, “Command Prompt”, and “Windows PowerShell”, as well as other third-party command line software.
In our case, we have selected the recommended option and clicked on the “Next” button:
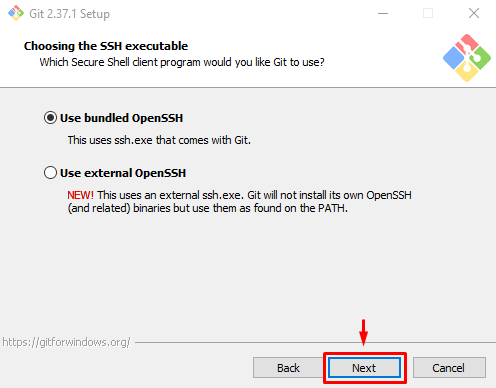
Step 10: Choose Secure Shell Client
Choose the “Secure Shell Client” as SSH executable and hit the “Next” button:
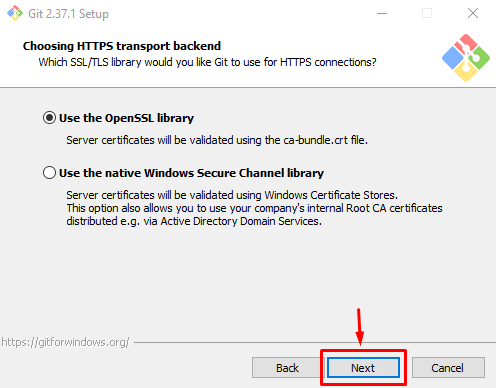
Step 11: Select HTTPs Transport Backend
Select the default “Use the OpenSSL library” option to validate server certificates using the “ca-bundle.crt” file and hit the “Next” button:
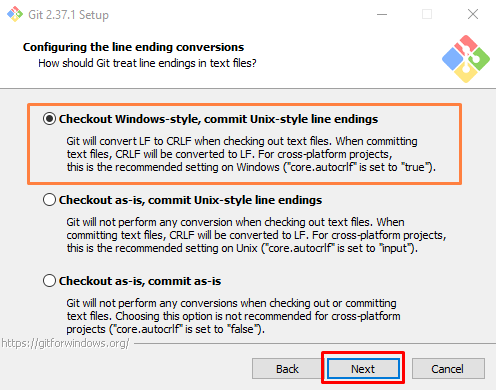
Step 12: Select Server Line Ending
Select the default “Server Line Ending” option for treating the line endings in text files and move to next screen by clicking on the “Next” button:
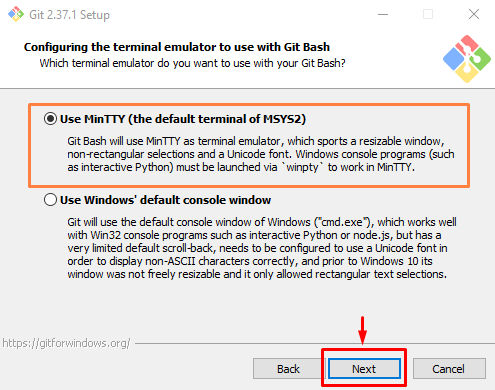
Step 13: Choose Terminal Emulator
Select the default “MinTTY” terminal emulator and press the “Next” button:
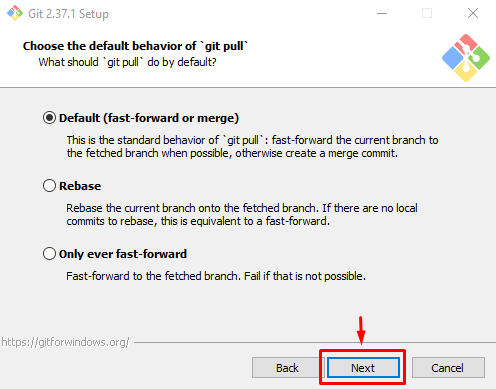
Choose the “Default” behavior of “git pull” and hit the “Next”:
Step 14: Specify Credential Helper
The “Credential Manager” is utilized for fetching or saving the credential in Git. The default option is the most stable to go, mark it and press the “Next”:

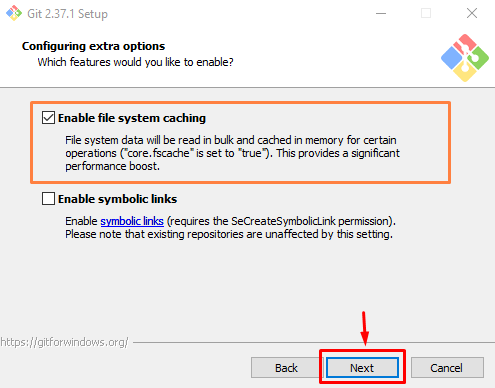
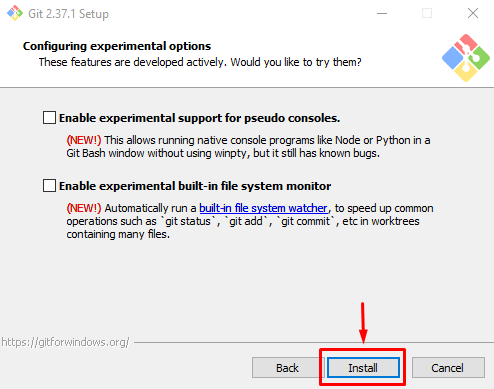
Step 15: Configure Additional Options
Decide which extra options you want to configure, mark them, and click on “Next”:
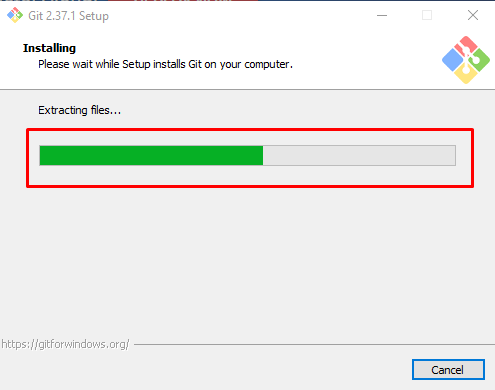
Step 16: Install Git on Windows
Press the “Install” button to start the Git installation process:
 Wait for a few minutes while the setup installs Git on your Windows system:
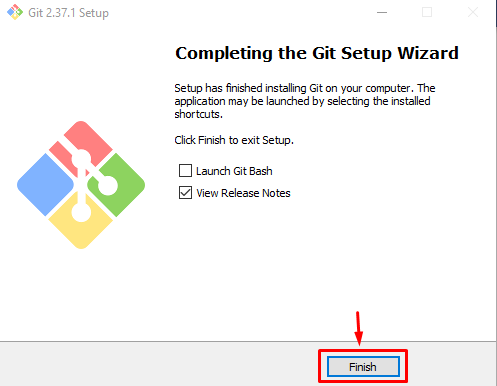
 Once the installation process of Git is completed, click on the “Finish” button:
Step 17: Check Git Version
Execute the below-given command to ensure if Git is installed:
The above-given output shows that the Git version “2.37.1” is successfully installed in our Windows system.
Conclusion
To check the Git version, you can execute the “git –version” command on “Git Bash”, “Git CMD”, and “Command Prompt”. If you do not have git, install it first by visiting the Git official website and downloading the installer file. After doing so, perform all operations needed for setup, and press the “Install” button. In this blog, we have demonstrated the method of checking the Git version and its installation process.