Check the Installed Version of Wget Utility
For this, we try to open the terminal by the use of “Ctrl+Alt+T” which is a quick and most-used way to launch the Ubuntu’s console application. Our console application is quickly launched. The query area is empty right now. We start the use of the wget instruction by checking if it is already installed in our Linux system or not. For this, you can try the “dpkg” command along with the “-l” option followed by the “grep” utility with the keyword “wget”. The execution of this instruction displays the installed version of the wget utility on your console screen. As you can see from the output, our system has the 1.20.3 version of wget configured already. There’s no need to install it again.

Installation of Wget Utility
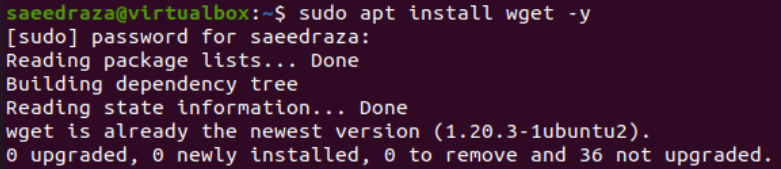
If you find out that the wget package is not yet installed at your end using the “dpkg” command, you will have to install it. For this, you must use the “apt” package utility of Ubuntu 20.04 Linux operating system within the installation query to install the wget using the keyword “wget” followed by the option “-y” to forcefully install it without any further prompt. The use of this instruction might ask you for the password of your currently logged-in user. You must add your password and press the Enter button to continue its installation. It might take up to 3-5 minutes. Since it is already installed at our end, it doesn’t take much time.
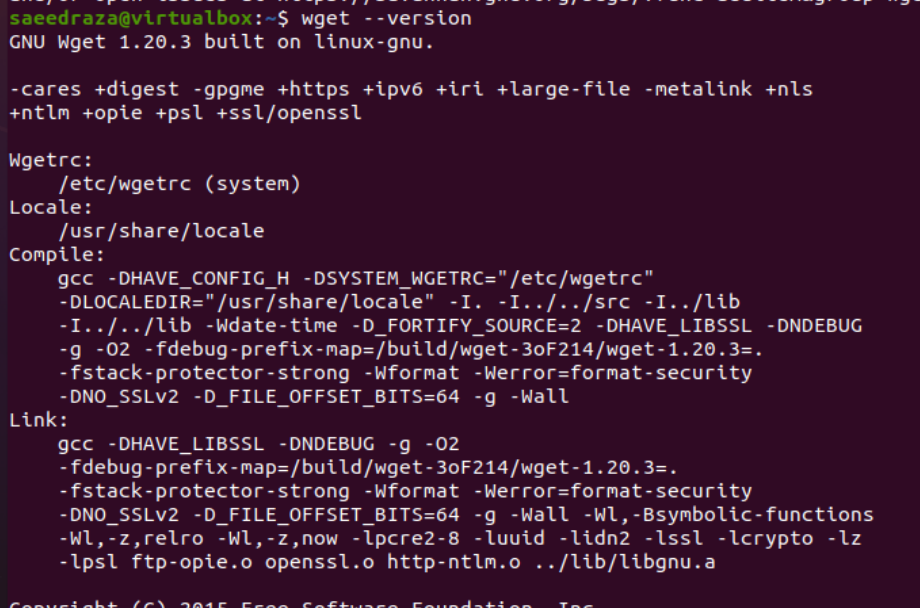
Now, after the installation of the wget utility, you need to find out that it’s just the installed version using the version query preceded by the “wget” keyword. The installed version is displayed at the first line of the console output along with some of its related information as displayed in the following:
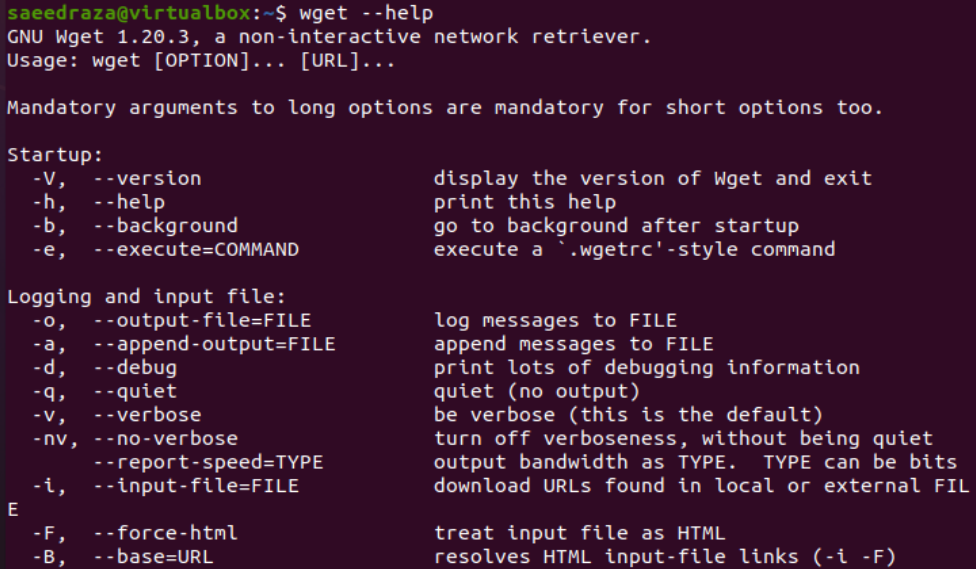
The help instruction is mainly used in Linux to find out the information regarding the specific utility. We use the help instruction to get help about the wget utility usage. The output of this instruction displays the syntax of using the wget command on the console, some of its startup options, and most of all, the important options to use for downloading the files from the server.
Download Single File
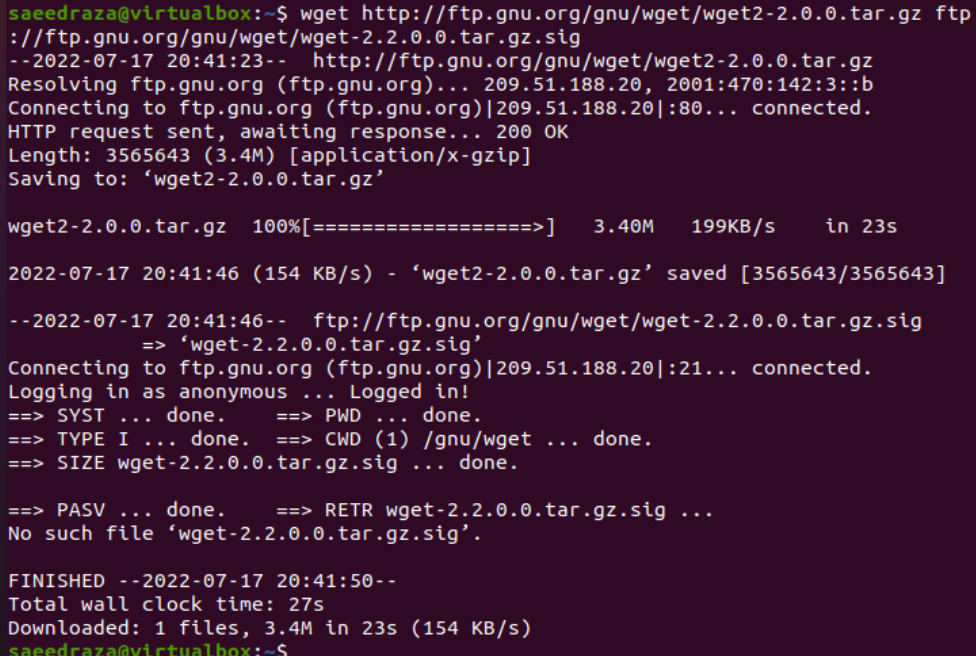
The wget command utility can be utilized with several options, but we can also use it without those options to download some files. For an instance, we can download some “tar” format files in our local system using the URL of a specific file within the wget instruction. We use the wget instruction with the URL to download a tar file of the wget and press the Enter button. The specific file starts to download in no time as shown. The processing for downloading this file is showed in the last line, not yet downloaded.
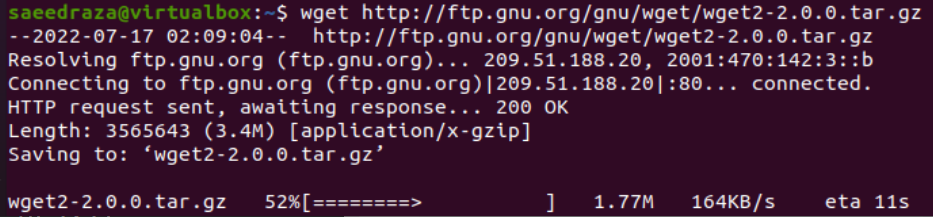
Within no more than 4-5 seconds, the file is successfully downloaded and saved into the home folder of the Linux system with its original name.

On listing the home folder contents with the “ls” query, we found that the downloaded file is successfully saved to its destination address.

Using the “tar” query with the “-xf” option and the file name, we extract the file from this “tar” file to its original folder. The list command shows that the “wget-2.2.0.0.tar.gz” is successfully saved at the current working directory.

Download Multiple Files
Just like that, you can download more than one file at a time with the wget instruction. You just need to mention the URLs of those files, one after another, in the wget instruction as shown in the following:
Download File With New Name: -O Option
The –O option for the wget instruction can make us download the specific file with a different name or a title, can be saved with a new name. We download the same “tar” file that we downloaded before with the use of the “-O” option in the wget instruction and save it as “wget.zip”.
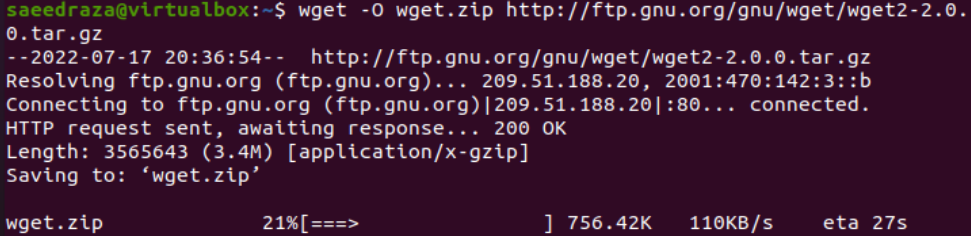
It shows that the file is downloaded properly as “wget.zip”.

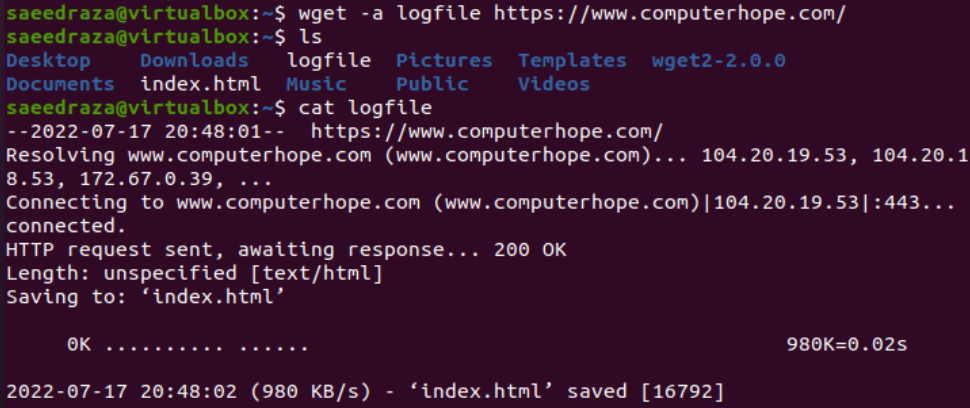
Download File With Alerts: -a Option
The use of the “-a” option in the wget instruction makes sure that the alert messages delivered by the system can be saved to its log file. We download the log file of the specified website within the wget instruction and after listing the contents, we found the file named “logfile”. The cat file is utilized to show the contents of a log file, i.e. messages.
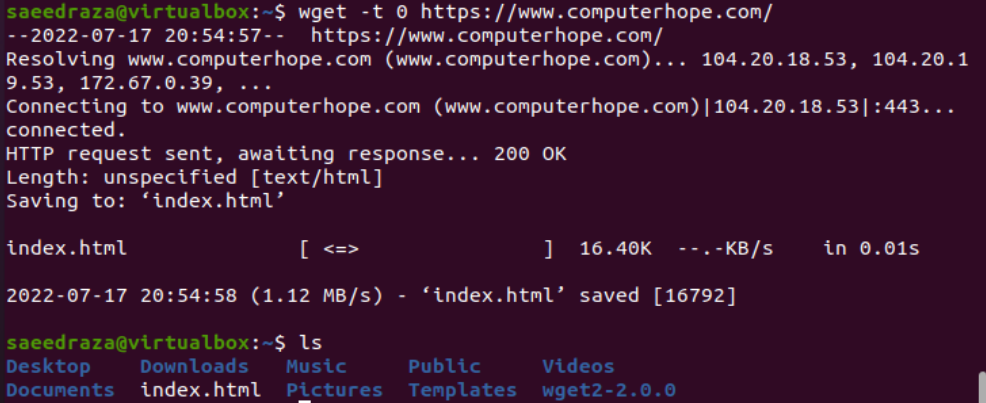
Set Number of Retries: -t Option
This option allows you to set the number of retries to fetch the specific site from your system. Setting it to 0 means you can infinitely retry the search.
Conclusion
This is about the use of the wget command utility in our local Ubuntu 20.04 system. We took a look at how to install it in our system along with checking its latest version installed at our end. After this, we tried some commands of the wget with and without the available options to get the different outputs, i.e. –t, -a, and –O options. There are several other options available for this utility which you can search on the web to get a better understanding.