The following article will demonstrate the method for running a .sh file on Windows.
How to Setup WSL on Windows?
The .sh file cannot be directly run on the Windows command prompt or PowerShell. Therefore, to run the .sh file on Windows, it is required to enable “Windows Subsystem for Linux” (WSL) on the system.
Follow the below provided steps to enable the WSL on the Windows system.
Step 1: Turn on Developer Mode
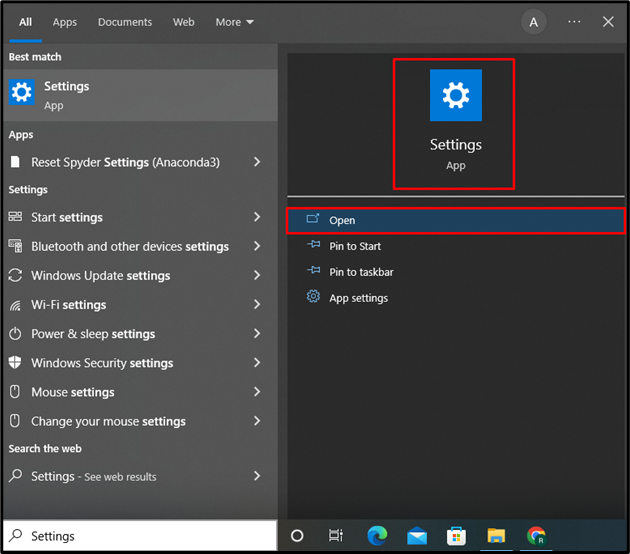
In the first step, open up the Windows “Settings” by searching it in the “Startup” menu:
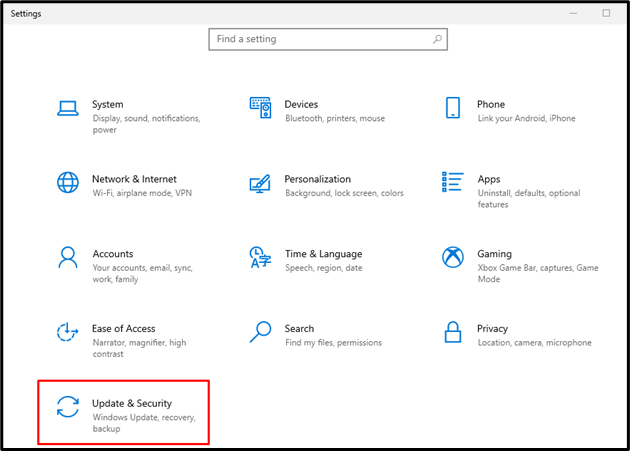
Go to the “Update & Security” settings:
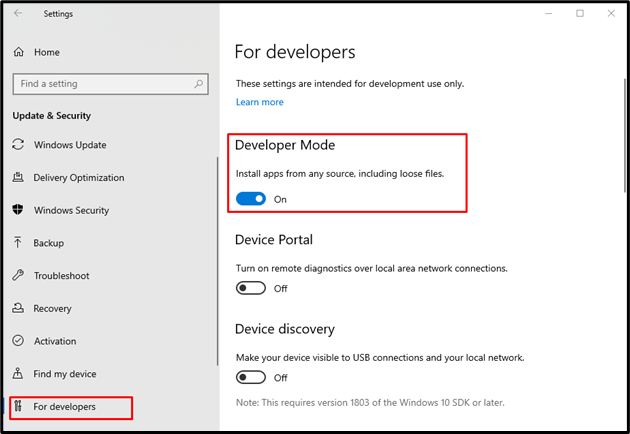
Open the “For developers” window, and turn on the “Developer Mode”:
Step 2: Enable WSL on Windows
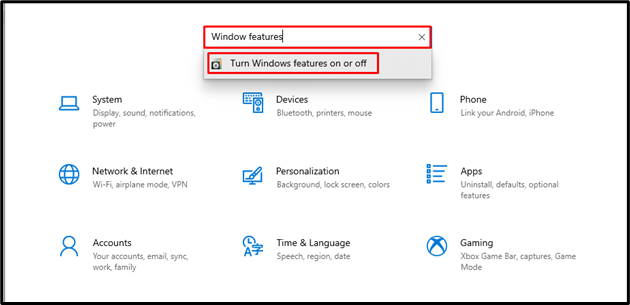
By typing “Windows features” into the search field, select the “Turn Windows features on or off” option:
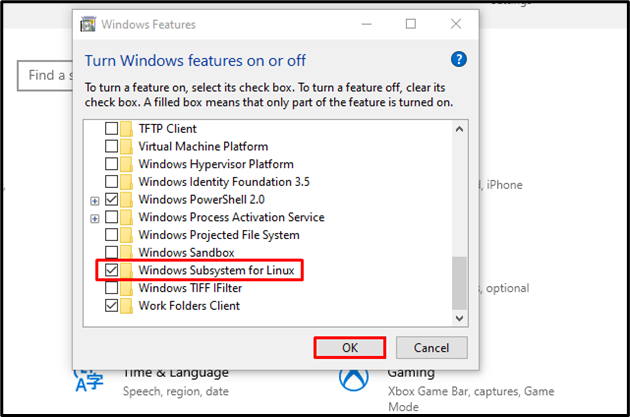
Upon doing so, the “Windows Features” wizard will appear on the screen. Mark the “Windows Subsystem for Linux” checkbox and hit the “OK” button:
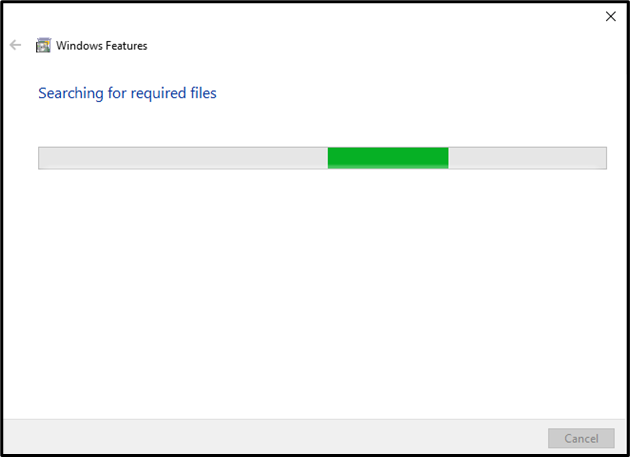
This operation will start enabling WSL on Windows:
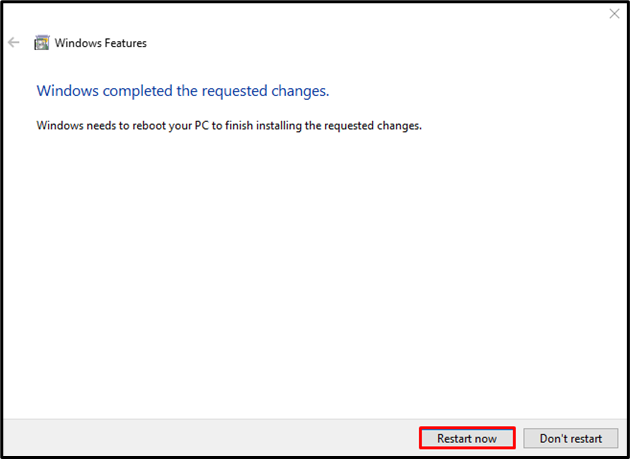
Then, restart the system to take effect of the changes by pressing the “Restart now” button:
At this point, we have enabled the WSL on Windows. We will now install Linux-supported tools that help us run Linux commands on Windows.
Step 3: Install Ubuntu Linux Tool
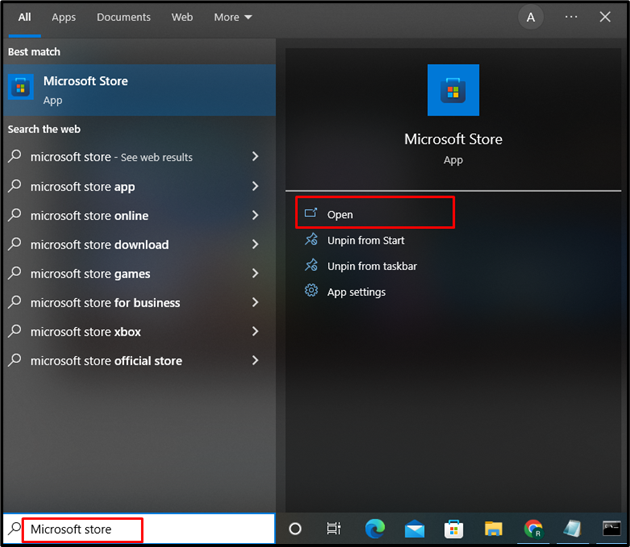
Go to the “Microsoft Store” by searching it in the “Startup” menu:
Search for “Linux app” in the search bar. Scroll down, select and open Ubuntu 22.04 LTS:

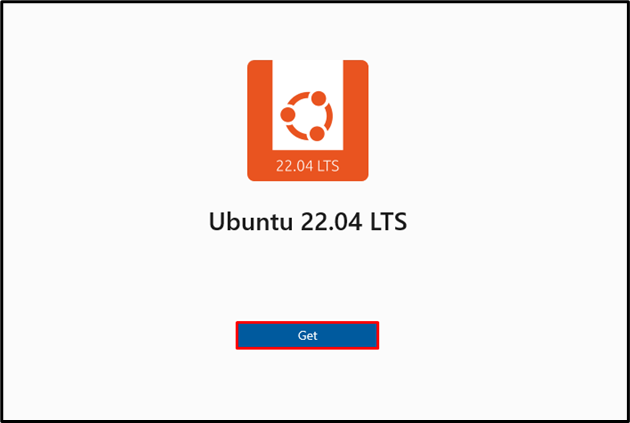
Click on the “Get” button to install Ubuntu 22.04 LTS terminal on Windows:
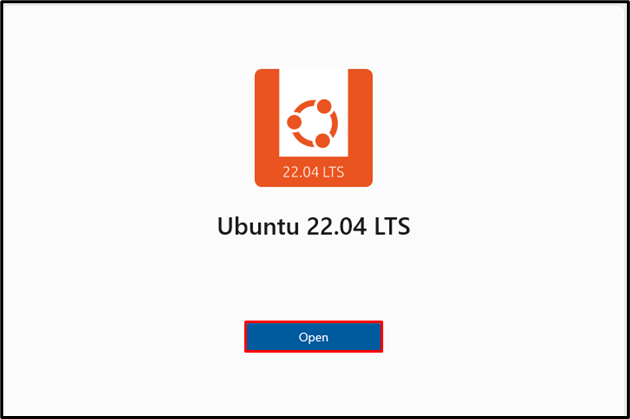
Press the “Open” button to open and configure Ubuntu 22.04 LTS on Windows:
Step 4: Setup Ubuntu’s Initial Settings
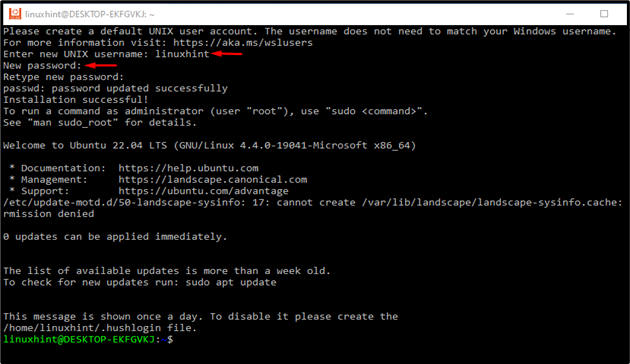
The Ubuntu terminal will open on the screen. Set the username and password:
The above-given output shows that we have successfully set up WSL on Windows. Let’s move ahead to create a .sh file.
How to Create a .sh File in Windows?
To create a .sh file on Windows using the Command-line, follow the provided steps:
Step 1: Open Windows Command Prompt
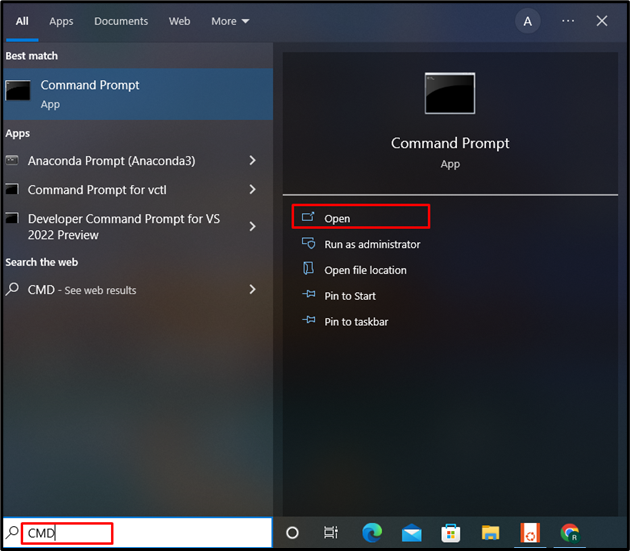
Search “CMD” in the “Startup” menu and open the Command Prompt:
Step 2: Enable Linux Command-line Interface
Enable the Linux command-line interface using the “bash” command. Then, switch to the “Documents” directory for file creation. You can also create a .sh file in the currently opened directory:
$ cd Documents
Step 3: Create .sh File
Now, we will create a .sh file named “sum.sh” file with the help of the nano editor:

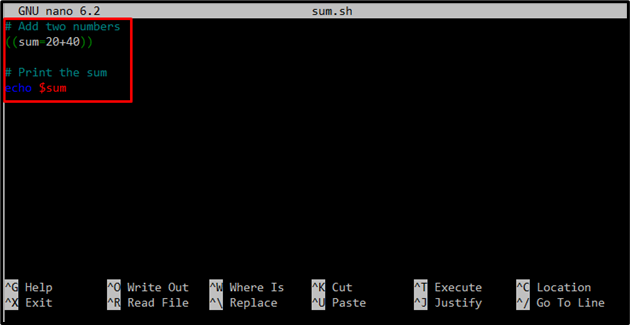
Paste the below-provided code in the opened file, press “Ctrl+O” to save the file, and exit the nano editor by hitting “Ctrl+X”:
((sum=20+40))
# Print the sum
echo $sum
We have created a sum.sh file using the Windows Command Prompt. Let’s check out the method to run the .sh file.
How to Run .sh File on Windows?
To run a .sh file on Windows, utilize the “bash” command and specify the file name. We will execute our “sum.sh” file using the below command:
The below-given output indicates that we have successfully run the .sh file on Windows:

We have compiled the approaches to enable WSL to create and run the .sh file on Windows.
Conclusion
To run the .sh file on Windows, it is required to enable the WSL feature. After enabling WSL, download the tool that supports the Linux command line as we have downloaded the “Ubuntu 22.04 LTS” on Windows. Then, create a .sh file and run it by utilizing the “$ bash sum.sh” command on Command Prompt. We have demonstrated the method to create and run .sh files on Windows using WSL.

