In this study, we will talk about different methods to kill a process in Windows:
- Using Task Manager
- Using Command prompt
- Using Windows PowerShell
So, let’s begin!
Method 1: Kill Process in Windows Using Task Manager
To kill the process using Task Manager in Windows, utilize the below-given steps.
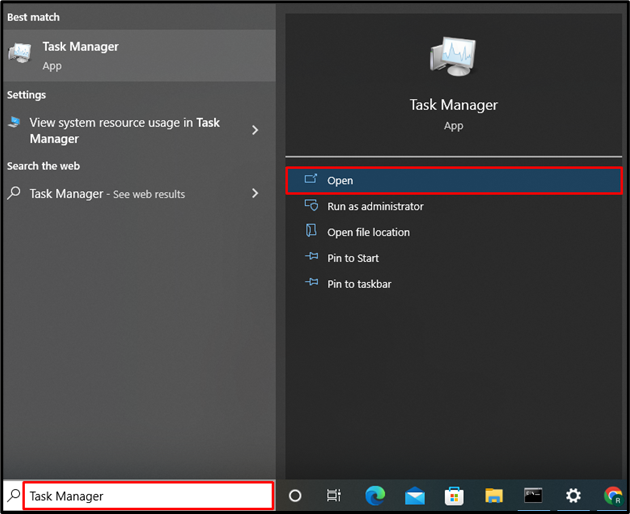
Step 1: Open Task Manager
Firstly, search “Task Manager” in the “Startup” menu and open it:
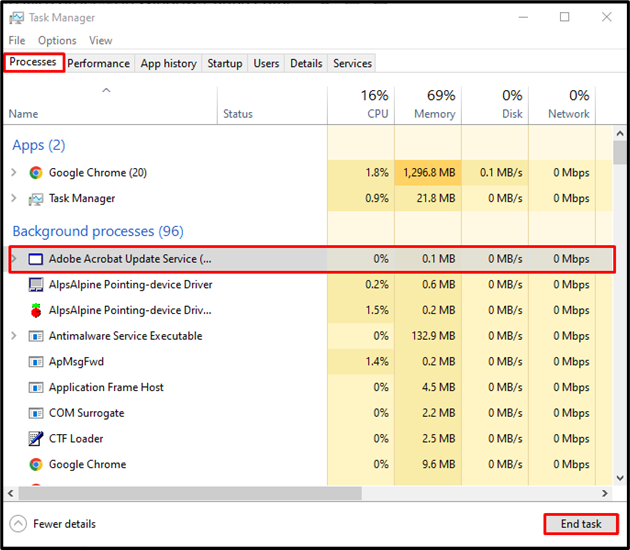
Step 2: Kill Process
Open the currently running processes from the “Processes” menu. Choose the process you want to end, then click the “End task” button. For instance, we are going to kill the “Adobe Acrobat Update Service”:
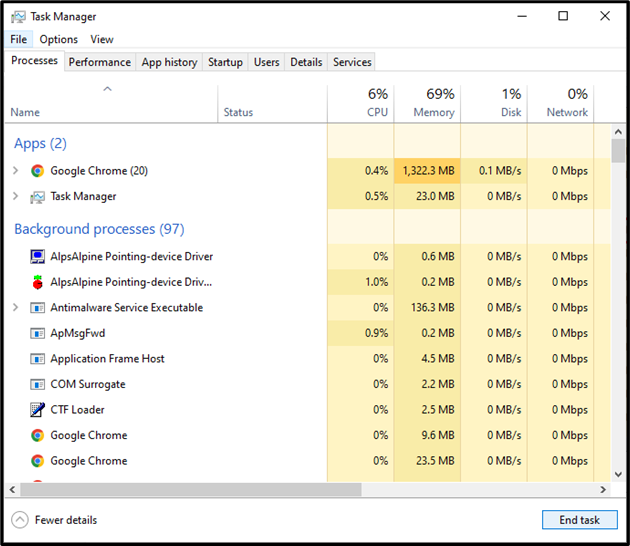
As you can see, the selected process is now no more in the list, which indicates that we have successfully killed it:
Let’s move toward the second method to kill the process using a command prompt.
Method 2: Kill Process in Windows Using Command Prompt
To kill the process using a command prompt in Windows, use the below-listed steps.
Step 1: Open Command Prompt
In the “Startup” menu, type “CMD” to search the command prompt and open it:

Step 2: Check Task List
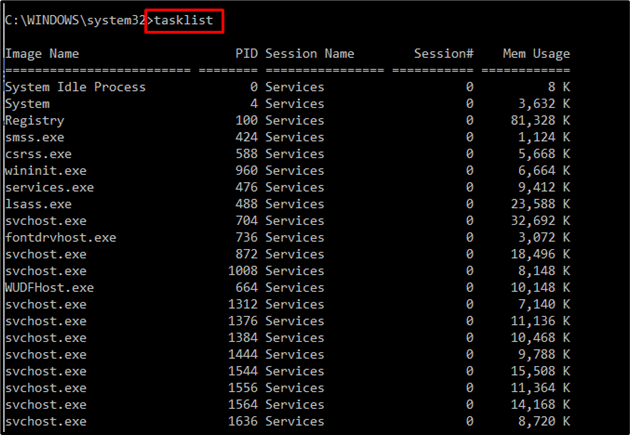
Execute the “tasklist” command to list down the currently running processes along with additional information:

Step 3: Utilize Process/Image Name to Kill Process
To kill the process by specifying the Process or Image name, utilize the below-listed command:

Step 4: Utilize PID to Kill Process
You can also kill a process by adding the PID(process identifier) in the following “taskkill” command:

We have successfully terminated the process using the command prompt in Windows. Let’s move ahead to kill the process using Windows PowerShell.
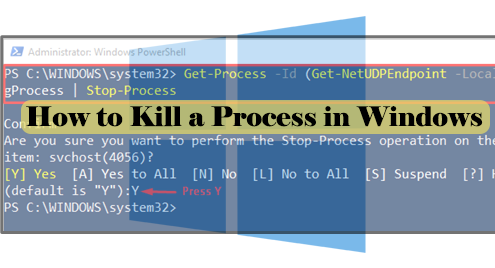
Method 3: Kill Process in Windows Using PowerShell
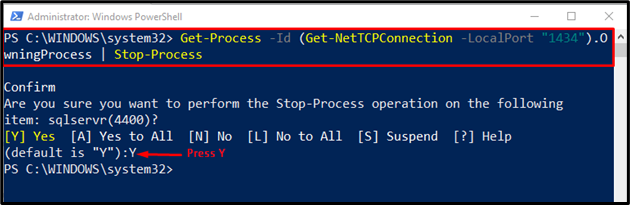
PowerShell also supports commands that can help you in killing processes based on the port number. For instance, if a process runs on a TCP port, utilize the “Get-Process” command and specify the port number. Then, pipe out the output to the “Stop-Process” command using the pipe operator “|”. This operation will kill the process immediately:
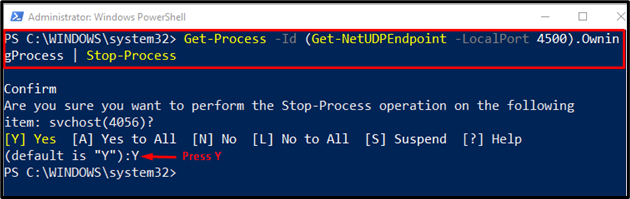
If the process is running on a UDP port, then write out the provided command:
We have demonstrated the methods to kill processes in Windows.
Conclusion
To kill the process in Windows, you can use Task Manager, Command Prompt, or Windows Powershell. By using Task Manager, select the process and hit the “End Task” button to kill the process. You can kill the process with Command Prompt by specifying PID or Image name in the “taskkill” command. Moreover, PowerShell utilizes the “Get-Process” and “Stop-Process” commands to kill the process. In this study, we have elaborated the methods to kill processes in Windows in detail.