To use Eclipse, you must have Java installed. We will cover how to install Eclipse and all its prerequisites in Ubuntu.
Installing Eclipse on Ubuntu
There are two recommended ways of installing Eclipse. One is via Snap , and the other is manual installation. We will cover the two methods in this article.
Method 1: Install Eclipse via Snap
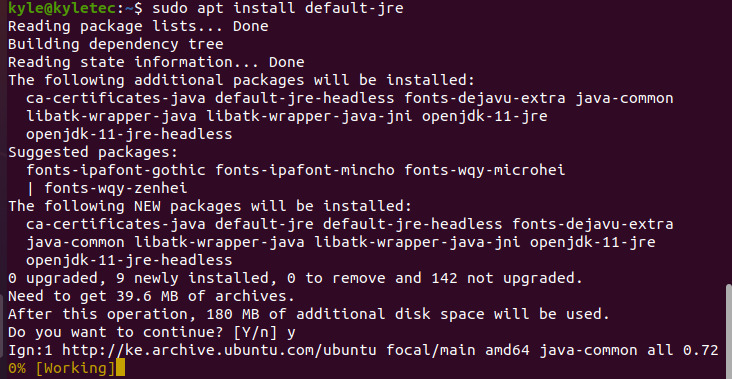
Eclipse requires a Java runtime environment installed on the host machine to support its installation. Therefore, you first need to install Java using the following command:
Once the JRE installs, confirm the version using the following command:
The following command will download and install Eclipse via the Snap package.
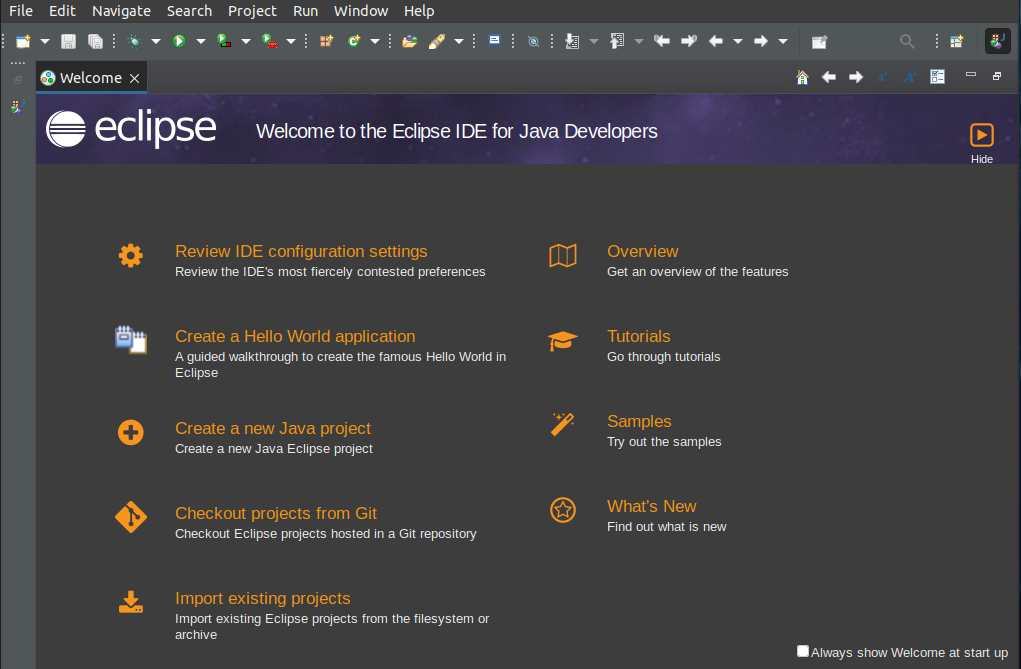
Once Eclipse is installed, you can open it from your applications.
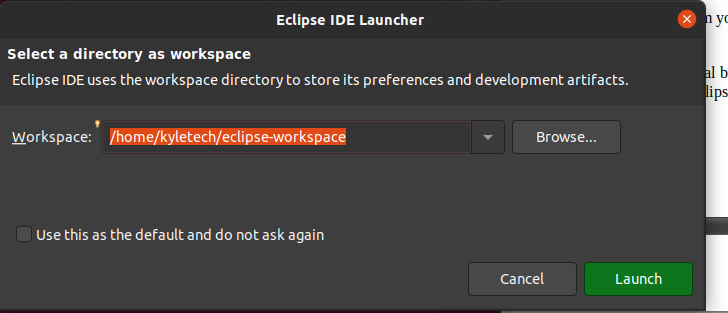
Alternatively, launch the Eclipse IDE from the terminal by typing its name. Once it opens, select your working directory if the currently selected doesn’t match your preference. Then, you can start using Eclipse to write code.
By installing Eclipse using Snap, Eclipse will also update to the latest version anytime you update the repository.
Method 2: Manually Install Eclipse
Manual installation of Eclipse requires downloading the installer and Eclipse package.
To do so, click here to open the download page for the Eclipse installer. Download the most current version and allow the download to complete.
Unless you changed the downloads folder, it should be /Downloads by default. The downloaded file is archived, and you need to extract it using the following command. Replace the command where appropriate, especially the path.
Launch the Eclipse installation wizard upon successful extraction using the following command:
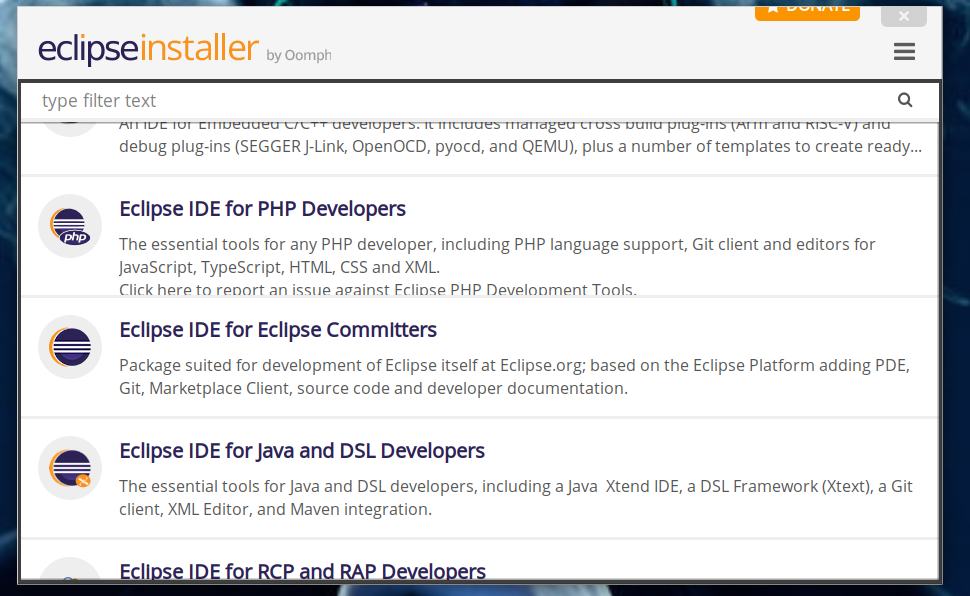
The installer will load. In the next screen, choose the building language you want to install Eclipse for, such as web development. Still, you can change the selection later or install other plugins to achieve a different functionality than the one you previously chose.
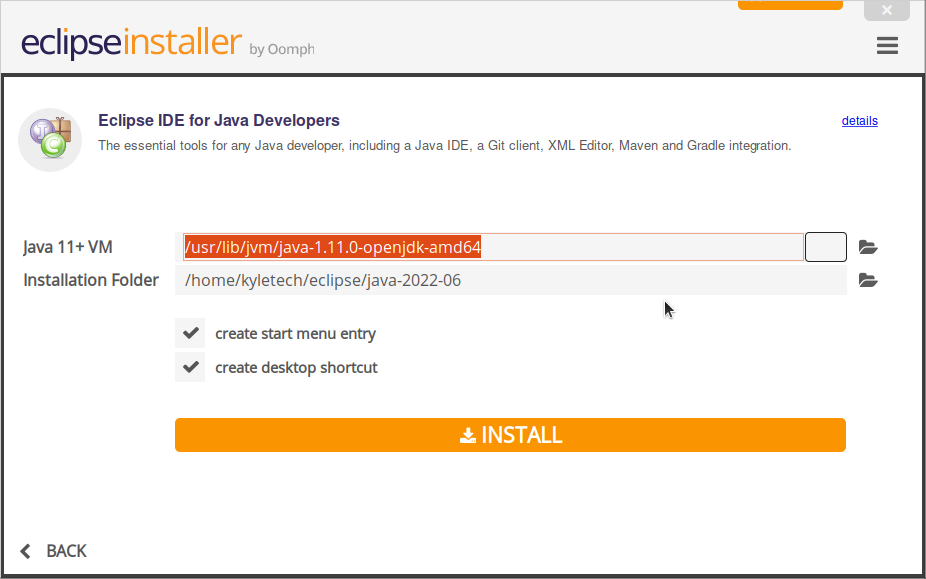
The next screen will require you to choose the OpenJDK version installed on your system by clicking the drop-down menu. Select the JDK installed as we saw in the first method. It will be listed in the menu. Also, choose an installation folder. However, the default selected works fine. Click INSTALL.
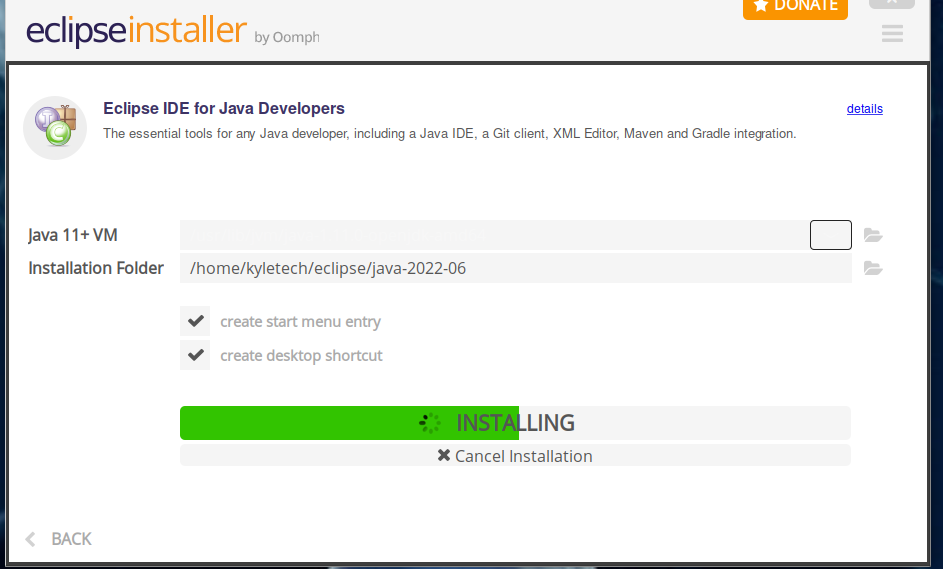
The installation will start. You can leave everything else to default settings.
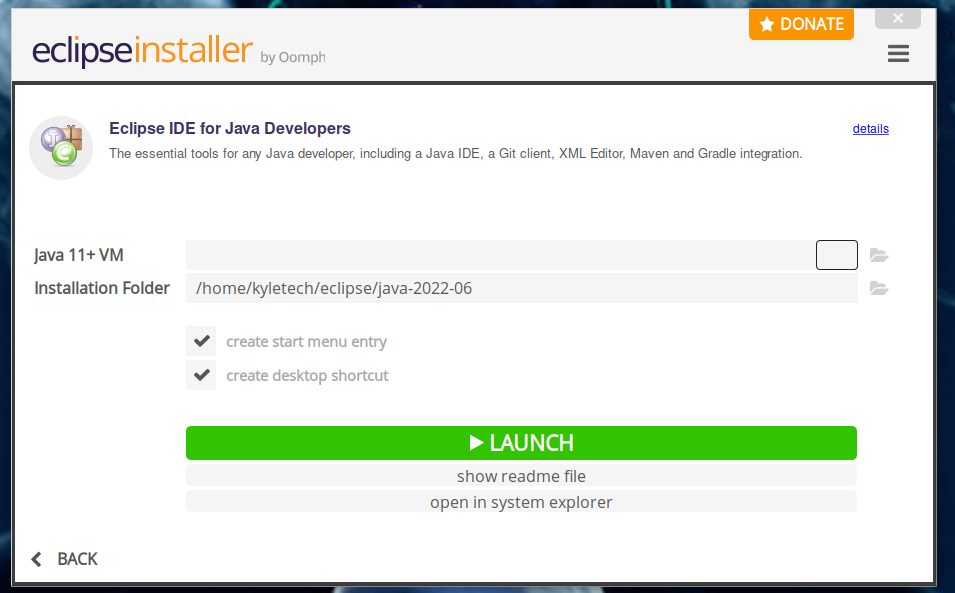
Wait for it to complete. Then, click the Launch green button to load Eclipse IDE. Ensure to select the checkbox for creating a desktop shortcut.
Once the installation completes, Eclipse will be available in your applications. You can now open and start using it to create your projects.
How To Remove Eclipse in Ubuntu
Removing Eclipse IDE from your system depends on how you installed it.
If you used Snap, then use the following command to remove it:
Conclusion
Installing Eclipse using the package manager can work, but in most cases, you might end up using an unresponsive Eclipse IDE. Therefore, using the discussed two approaches, including Snap or manual installation, is recommended. We’ve covered the two approaches. If you follow the steps outlined in this guide, you should have a working and updated Eclipse.

