Scripts are part of the Linux life, and if you can find a way to create Terminal User Interfaces that makes things look cooler, the better. This guide will discuss using whiptail and its different dialog boxes with examples. Let’s begin.
Installing whiptail
Install whiptail using the following command:
whiptail Boxes
When using whiptail, there are different boxes at your disposal. We will discuss each with examples. Each whiptail box must specify the size of the dialog box.
1. Message Box
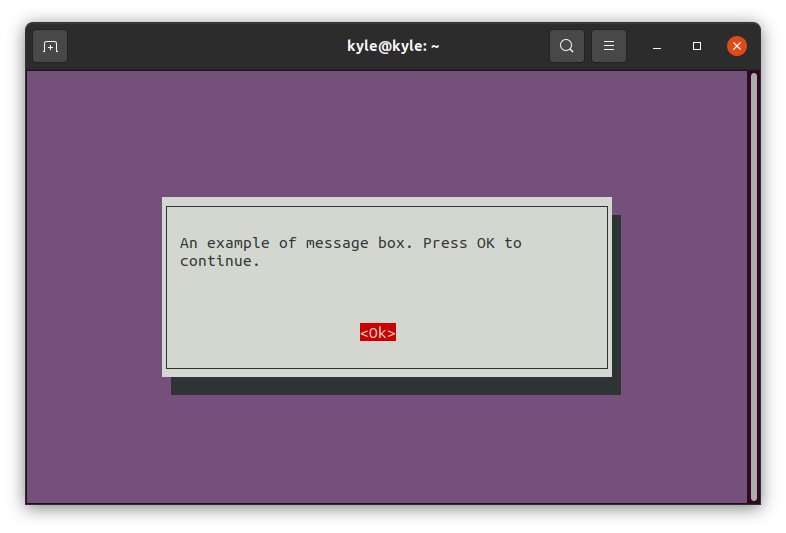
A message box displays a message to the reader and only has an OK button as no response is needed. Besides, execution of the script can only proceed once when the enter button gets pressed.
The 10 and 50 represent the width and height.
2. Yes/No Box
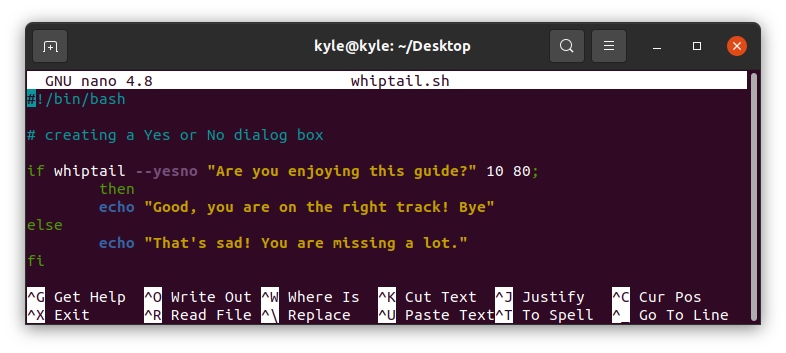
Where you need to get the user response with either a Yes or No before proceeding, use the —yesno option.
You can create a Bash script as shown below, then save it, make it executable, and run it:
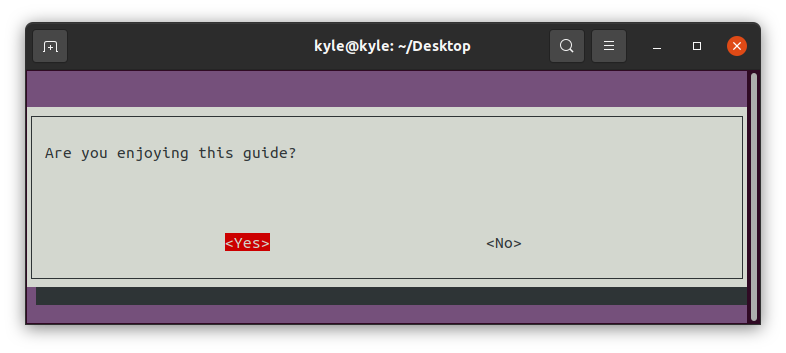
Here’s the Yes/No whiptail box.
The output that displays on the terminal depends on what the user chooses.
3. Text Box
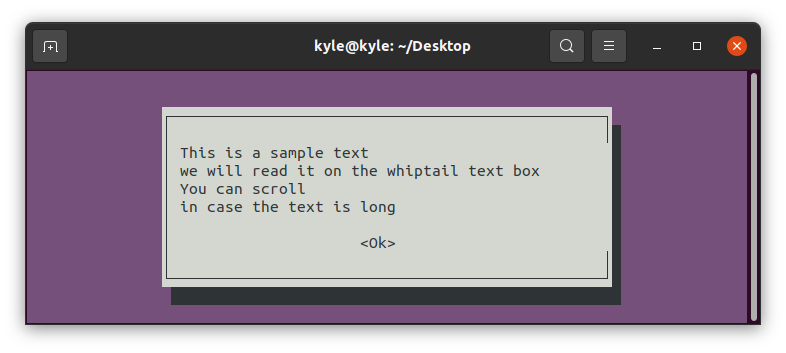
You can display the contents of a file using a text box. If the file contents are plenty and need to be scrolled, you can add the —scrolltext option.
In our case, we will be opening a file, whiptail.txt.
To close the text box, click the enter key once the OK button is highlighted.
4. Progress Bar
The syntax for creating a progress bar is:
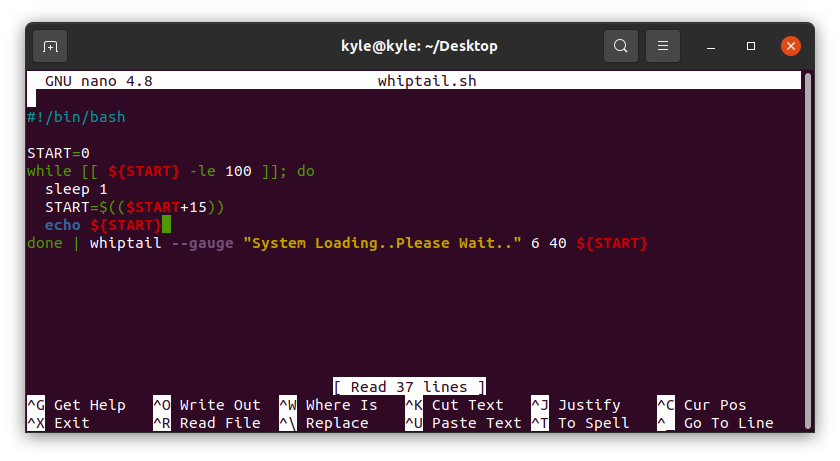
You need to define the name of the progress bar and the percentage. Then, include where to start the counter. In our case, our counter starts from 0 to 100. We will use a while loop to increment the counter by 15 and set a sleep time of 1 second before the next increment.
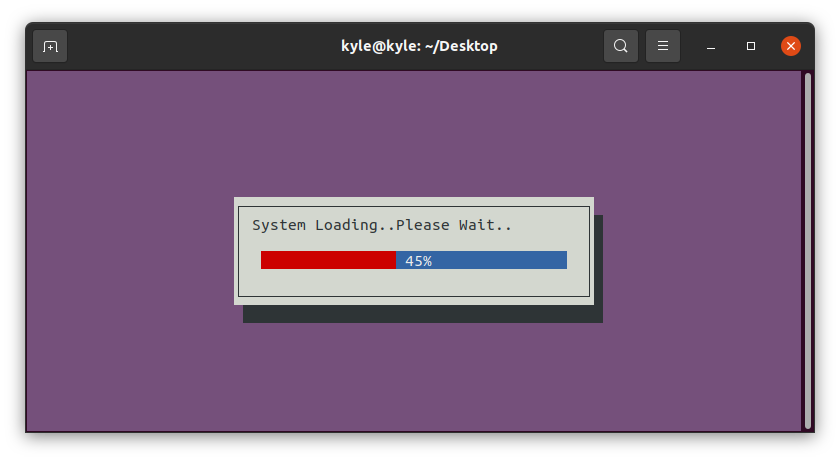
The progress bar should look like the image provided below:
5. Password Box
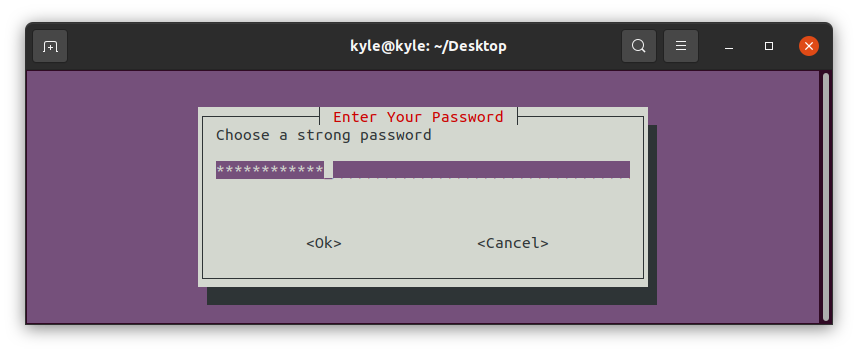
When you need the user to enter a password in an input box and hide the plain text, use the —passwordbox to create a password box.
The —title option adds a title to the whiptail box.
Once you enter the password and hit the OK button, the entered password will be displayed on the command line.
6. Input Box
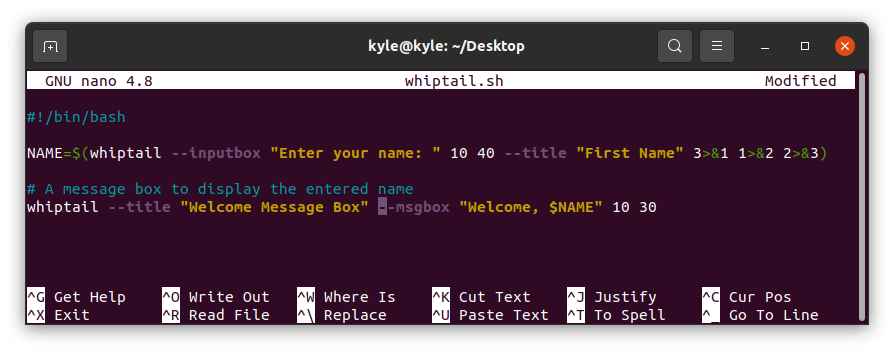
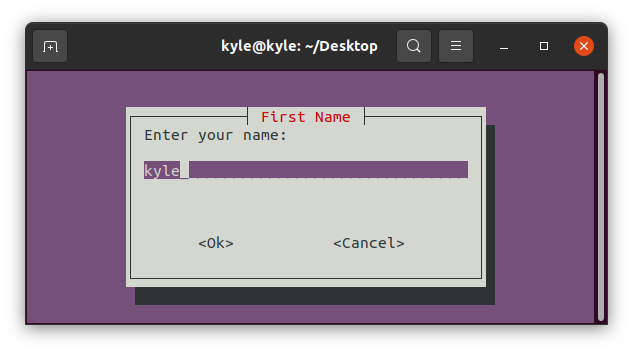
You can get the user input when writing a script and save it for use with other things. However, whiptail sends input to the stderr. Therefore, you need to reverse the direction of the input to display on the stdout instead. To achieve that, you need to add 3>&1 1>&2 2>&3.
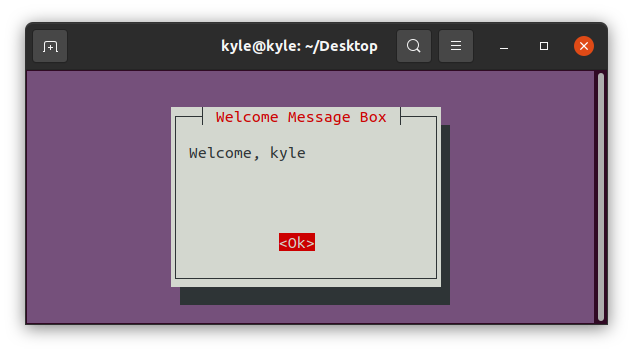
Let’s create a Bash script that asks users to enter their name and then display it with a welcome message using a message box.
Run the script. The output should be first an input box, then a message box.
The message box will display the name entered.
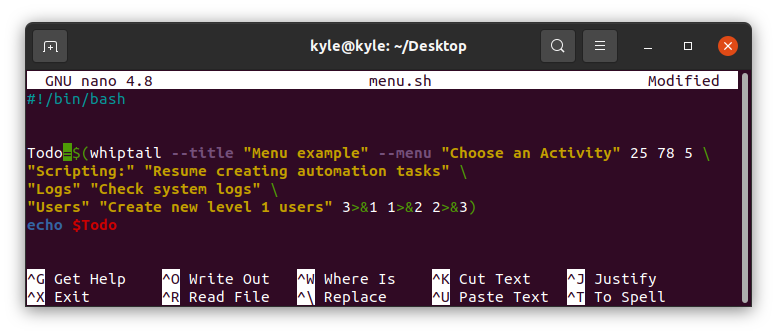
7. Menu Box
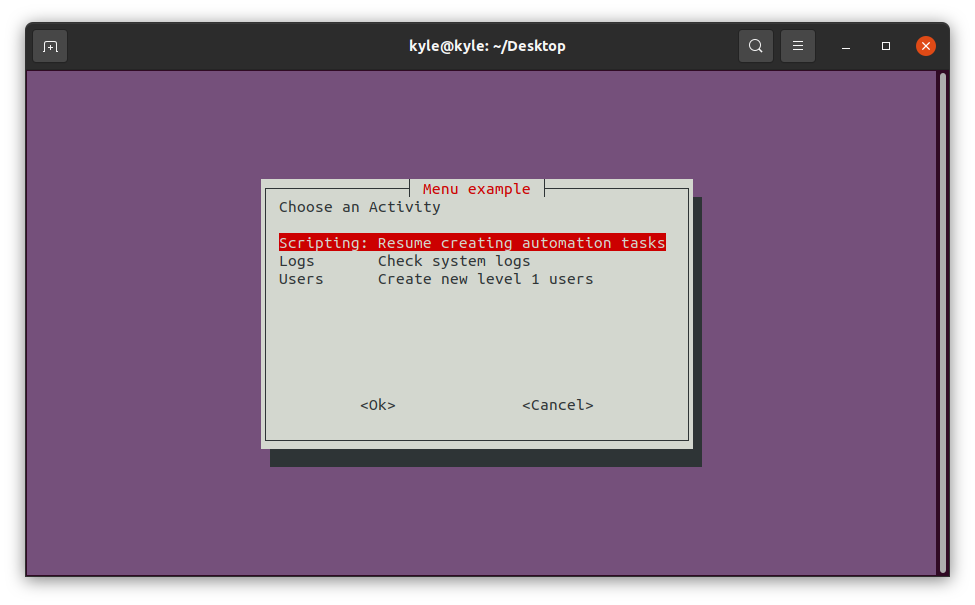
The user only needs to press the enter key for a menu bar to select a menu item. Furthermore, no default item gets set. The selected item gets returned to stderr.
The output will be:
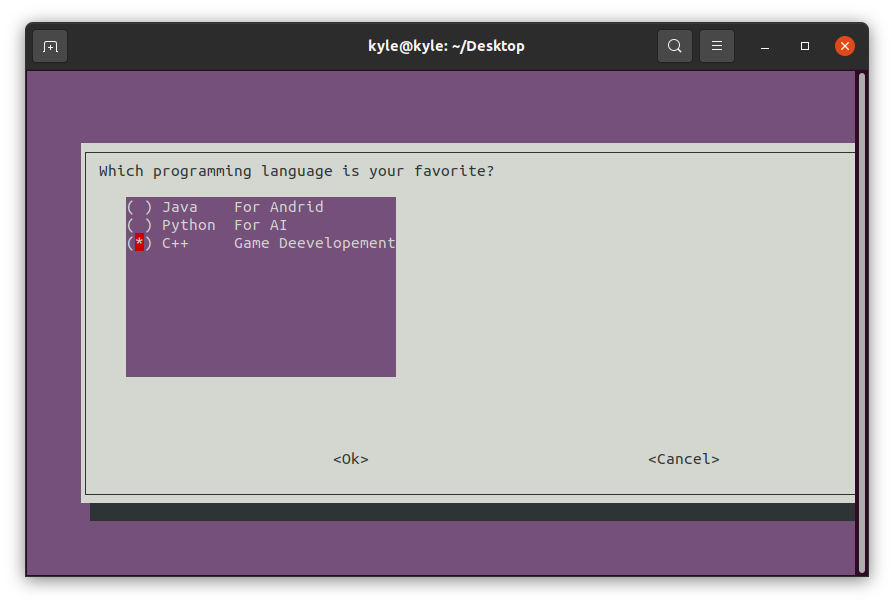
8. Radiolist Box
When the user needs to select only one option, you can choose to use a radiolist.
We will create a list of options, where the user can only select one. The selected item will be displayed on the command line. Press the spacebar and then hit the enter key to choose an item.
The output will display on the following command line:
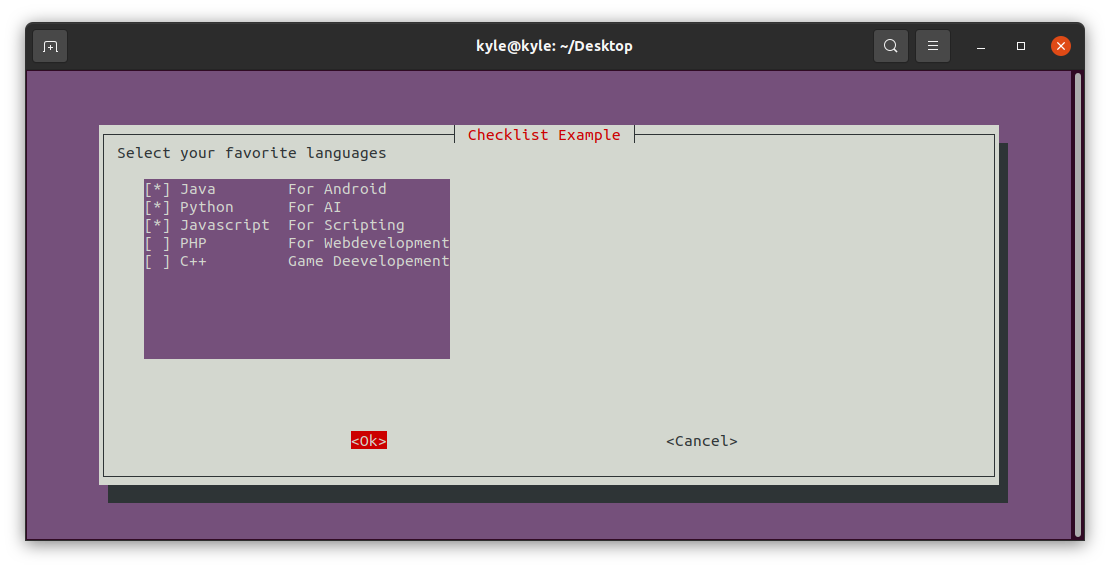
9. Checklist Box
It works in the same manner as a radiolist, but you can select more than one item with the checklist. Moreover, you can set the default values by setting them ON.

Our checklist display box:
The output:

Conclusion
whiptail offers you different dialog boxes for various activities. In this article, we’ve covered most of the whiptail boxes you can use. How you choose to display the output of the scripts is entirely based on your preference. However, you can use the command line or whiptail boxes provided it works for you. Also, check out the whiptail man page and the LinuxHint website for more tips.

