Google Chrome is available on most platforms, which include Android, IOS, Windows, macOS, and most Linux distributions.
With features like no other, no doubt you’d want to switch to Google Chrome from your default browser. This guide is meant to serve as a tutorial on how you can make Google Chrome the default browser in Ubuntu.
We’ll cover the method of installation, along with how to make Chrome the default browser and a method on how to remove Chrome in case of any errors.
It should be noted that we’ll be using Ubuntu 20.04 LTS for this tutorial, sudo apt-get purge google-chrome-stablehowever, the methods discussed in this guide shouldn’t differ much from any other version of Ubuntu.”
Installing Google Chrome on Ubuntu Using Terminal
First and foremost, you’ll need to make sure that Google Chrome is installed on your system. The installation method will make use of the Command Terminal. While the procedure may look daunting, the process of installation can be completed with just a few commands.
If Google Chrome is already available on your device, then you can proceed to the next section. If not, then follow these steps to ensure a seamless installation.
Start by opening the Command Terminal. The shortcut for opening the Terminal is Ctrl + Alt + T
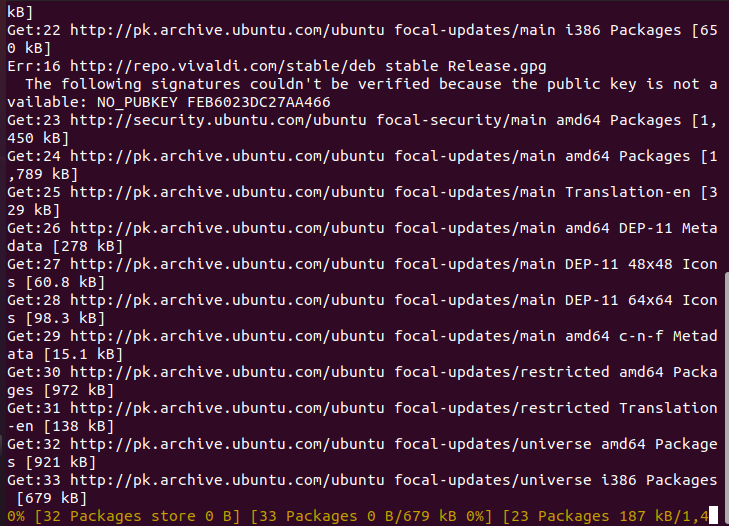
As soon as the Terminal opens, type the following command:
![]()

This command will ensure that all packages and repositories are updated to their latest versions.
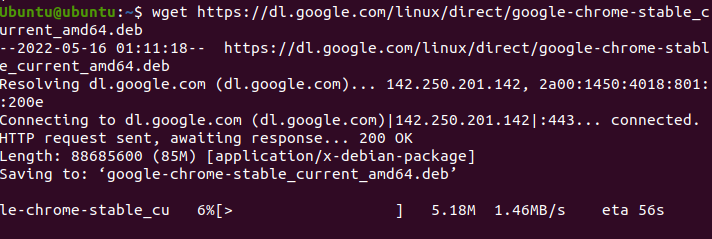
Once the update is completed, type the following command to download Google Chrome on your system:
This command will proceed to download Google Chrome. Wait for the download to complete, and type the following to install Google Chrome
Wait for the installation to complete, and voila! Google Chrome is now installed on your system. If this method didn’t work out for you, you could try the GUI-based approach.
Installing Google Chrome on Ubuntu Using Terminal
This method makes use of Ubuntu’s Graphical User Interface. If you’re someone who has been using Windows, this method will seem more familiar as the installation method resembles that of Windows.
By default, Ubuntu comes with Mozilla Firefox installed. We’ll be using it to install Google Chrome.
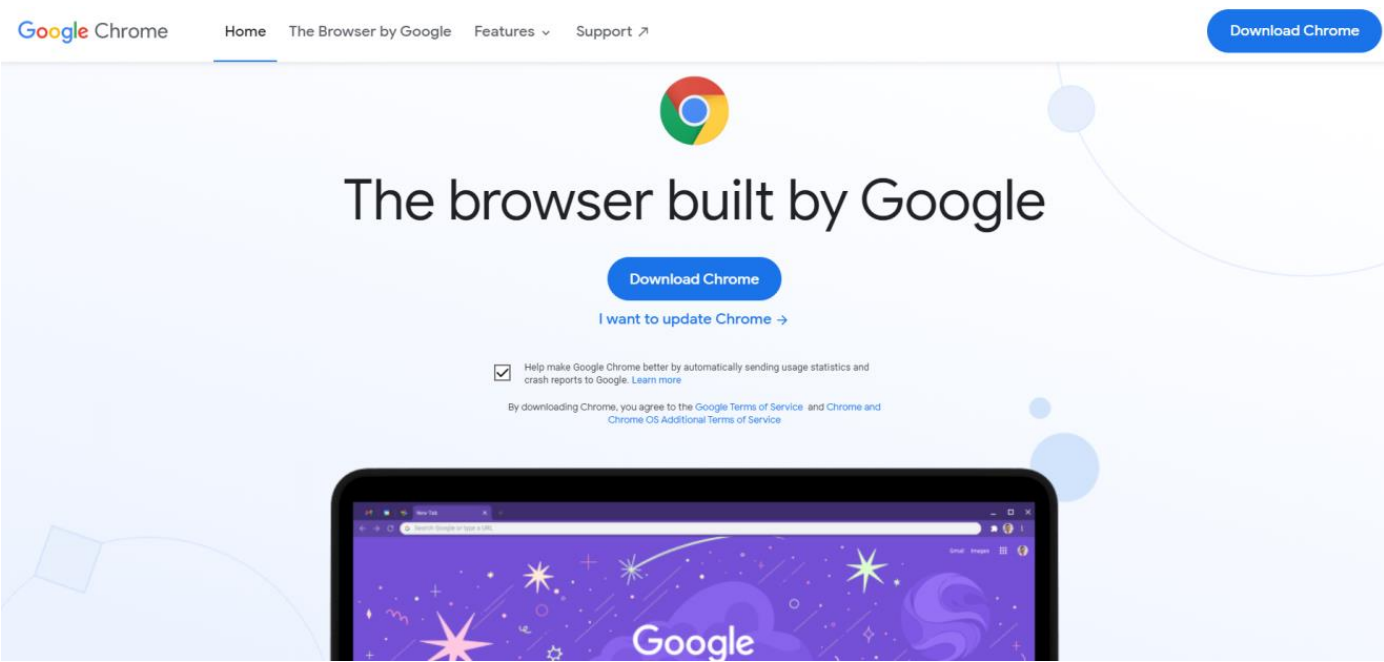
Start by opening Mozilla Firefox and type in “Google Chrome” in the search bar. Alternatively, you can click here to directly go to the download link.
Click on Download Chrome. When prompted whether to use .deb or .rem, choose .deb as Ubuntu and select “Accept and Install”.
Click on Save File and press OK.
Once the download finishes, double-click the downloaded file. A new window should appear. Click on “Install”.
Wait for the installation to finish. With this, you should now have Google Chrome installed on your system.
When you launch Google Chrome for the first time, a window should appear asking whether you’d like to set Google Chrome as the default browser. Check that box and select OK.
In case you already had Chrome installed and wish to make it your default browser, proceed to the next step.
Making Chrome the Default Browser
Follow these steps to make Google Chrome the default browser.
On your Ubuntu desktop, click on the “Show Applications” icon, which should be located at the bottom-left corner of your screen, and select Settings.
In the Settings menu, click on Details 🡪 Default Applications.
In the Default Applications menu, navigate to the “Web” category and select Google Chrome.
If you followed the steps correctly, you could say that you have learned how to make Google Chrome the default browser on your system.
Removing Google Chrome From Ubuntu
In case you encounter any errors or wish to remove Google Chrome, you can do so with the help of the Command Terminal.
Follow these steps to remove Google Chrome from your system.
First, open the Command Terminal on your system. The shortcut for opening the Terminal is Ctrl + Alt + T.
Once the Terminal opens, type the following command:
This will update all packages on your system.
Once the update is complete, type the following command:
Alternatively, you can use the following commands:
With this, you have learned to remove Chrome from your system.
Conclusion
We hope this guide helped you learn how you can make Chrome the default browser on Ubuntu. We covered the methods of installing Chrome on Ubuntu. Afterward, we covered the method of making Chrome the default browser in Chrome. With this, we hope that you have a wonderful experience using one of the best browsers available.


