MailSpring is a free and open-source email client that can easily be installed on different operating systems, including Linux. It’s a lightweight and powerful solution that adds several features, such as offline search, multi-accounts setup, link tracing and much more.
This article provides you with detailed guidelines to install and use MailSpring on Ubuntu 22.04.
How to install and use MailSpring on Ubuntu 22.04
There are generally two metho to install MailSpring on Ubuntu 22.04 which are as following:
- Install MailSpring through Snap Store
- Install MailSpring through Deb file
Let’s discuss each method for installing MailSpring on Ubuntu.
1: Install MailSpring through Snap Store
Snap Store is a perfect platform for installing the MailSpring application on Ubuntu 22.04. Snap Store is an application installing platform that allows users to install an application through a single command without needing to install several packages or dependencies.
To install MailSpring using Snap Store, you can use the following command.
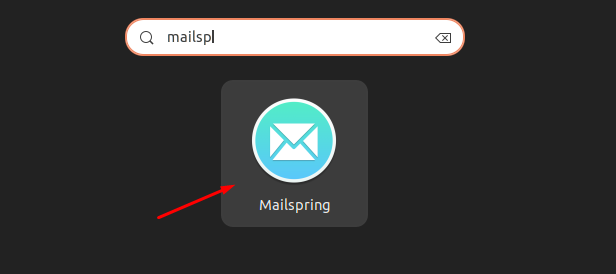
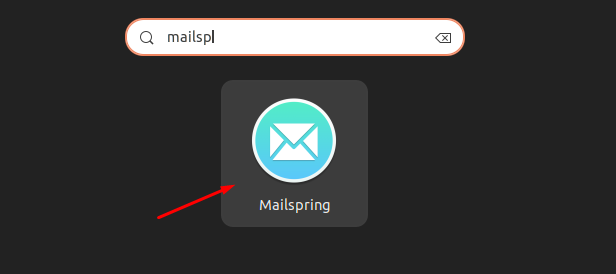
Once the installation completes, you can open the MailSpring application from Ubuntu’s application search.
Removing MailSpring from Snap Store
To remove the MailSpring application from Snap Store, you can use the following command.
2: Install MailSpring through deb File
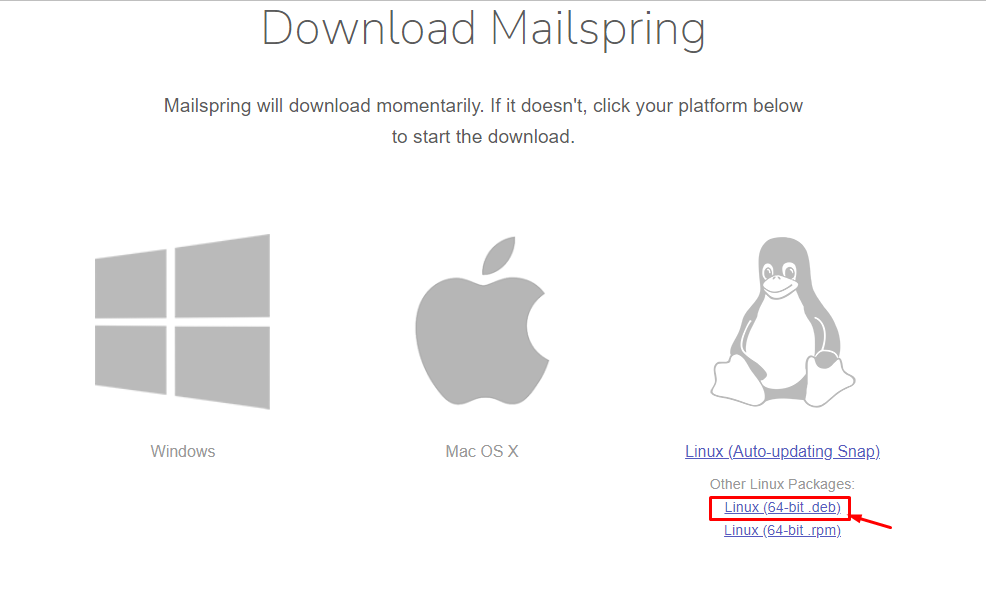
To perform MailSpring installation from the deb file, you will first need to download the application’s deb file which can be downloaded from the official website.
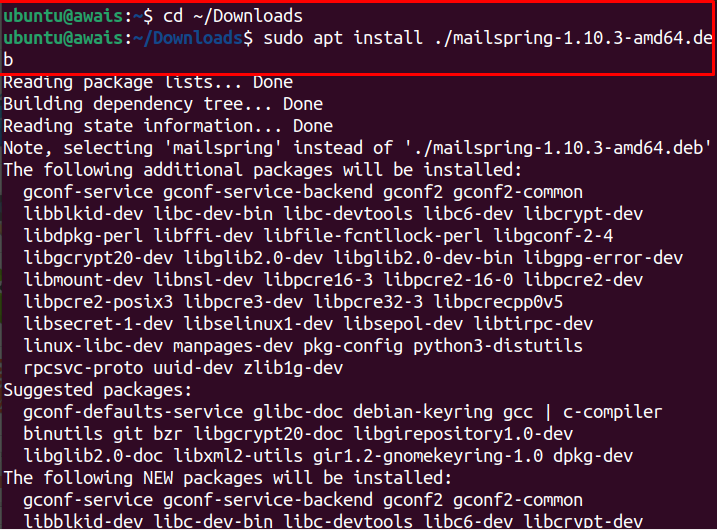
Once the downloading completes, check where the file is downloaded. In our case, it’s downloaded in the “Downloads” directory. So, execute the following commands to install the deb file.
$ sudo apt install ./mailspring-1.10.3-amd64.deb
Enter “Y” to confirm the MailSpring installation.
Removing MailSpring from Ubuntu 22.04
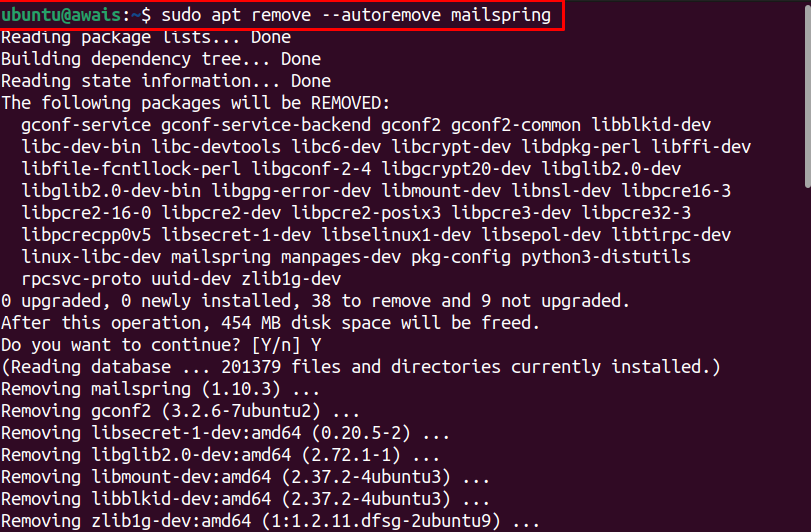
If you want to remove the MailSpring application installed from the deb file, you can use the following command.
Using MailSpring on Ubuntu 22.04
After successfully installing MailSpring on Ubuntu 22.04 from any of the above methods, it’s now time to open the application from the Ubuntu search bar or through the command line using the “mailspring” command.
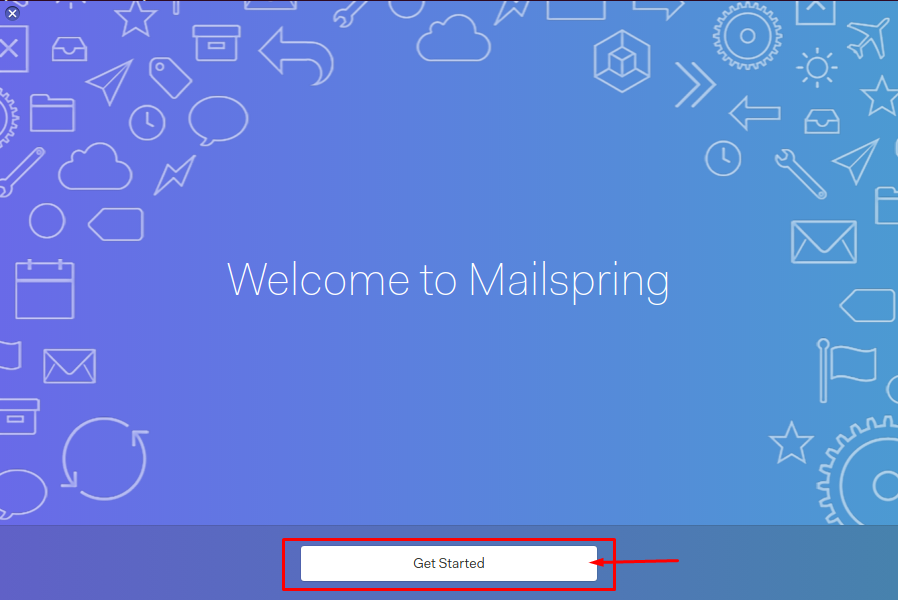
On opening the application, you will see a Welcome message. To move forward, choose the “Get Started” option.
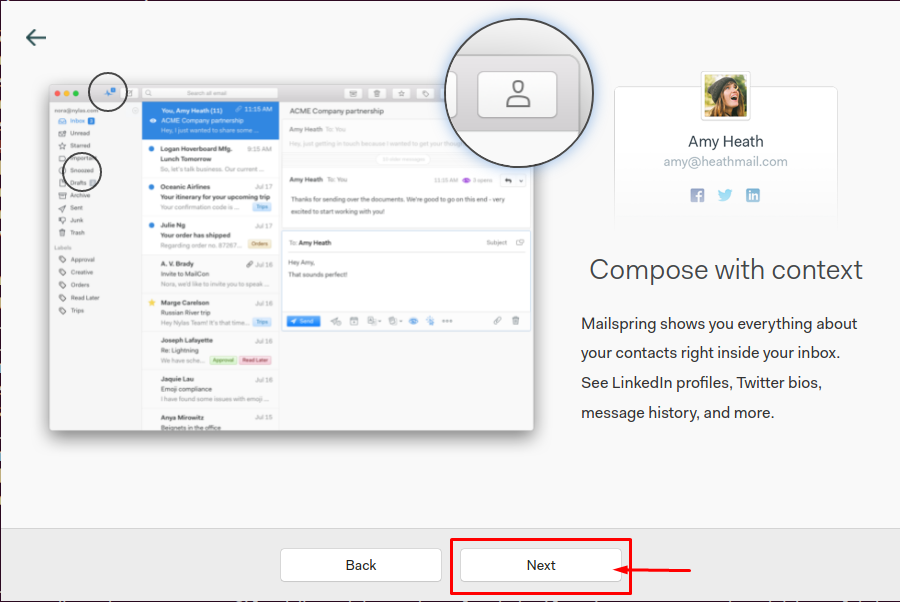
Choose to go with the “Next” option.
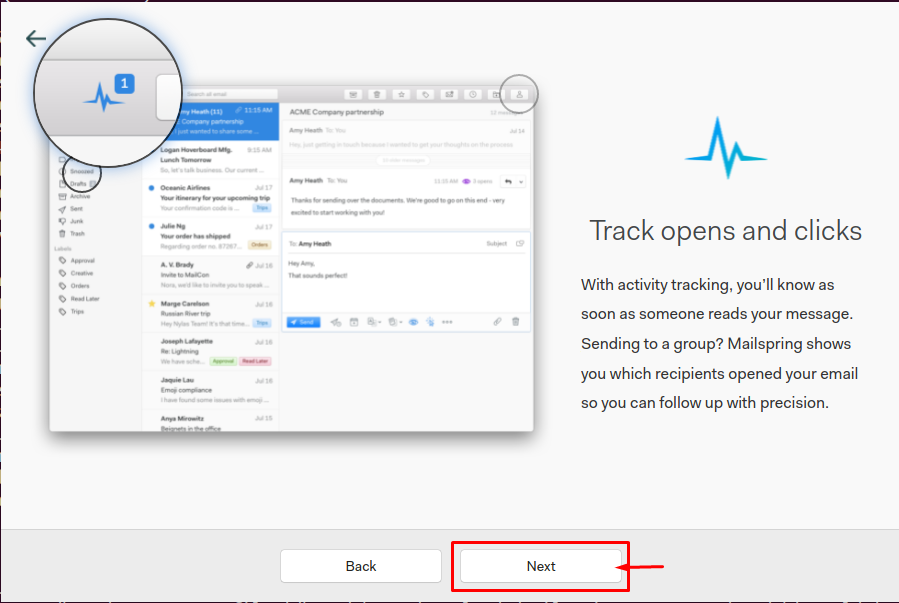
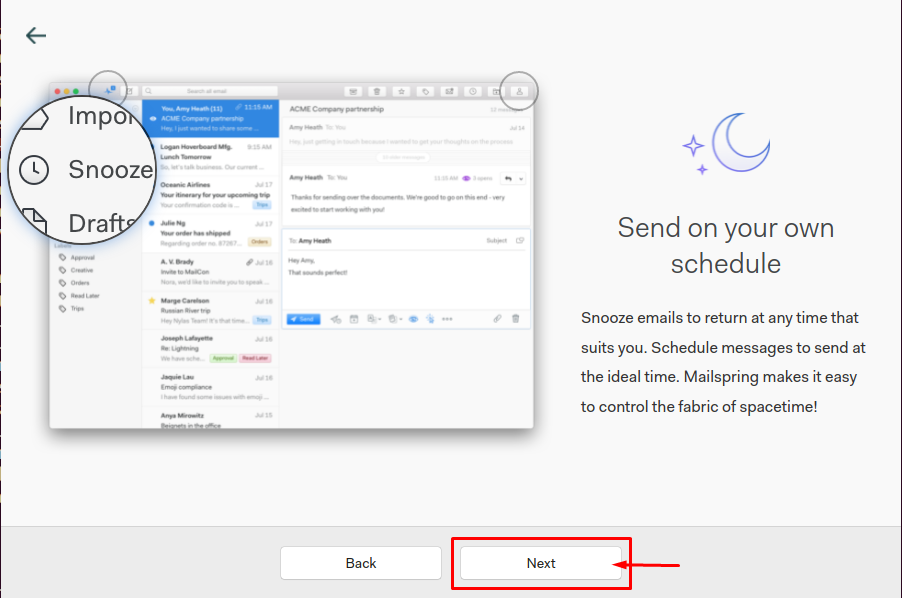
Again choose the “Next” option in this step.
Follow the same highlighted in the image below.
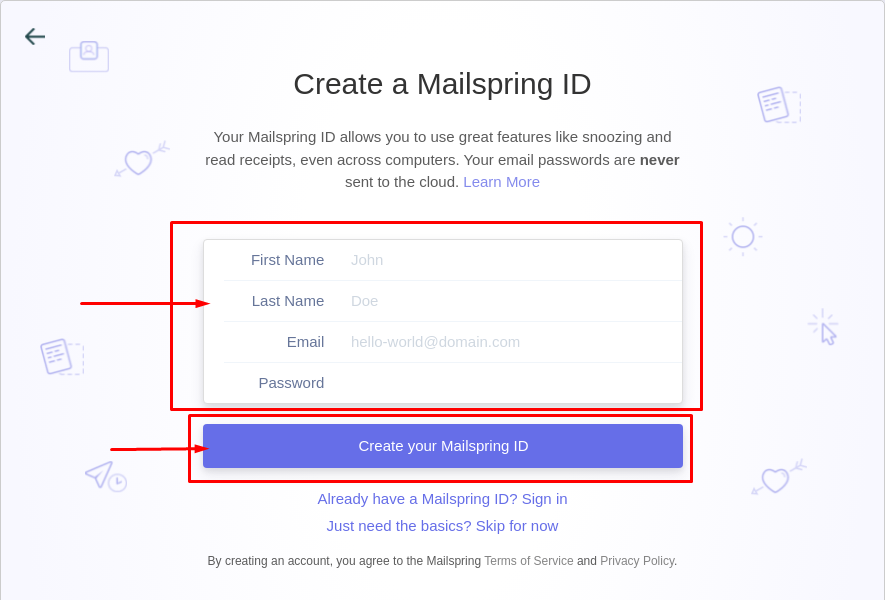
Next, create a MailSpring ID by filling the required option and then click on the “Create your Mailspring ID” button.
If you have already created the email account you can click on the “Already have a MailSpring ID? Sign in” option.
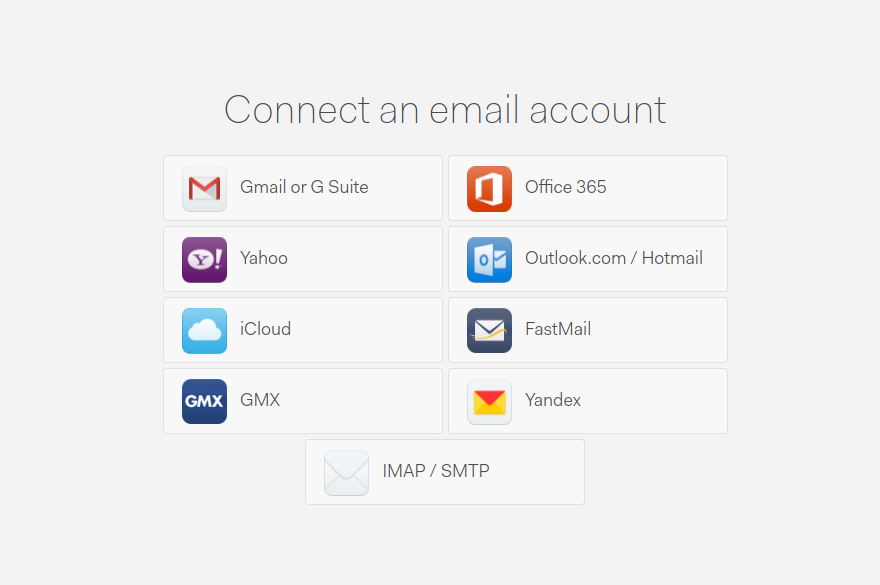
When you sign in, an onscreen window will appear that tells you to connect an email account with MailSpring. Choose an account according to your choice. You must have an email ID on an account you pick from the below list.
In our case, we are picking the Gmail account. When you click on the account, you will be directed to the server page as shown below.
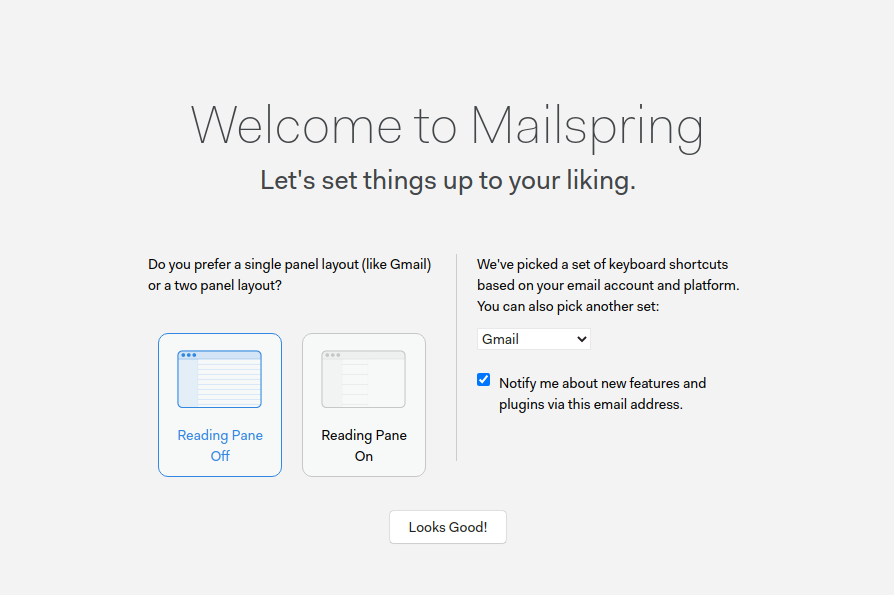
You will need to sign in to your account and when it completes, you have to do one final step, which is to select the Panel layout according to your choice and then click on the “Looks Good!” button.
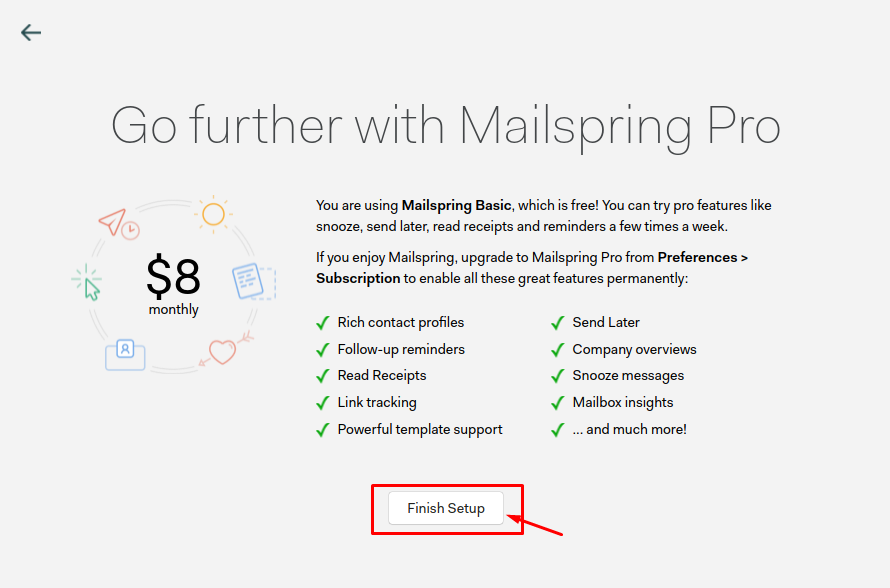
To complete the process choose to go with the “Finish Setup” option.
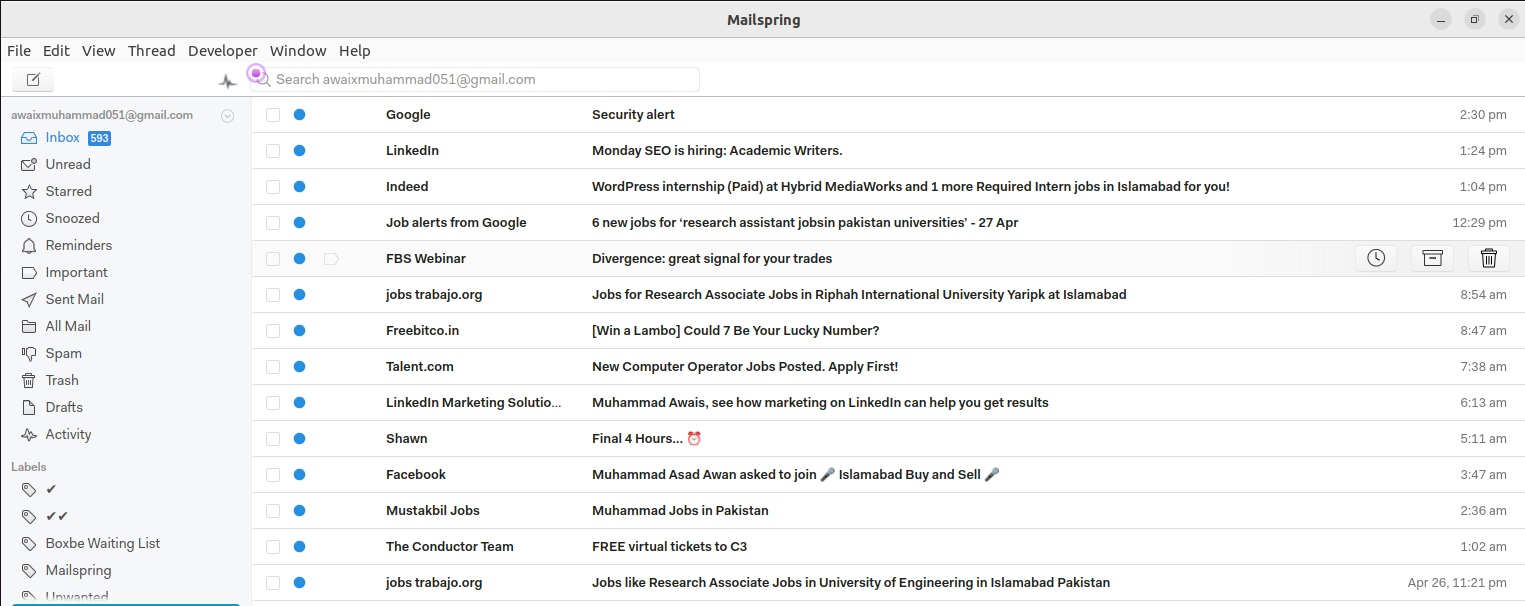
This directs you to the MailSpring dashboard, where you will see your Gmail account messages on MailSpring email client.
Now, you are able to send and deliver messages through the MailSpring application.
Conclusion
MailSpring is an open-source and robust email client that will provide you the freedom to exchange email with others directly onto your desktop. It’s a lightweight application that you can easily install on Ubuntu 22.04 through several methods discussed above. You can pick the one according to your choice and start using the email service right onto your Ubuntu desktop


