We can easily adjust different colors, exposures, sharpness, and many more. There are various features and options like a color mask, image crop, sampler, Histogram, etc. It is easy to find specific images due to sorting and star rating options. However, there are no filters available for sorting photos. Nowadays, many people are looking for a method to install and use LightZone on Ubuntu. That’s why we are writing this tutorial to provide brief details to use LightZone easily.
Features of LightZone
Here is the list of the best features offered by LightZone:
- LightZone has a lens correction tool.
- It has a vertical and horizontal flip button.
- It has an amazing HiDPI support
- It also has a film grain tool.
How to Install and Use LightZone on Ubuntu
First, we will explain the process of installing LightZone and then ways to use it in Ubuntu.
Install LightZone on Ubuntu
Open Linux using the keyboard shortcut of CTRL+ALT+T or open it from the search bar.
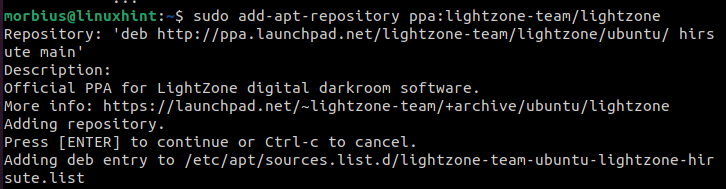
Now execute the below command to download all of the required repositories to install LightZone:
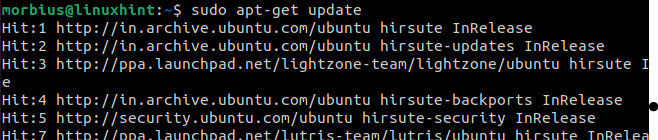
After that, execute the following command to update your system as per the latest versions available.
Finally, run the command given below to download the image editor program for all the dependencies required:
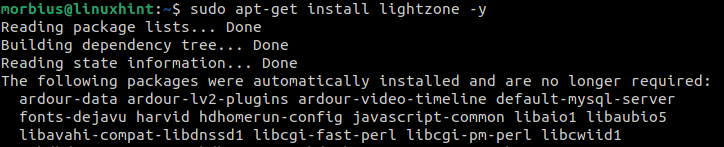
In the above command, we have a use -y which means, the system will not require permission to continue the download process.
Run and Use LightZone Ubuntu
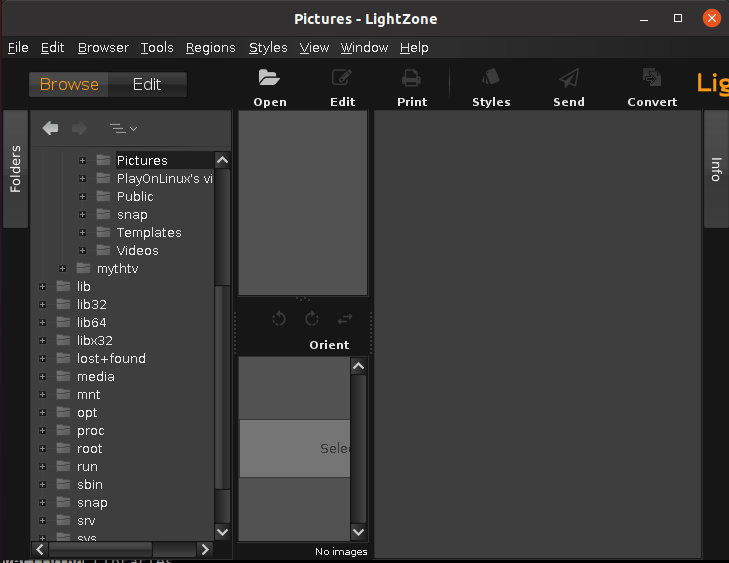
To run LightZone, go to the applications and click on its icon or run the below command to open and use LightZone:
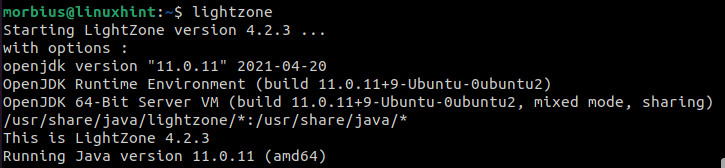
After opening LightZone, you start editing your images by selecting them from their specific directories.
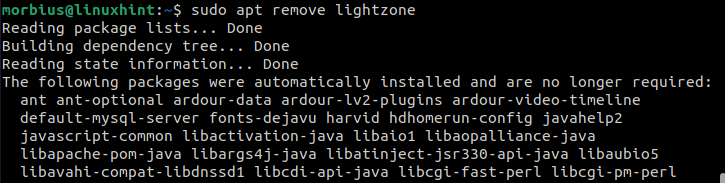
How to Uninstall LightZone on Ubuntu
We can remove LightZone from Ubuntu Software & Updates utility by going to the other software tab and then removing it.
In a Nutshell
So this is how we can easily install and use LightZone on Ubuntu. LightZone can work as an excellent tool to edit images on your Linux machine. If you liked this tutorial, please go through our official website, as we have a massive list of informative tutorials like this one.