The cross-platform support of Wireshark allows you to get the same interface and functionality on Windows, Linux, and macOS. Therefore, the network administrators of all the platforms exercise this utility to analyze the packet traffic over the network interface. This post lists various steps to install and configure Wireshark on Ubuntu 22.04.
How to install Wireshark on Ubuntu 22.04
Wireshark is available on the official repository of Ubuntu 22.04. Therefore, it can be obtained using the apt command on Ubuntu 22.04. For a better understanding, this section is divided into the following sequential steps:
Step 1: Wireshark is available on the official repository of Ubuntu 22.04 therefore it is recommended to update the core libraries of Ubuntu 22.04:
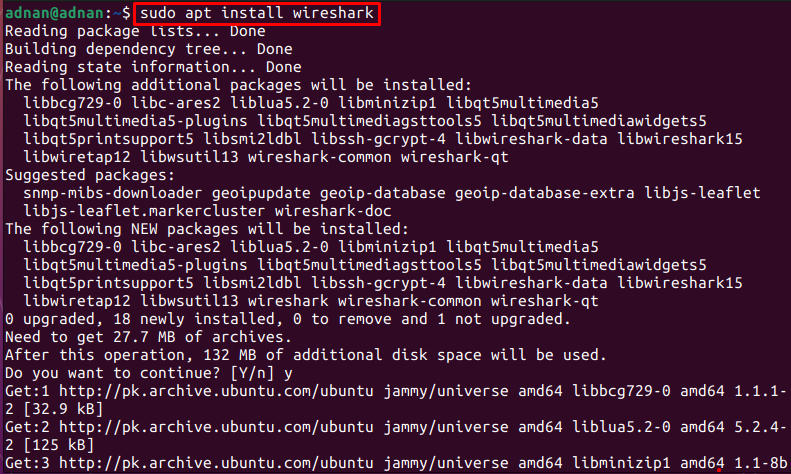
Step 2: Once the libraries are updated, make use of the following command to get Wireshark on Ubuntu 22.04:
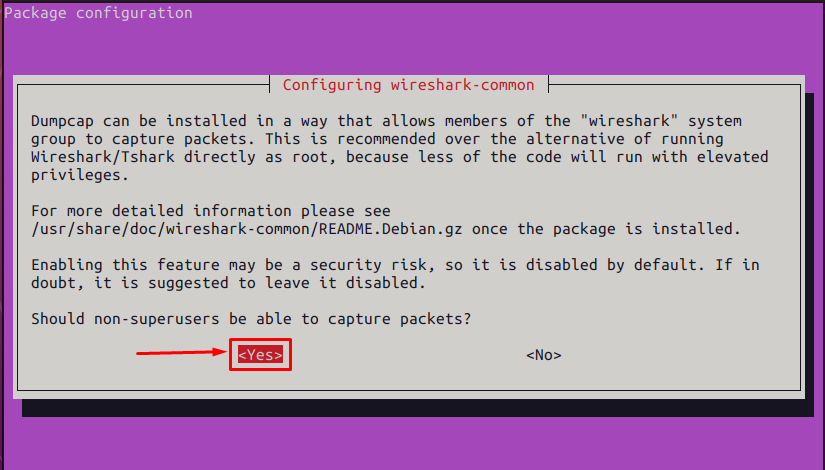
During the installation of the Wireshark, the following window will appear where you must select either “Yes” or “No” to allow or disallow the root users’ access to capture packets on Wireshark. For instance, we have opted “Yes” to proceed further:
Step 3: You can verify the installation of the Wireshark on Ubuntu 22.04 by issuing the following command:
How to configure Wireshark on Ubuntu 22.04
You can use Wireshark to analyze the packets as a root user. However, you must add users to the Wireshark group to allow them to analyze packets on Wireshark.
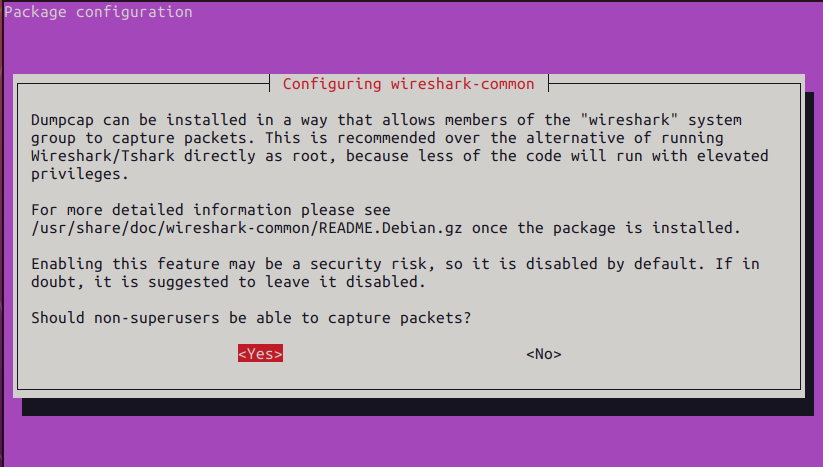
Step 1: If you want to change the permission to allow/disallow non-root users, you can do it via the following command:
You can navigate to “Yes” or “No” by using the tab key.
Step 2: As we have opted “Yes“, so, we are adding a user named “adnan” to the Wireshark group by issuing the following command:
Restart your Ubuntu 22.04 to apply the changes successfully:
Step 3: Once all the steps are performed successfully, you can launch Wireshark from the terminal as follows:
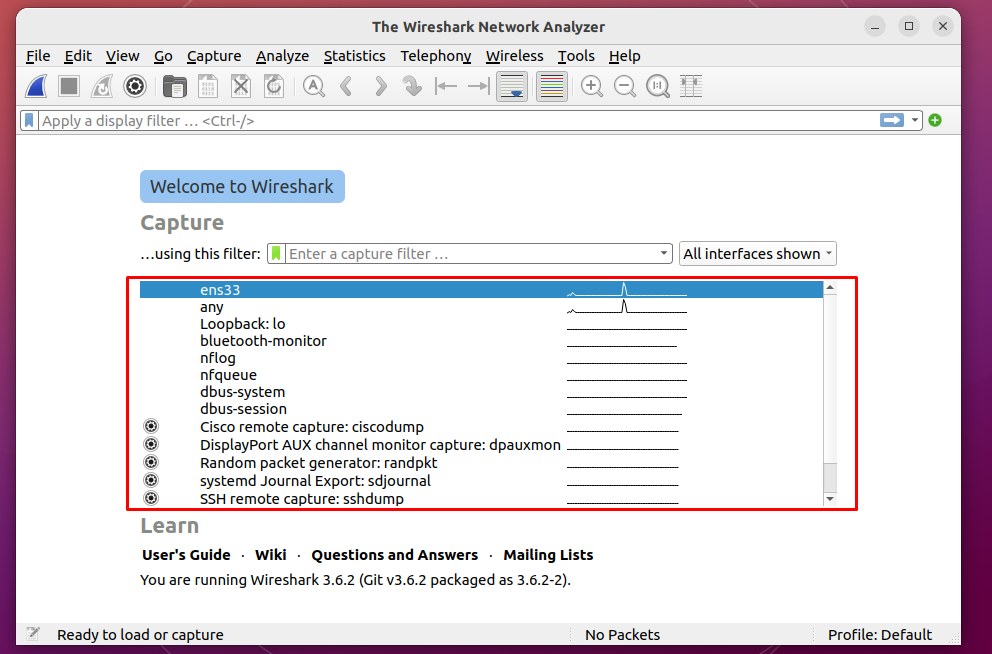
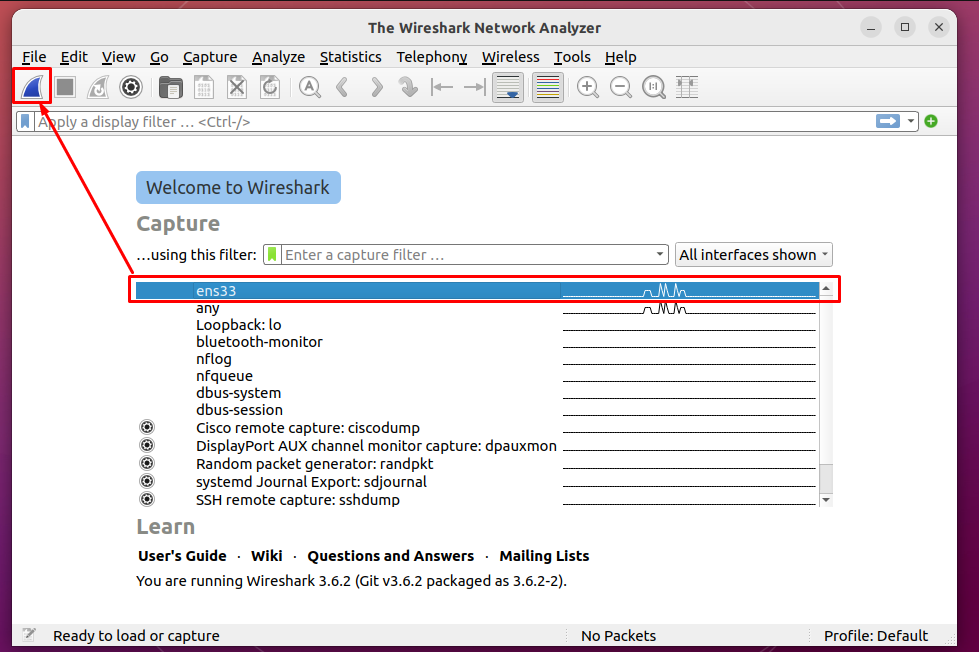
The welcome window of Wireshark contains the available interfaces.
Choose any interface and click on the shark tail symbol to get the details of the packets on that interface:
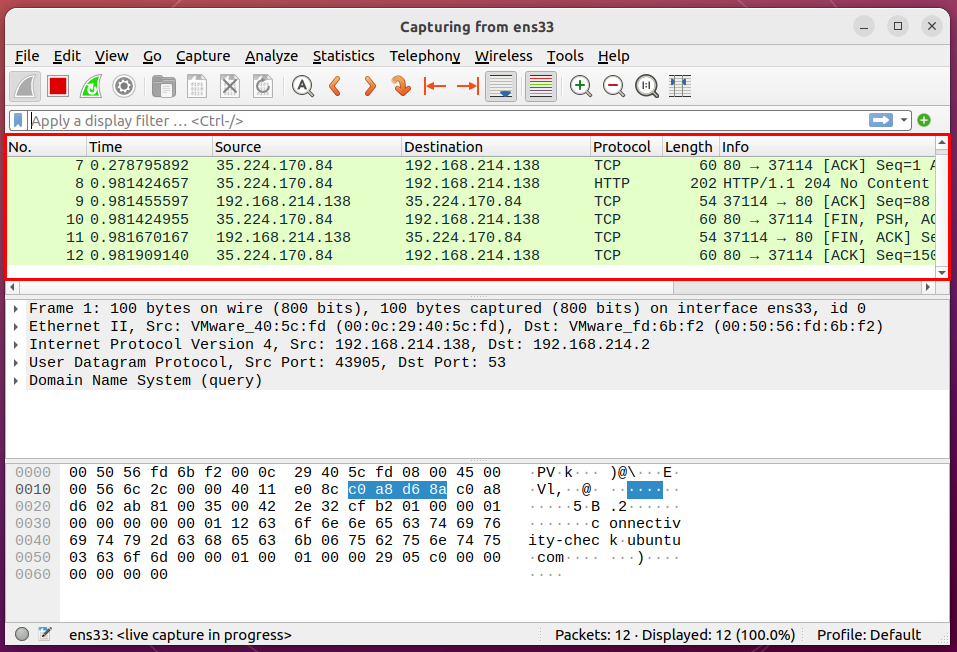
Upon clicking, the packet analysis of that interface will be started as can be seen in the following image:
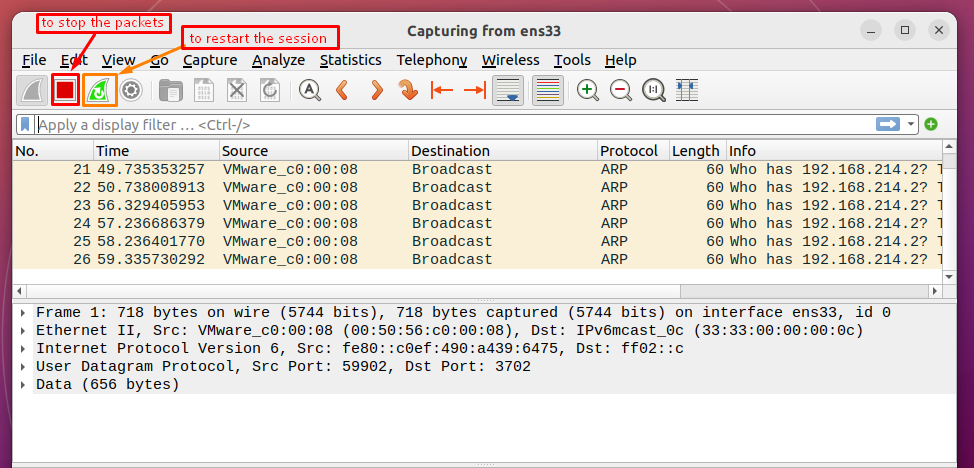
You can restart or stop the current analysis of the packets by navigating to the “green shark tail icon” or the “red” stop icon respectively:
If you try to close the Wireshark, a dialogue will appear that will ask you to save the information as shown below:
Here you go with the Wireshark!
How to remove Wireshark from Ubuntu 22.04
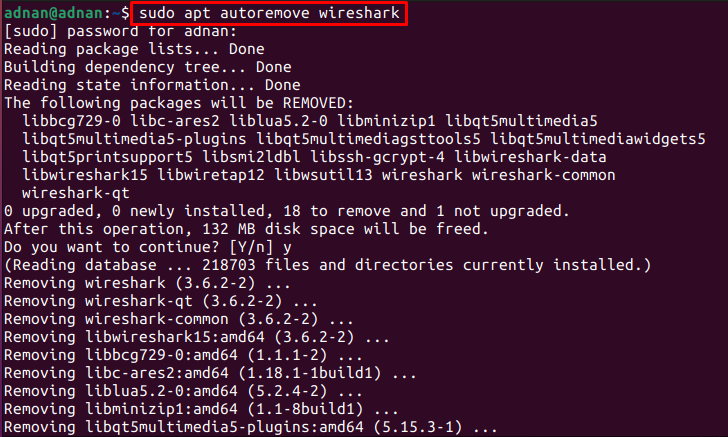
Wireshark is the favorite tool for network administrators to analyze the packets on the network interface. However, it may not suit a regular computer user. The Wireshark can be removed from Ubuntu 22.04 by using the following command:
The above-stated command will remove the Wireshark alongside the other packages installed with it.
Conclusion
Wireshark is a cross-platform graphical tool to analyze the packets on a network interface and use them for analysis. The data/results can be stored for offline analysis as well. The extended functionality of Wireshark allows you to filter the packets or analyze the specific subset of packets. In this post, you have learned the installation as well as the configuration of the Wireshark on Ubuntu 22.04.


