The Jupyter notebook can be accessed through the web browser where the source code can be built, and the graphics or the text can be created there.
Ubuntu 22.04 is the latest LTS release of Ubuntu. This article lists down the steps to install the Jupyter notebook on Ubuntu 22.04.
Prerequisites
We need to create a python virtual environment to get the Jupyter notebook inside that environment. Pip is the python package manager used to get the python packages or modules. The Python virtual environment can be created using the pip.
Therefore, we need pip to go through this guide. Firstly, install python3 on Ubuntu 22.04 via the following command.
You need to install pip as well via the following command.
The output of the command states that the python and its package manager are already installed on our system.
How to install Jupyter Notebook on Ubuntu 22.04
To install Jupyter on Ubuntu 22.04, you need to have a virtual environment. This section enlists various steps that lead to creating a python virtual environment and Jupyter in it.
Step 1: We require pip in multiple steps. Upgrade the pip using the below-mentioned command.
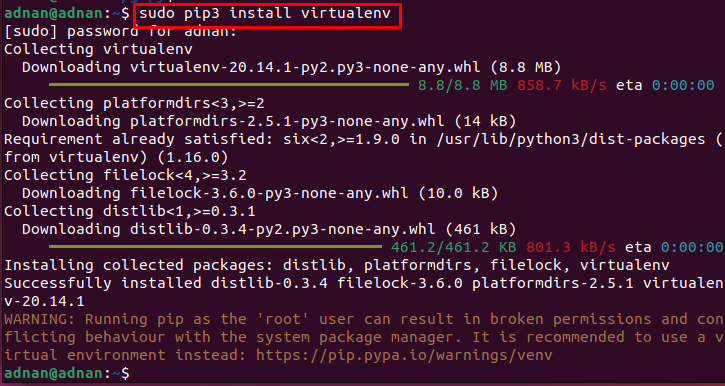
Step 2: Install the virtualenv tool of python which would be used to create a virtual environment.
Step 3: For a better usage of virtual environments, we have created a new directory and we create a virtual environment inside it.
$ cd jupy
Now, you are ready to create a python virtual environment. The following command will create a python environment named “jup_notebook“.
To activate and get inside that virtual environment, you need the following command.
The output shows that the virtual environment has been activated successfully.
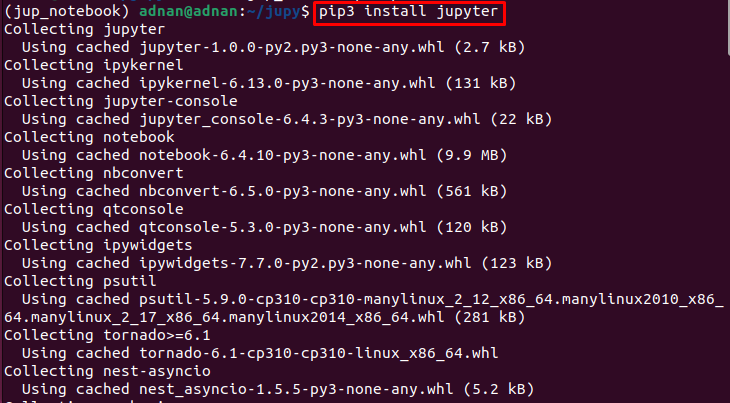
Step 4: It’s time for Jupyter. You can install Jupyter inside the virtual environment as follows. This command will collect, download and install all the packages required to install Jupyter.
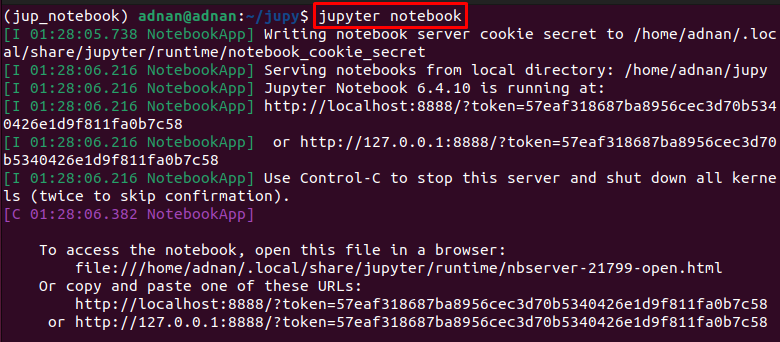
Step 5: Once the installation is completed, you can launch its web interface from the terminal with the help of the following command.
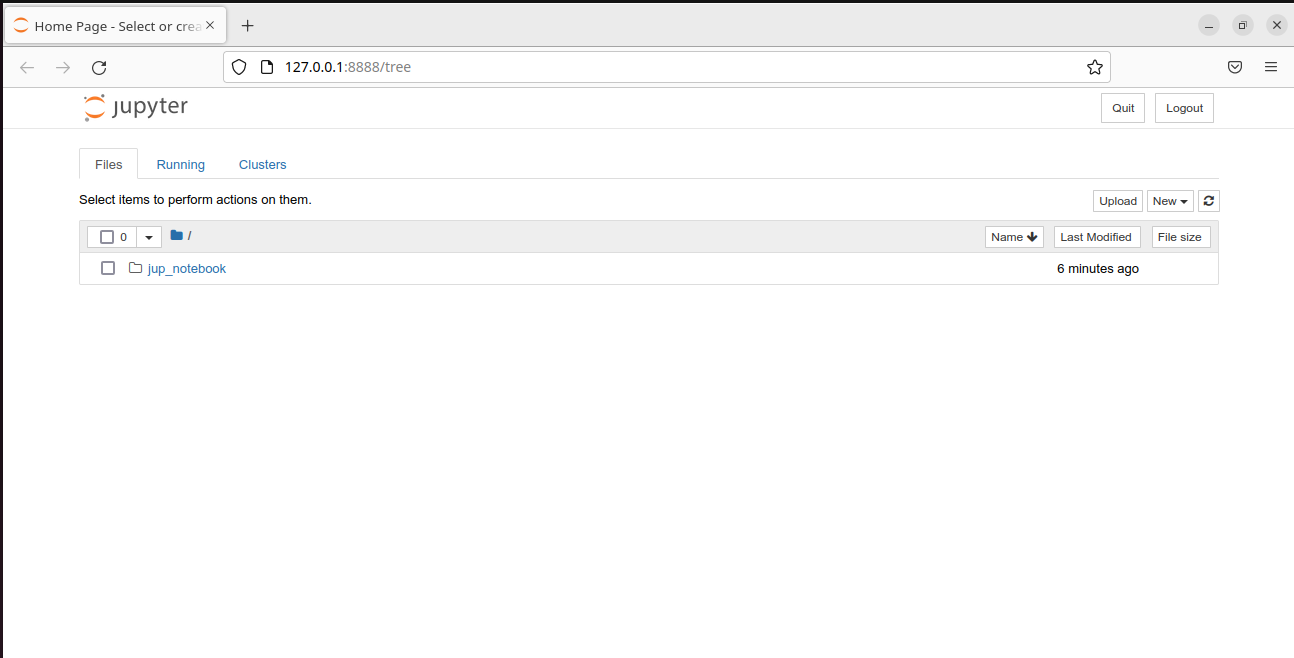
Upon successful execution, the following web interface is observed.
Here you go with the notebook server.
Conclusion
Jupyter notebook is a product of the Jupyter project. Jupyter notebook is a cross-platform package to share executable applications, text, and graphics for various users. This article provides the installation masterpiece of Jupyter Notebook on Ubuntu 22.04. To do so, a python virtual environment is created and the Jupyter notebook product is installed in it. Moreover, you would have learned to install python, pip, and virtualenv on Ubuntu.


