Don’t know how to check and update the java version on the Mac operating system? No worries! This write-up will provide a detailed guide in this regard. So, let’s get started!
How to check Java Version on Mac
We have to follow the below-listed steps to check which version of java is running on our Mac operating system:
First Step
The very first thing that we need to do is we have to click on the Apple icon. Consequently, a drop-down menu will appear, and we have to select “System Preferences”, as shown in the below snippet:
Second Step
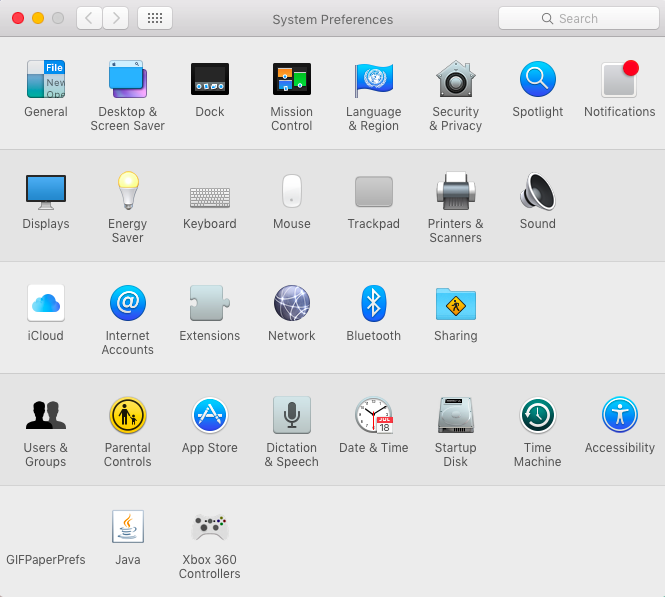
Clicking on the “System Preferences” will lead us to the following window:
Third Step
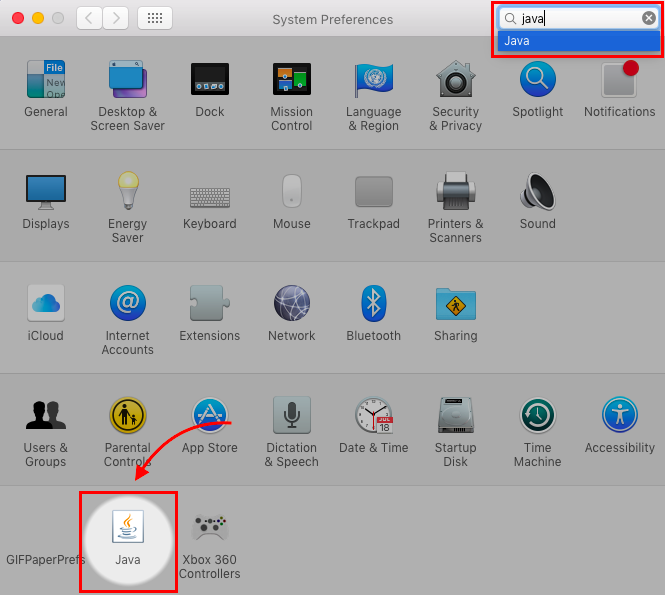
Now we have to search for “Java” in the search bar and click on the Java icon:
Fourth Step
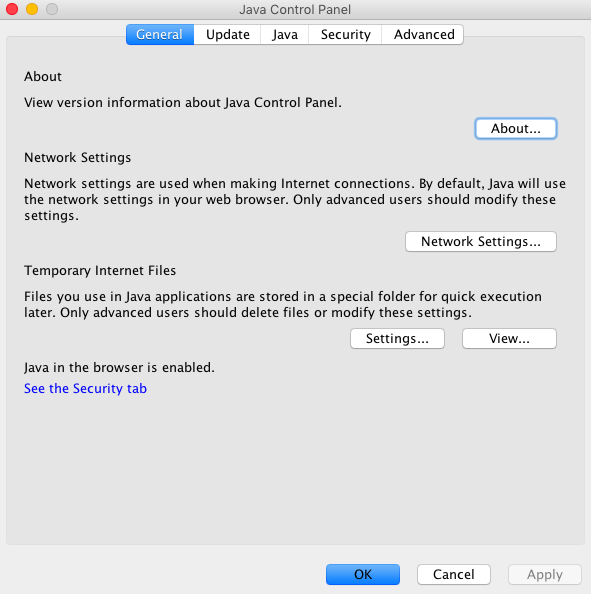
Clicking on the Java icon will open the “Java Control Panel”:
Fifth Step
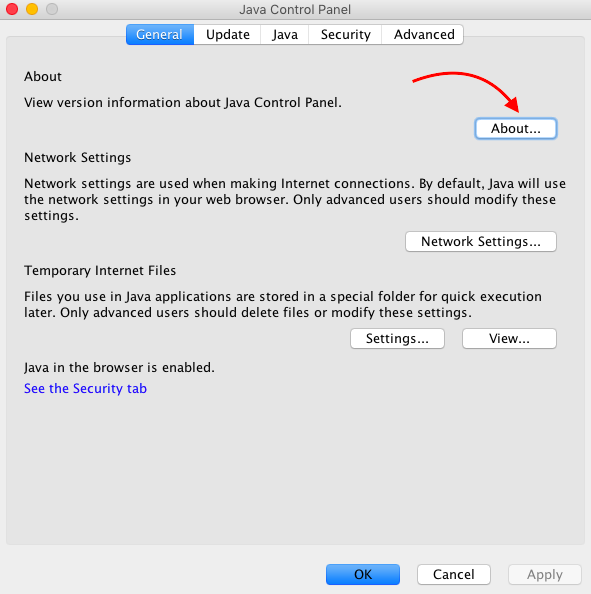
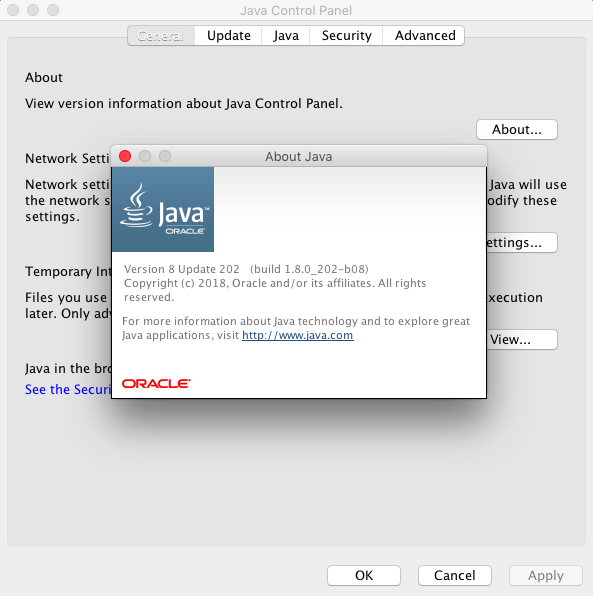
Next, we have to click on the About button;
as a result, a new window will be opened, which will show detailed information about the java version:
How to Update Java Version on Mac
Following the below-given steps will let us know how to update the java version on Mac operating system:
First Step
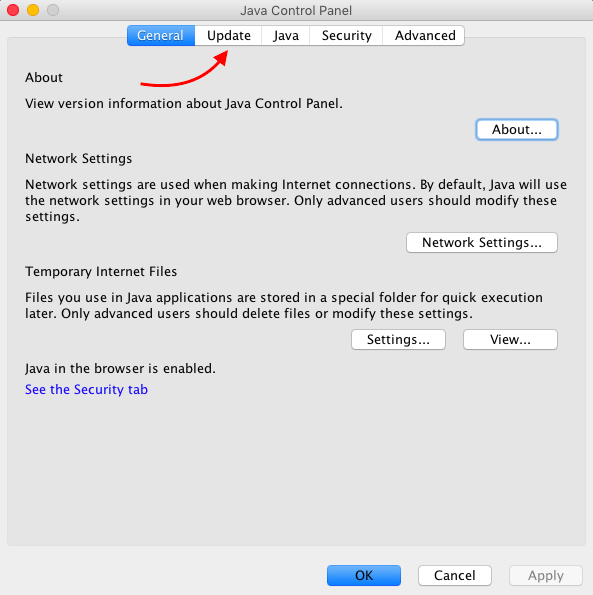
Open up the “Java Control Panel” and go to the “update” tab:
Second Step
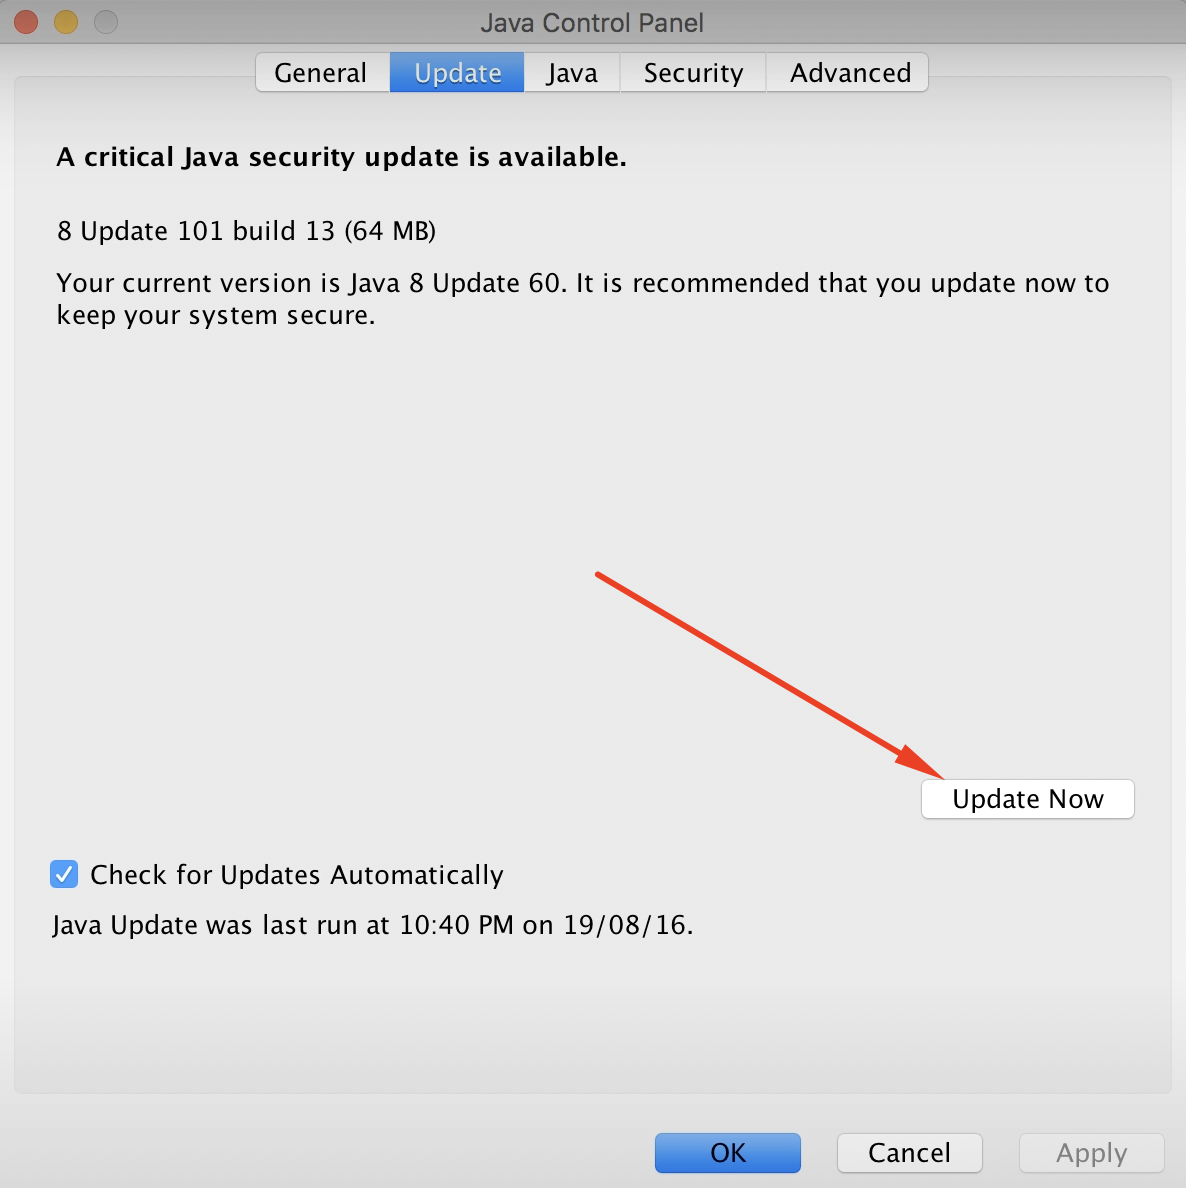
Once the update tab is open, click on the “update now” button to open the installer window:
Third Step
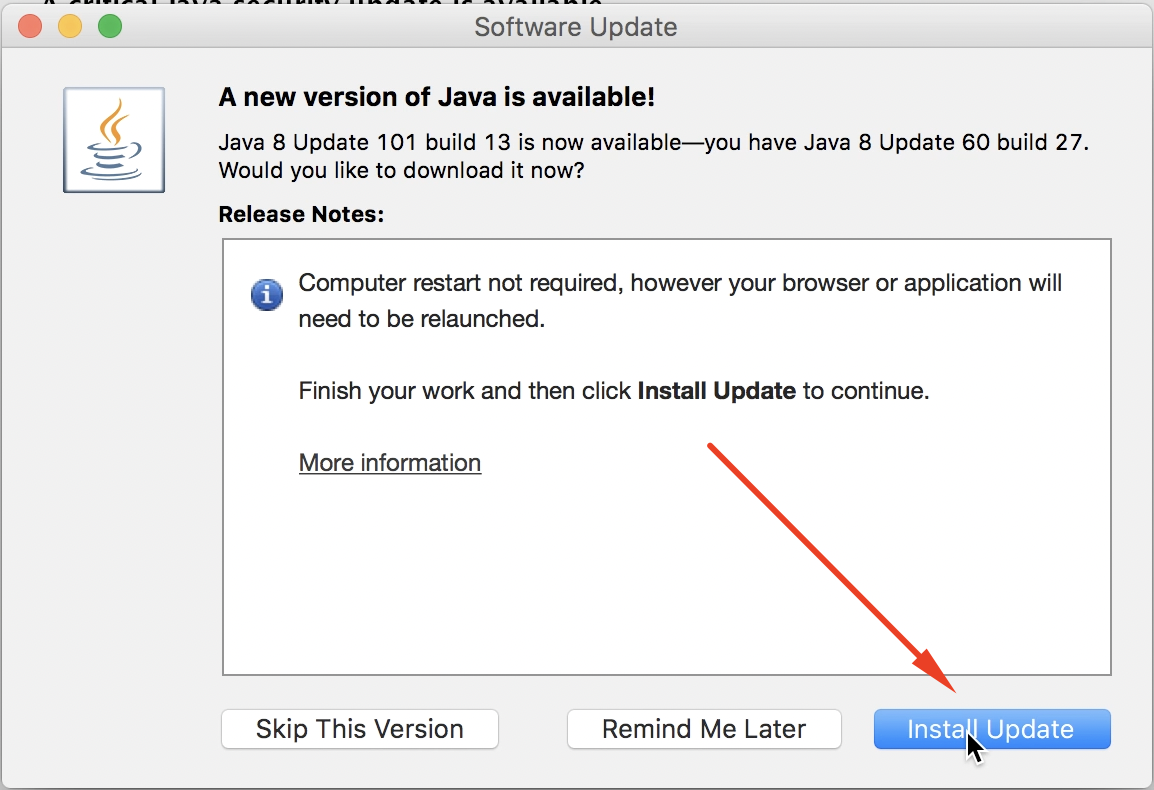
Next, we have to click on the “Install Update” button to install all the necessary updates on your Mac operating system:
Fourth Step
From the software update window appeared, click on the “Install and Relaunch” button:
The installation will start and finish in a while. Once the installation process is done, then the java application will relaunch on our system, or we can relaunch it manually to avail the functionalities of the latest java version.
Conclusion
To check the Java version on your Mac operating system, you have to select System preferences > Java > Java Control Panel, and finally, click on the About button. To update the Java version on Mac, firstly, you need to open the Java Control Panel then select the Update tab, and click on the “update now” button. Afterward, select the “Install Update” button, and finally, you have to click on the “Install and Relaunch” button to avail the services of Java’s latest version on your Mac operating system. This write-up presented a detailed understanding of how to check and update the java version on the Mac operating system.


