
In this write-up, we will install and configure Jenkins on the latest release of Ubuntu 22.04 using the terminal.
How to install the Jenkins on Ubuntu 22.04
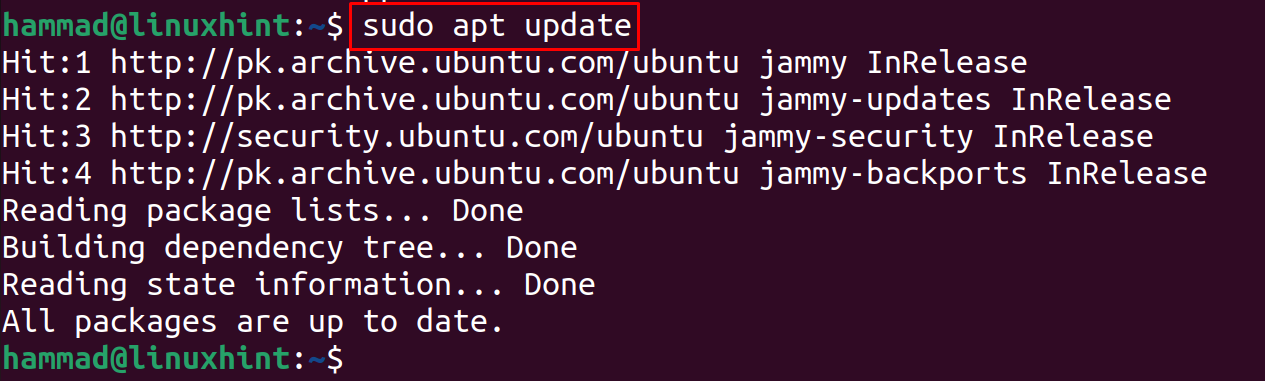
Before proceeding with the installation of the Jenkins, we will update the Ubuntu 22.04 repository to get the latest updates of all the packages available in the repository:
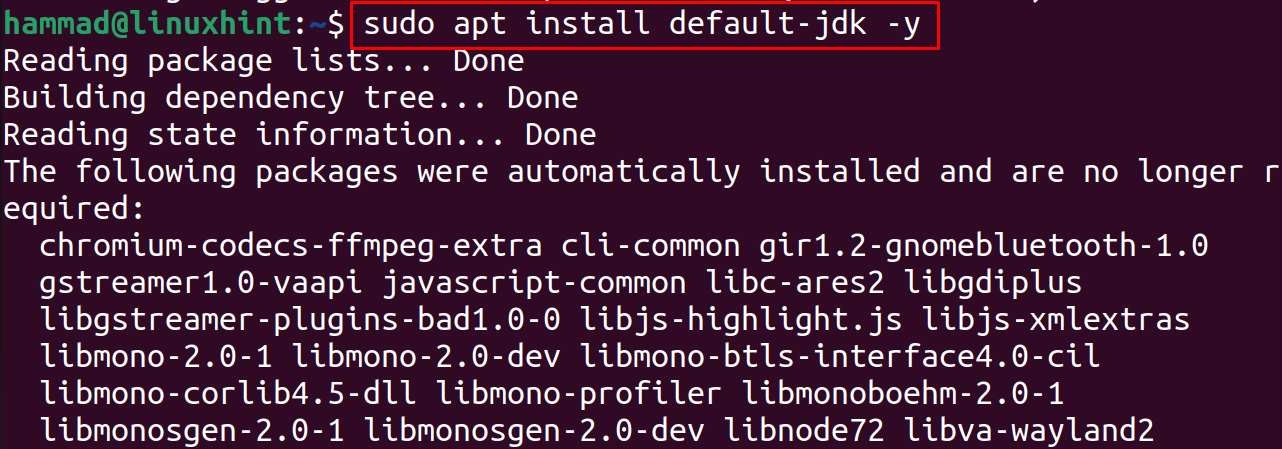
Now the jenkins package needs the JDK package, so we will install the JDK package:
Now we will import the GPG key of the Jenkins from its official website using the curl command:
/usr/share/keyrings/jenkins-keyring.asc > /dev/null

Now will add the repository of the Jenkins to the Ubuntu 22.04 default repository:
https://pkg.jenkins.io/debian-stable binary/ | sudo tee \
/etc/apt/sources.list.d/jenkins.list > /dev/null

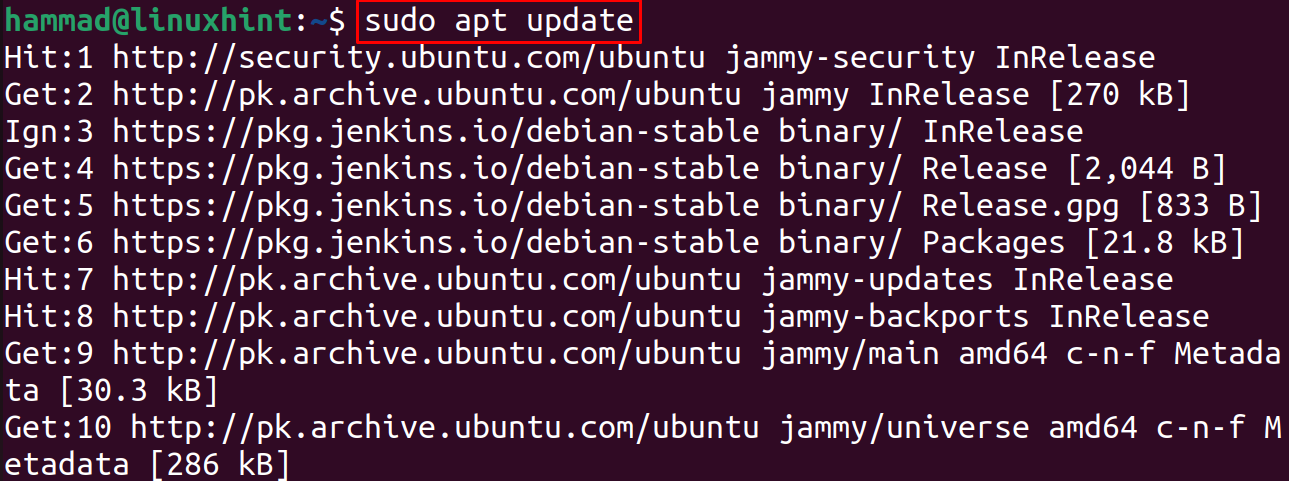
When it is successfully added to the default repository of the Ubuntu 22.04, we will update the repository using the command:
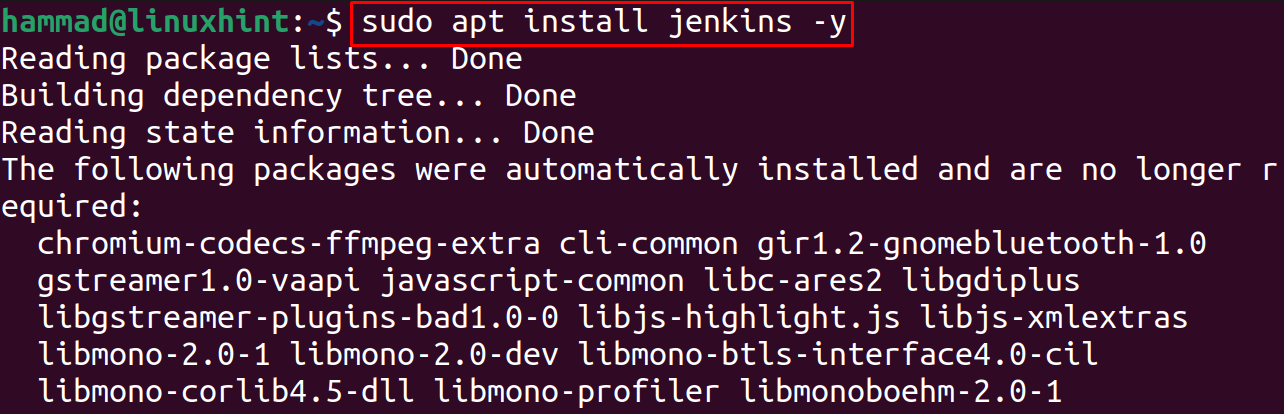
For the installation of the added repository of the Jenkins, we will use the apt package manager:
How to enable and start the Jenkins on Ubuntu 22.04
When the Jenkins has been installed on the Ubuntu 22.04, next step is to make the Jenkins enable using the systemctl command:

Next step is to start the Jenkins:

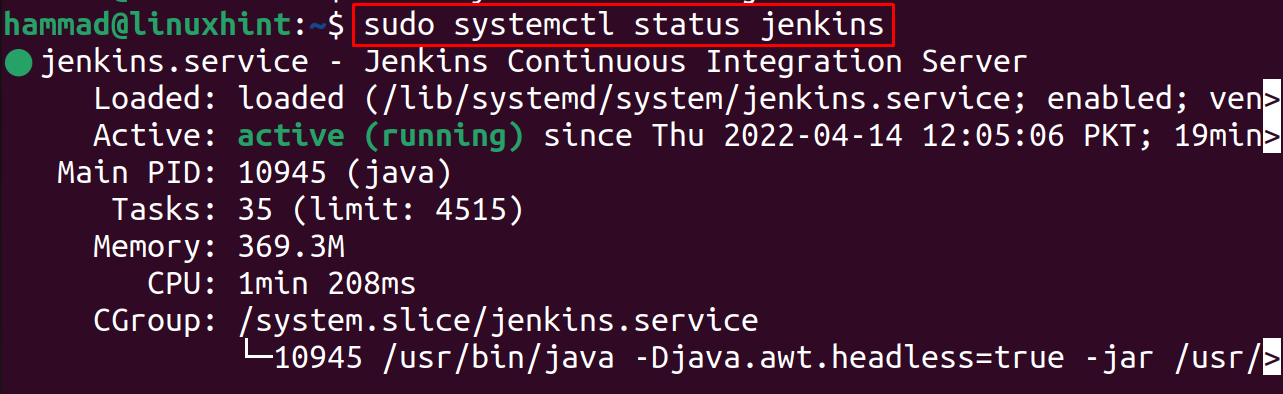
Now we will check the status of the Jenkins in order to confirm the execution of the above command:
How to configure the Jenkins server on the Ubuntu 22.04
After the installation, it is now time for its configuration. For this purpose, first we will enable the port 8088 using the UFW command:

Then we will enable the UFW service:

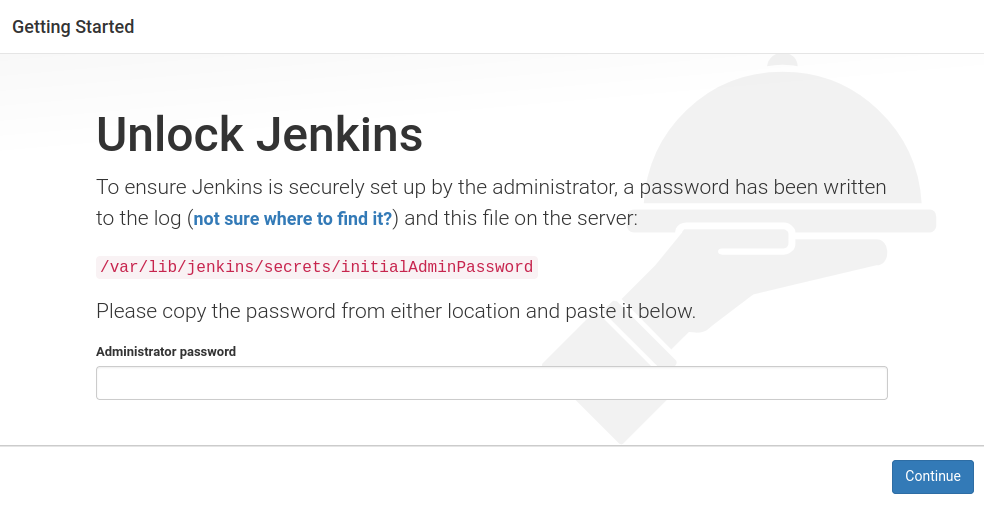
When the UFW service is enabled, we will open the web browser and go to the following URL http://localhost:8080 to unlock the Jenkins:
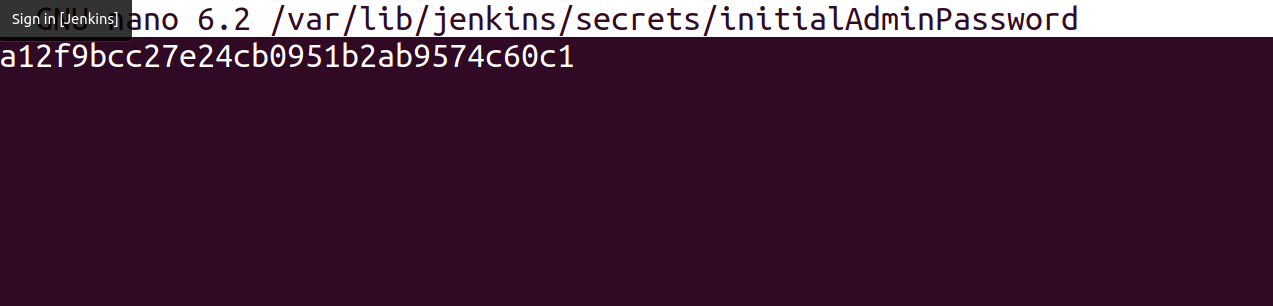
We will open the file provided above to get the “Administrator password” with the help of the nano editor:

Copy the whole text which is the password to unlock the Jenkins:
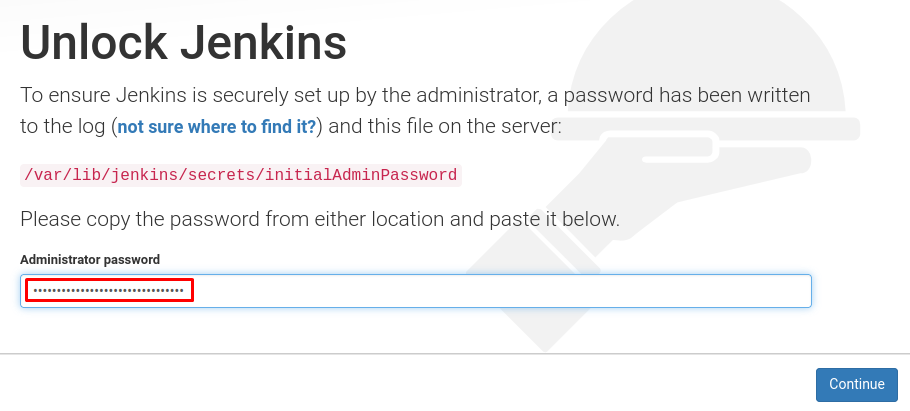
Paste the copied password, and click on the “Continue” button:
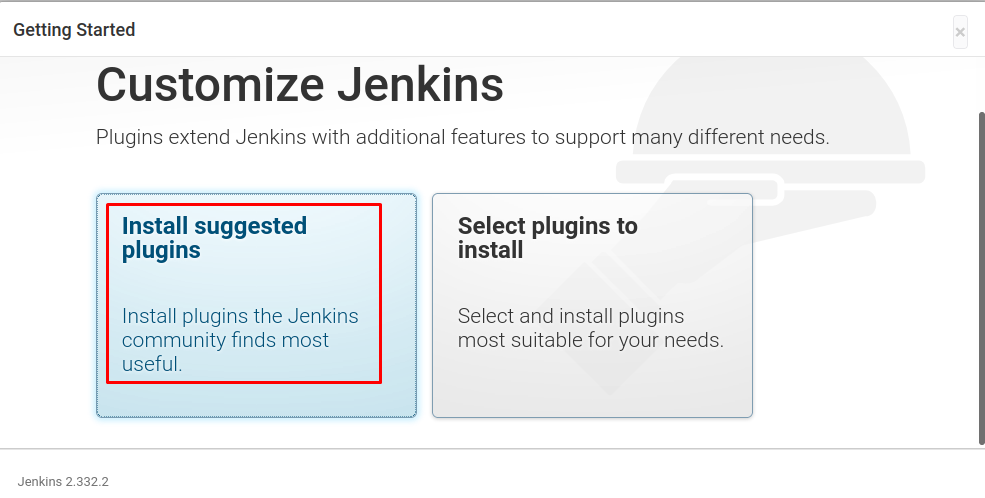
It will display you two options of the Plugin installation, it is recommended you to install the suggested plugins by clicking on “Install suggested plugins”:
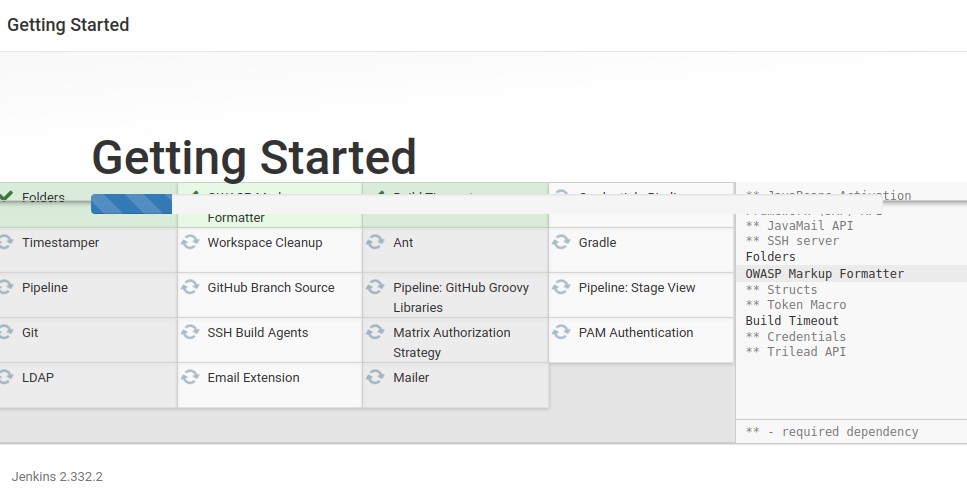
It will take some time to install the plugins:
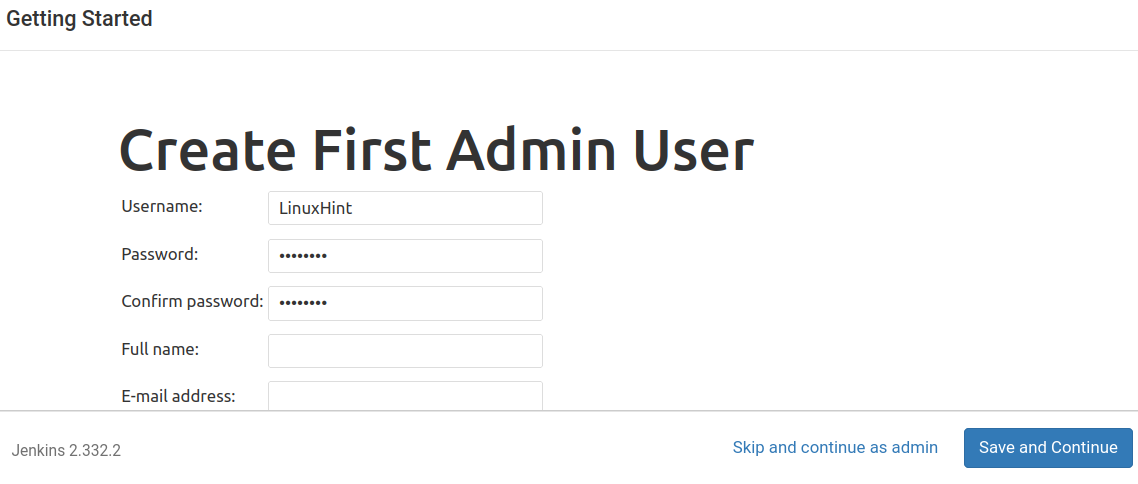
A screen will appear, enter the username and password and click on the “Save and Continue” button:
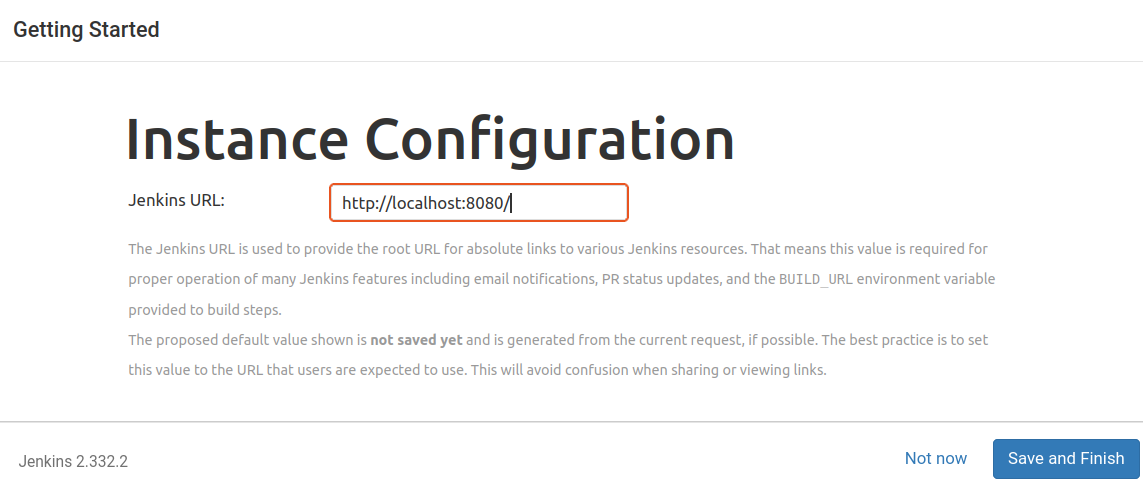
It will generate the default URL for the Jenkins page, click on the “Save and Finish”:
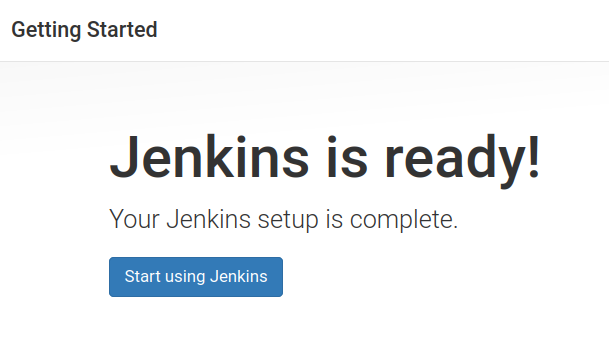
Now the Jenkins is ready to use:
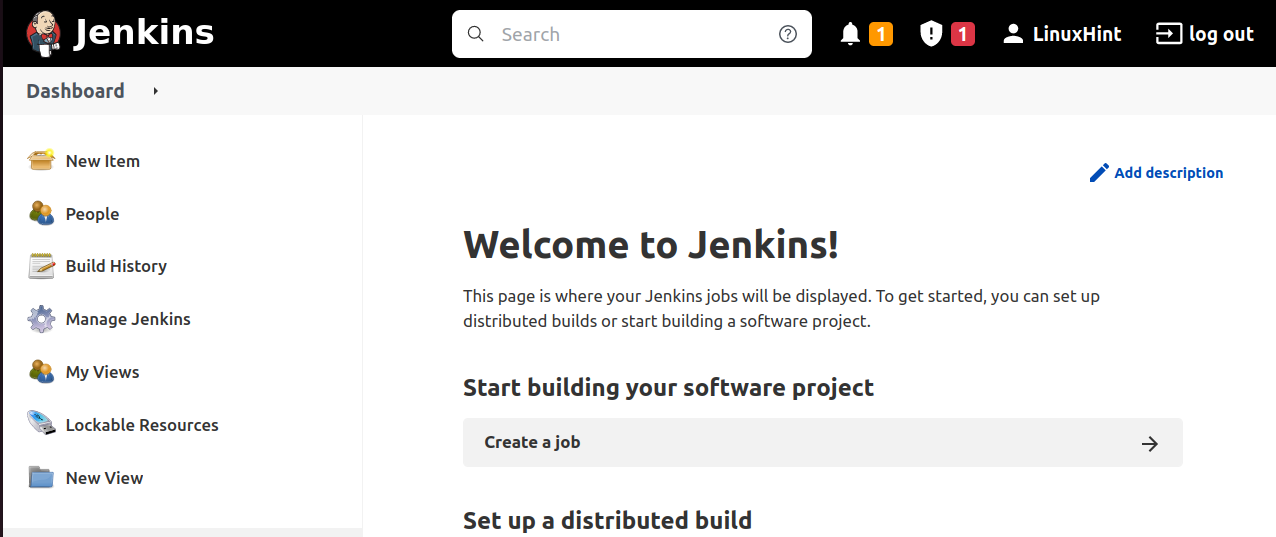
When we click on the “Start using Jenkins” button, it will login to the dashboard of your account:
Conclusion
For the developers, Jenkins has provided ease that it collects all the important plugins which are required while deploying and testing the software development projects. In this write-up, we have explored the installation method of Jenkins as well as configured it by unlocking the Jenkins home page.