This article explains how to install Adminer on Ubuntu OS. We will be explaining the installation process on Ubuntu 20.04 Focal Fossa.
Step 1: Installing LAMP Server
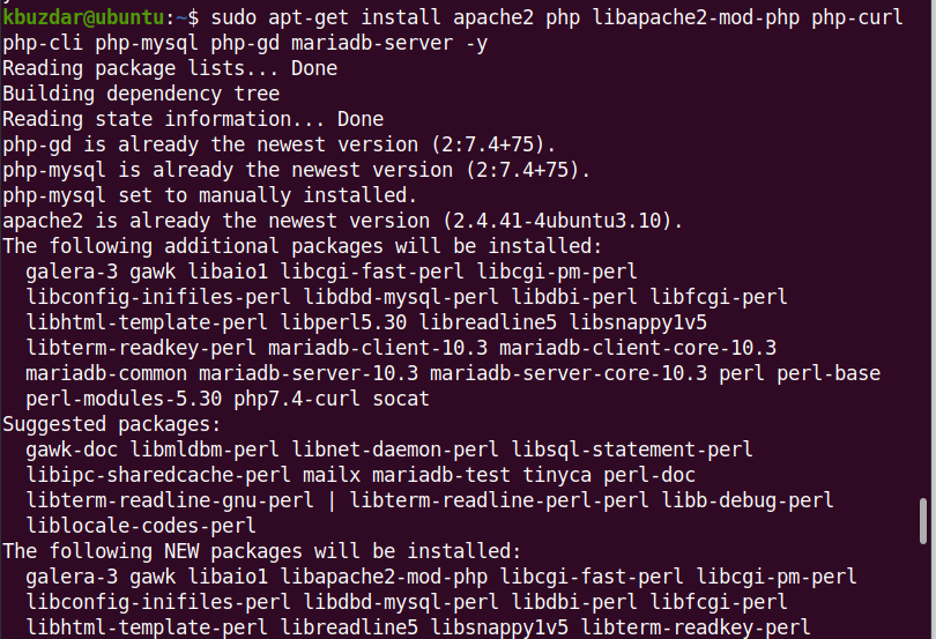
First, you will need to install Apache web server, MariaDB or MySQL database server, and PHP packages on your system. Here is the command to install these packages:
It will install the LAMP stack on your system.
Enable and start the Apache service through the commands below:
$ sudo systemctl start apache2
Now, enable and start MariaDB service through the commands below:
$ sudo systemctl start mariadb
Run the command below to secure MariaDB installation.
It will ask for current root password. Hit Enter key. Then for all the next questions, answer yes by hitting the y key.
Set the root password for MariaDB. To do so, connect to the MariaDB shell through the command below:
Then run the command below to set the password. You can set any password of your choice.
Run the commands below to apply changes and exit the shell.
$ exit;
Step 2: Installing Adminer
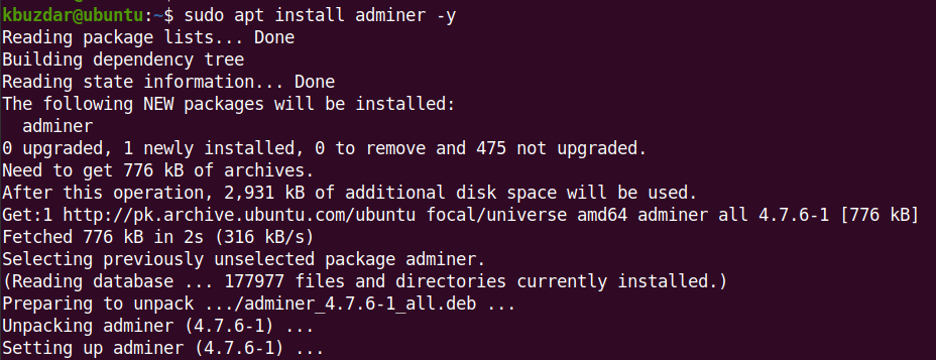
Install Adminer database management tool using the command below:
This command will install Adminer on your system.
Now, enable configuration through the command below:
After that, reload Apache through the command below:
Step 3: Accessing Adminer
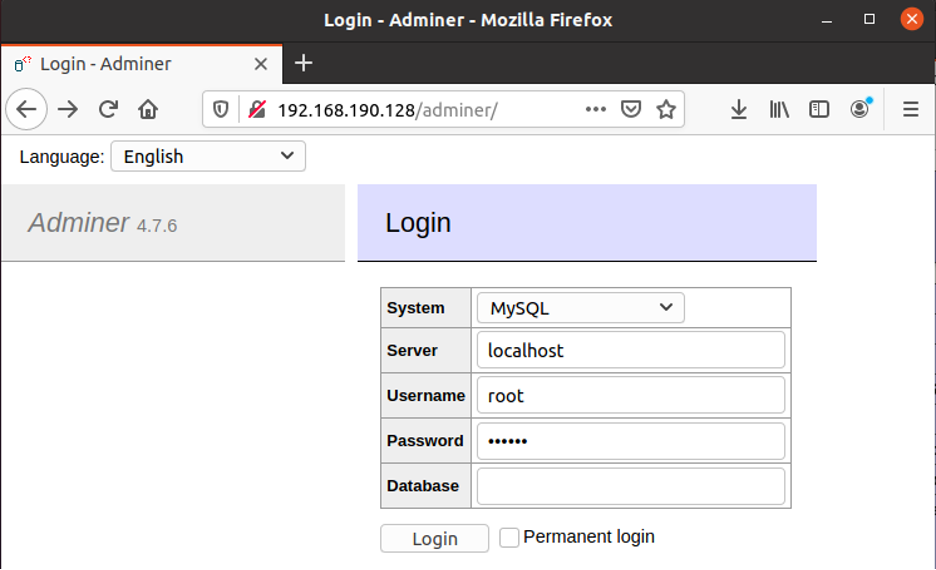
To access the Adminer app, open http://ip-address in your web browser. The ip-address is the IP address of the system where Adminer is installed.
It will open the Login page of Adminer. Enter login credentials and click Login.
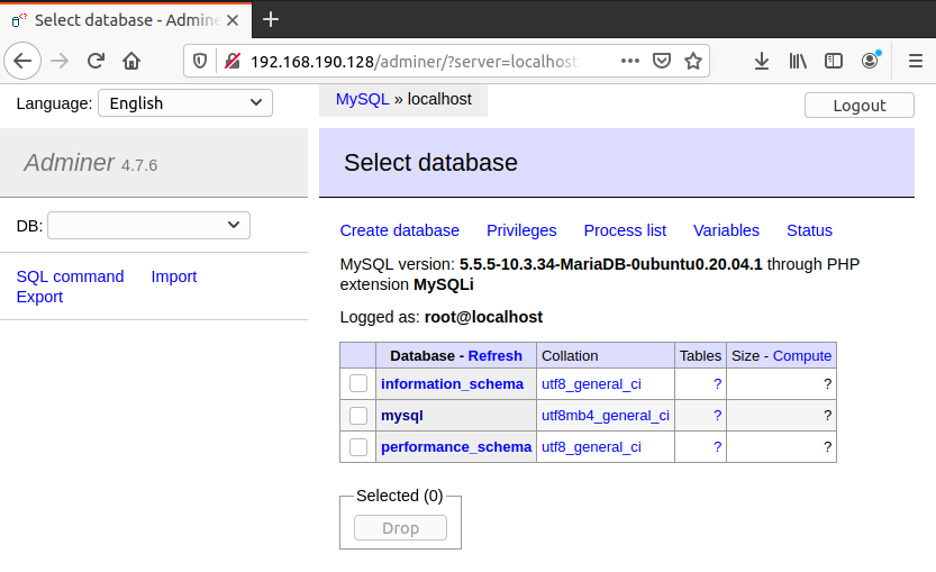
You will see the following Dashboard of Adminer.
Now, you can start working on the Adminer database management tool.
Uninstall Adminer
In case you want to later uninstall Adminer, you can do it using this command:
This command will remove Adminer from your Ubuntu machine.
This article covered how to install Adminer on Ubuntu OS. We also covered how to uninstall Adminer if for any reason you want to remove it from your system.


