The pgrep command is similar to grep. After executing the grep command, it also searches for the pattern and prints a matching text in the output. However, if you need to apply the type of processing for fetching, select the information about the currently running process. Here, pgrep comes into the picture to get more information. If you also want to learn pgrep, don’t worry because we will explain everything about the pgrep command in this guide.
The pgrep Command Tutorial
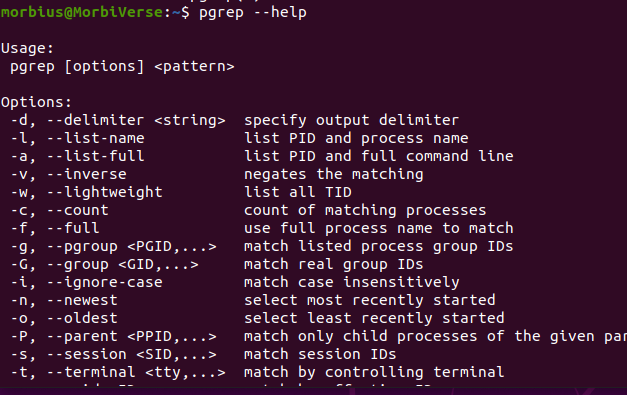
Let’s start with checking all options available in pgrep, so here is the basic command to check them out:
Or
To check the version of pgrep, execute the following command:
Or
pgrep provides the PIDs of the running process of the given name in the command. For example, we need to find the PID of Firefox, so we will execute the following command for it:
If you want to find the specific user’s details, then just add the username with the previous command.
You can change the delimiter as the PIDs in the output are delimited from the new line. So, use the -d option with the pgrep command for it:
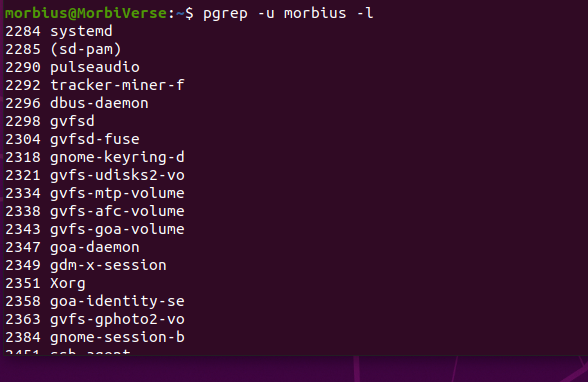
To list all processes with their respective names, you can run the following command in the terminal:
You can use the -i option to make the pgrep command case insensitive, since pgrep is case sensitive by default:
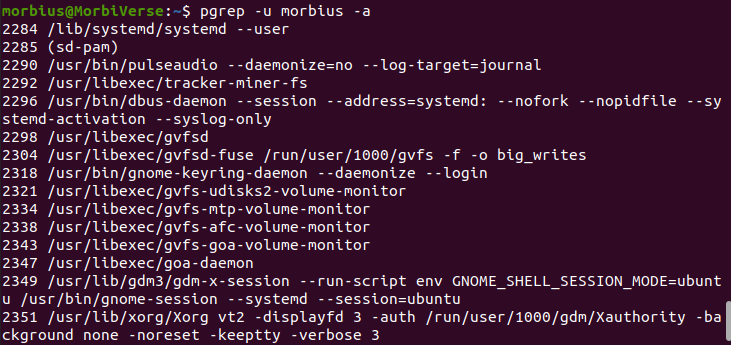
If you want to display the entire command that is used for launching every process, then use the -a option:
Use the -o option with the following pgrep command to identify the oldest process running in the system currently:
The -c option is used in the following pgrep command for printing the count of a matching process:
Conclusion
This article provided the pgrep command tutorial, which included everything you need to know about pgrep. We explained how to use different pgrep command options to track the running process directly from the terminal. We hope you found this article helpful. On the Linux Hint website, check the uploaded guides and command tutorials to help you work on Linux smoothly.


