After reading this article, you’ll know how to install this file manager on Debian-based systems like Ubuntu Linux. Below Debian’s instructions, I also added the steps to install the Thunar file manager from sources. Despite being a long process, it is useful for other Linux distributions.
All steps described in this article include screenshots, making it easy for all Linux user levels to follow them.
Installing Thunar file manager on Debian based systems:
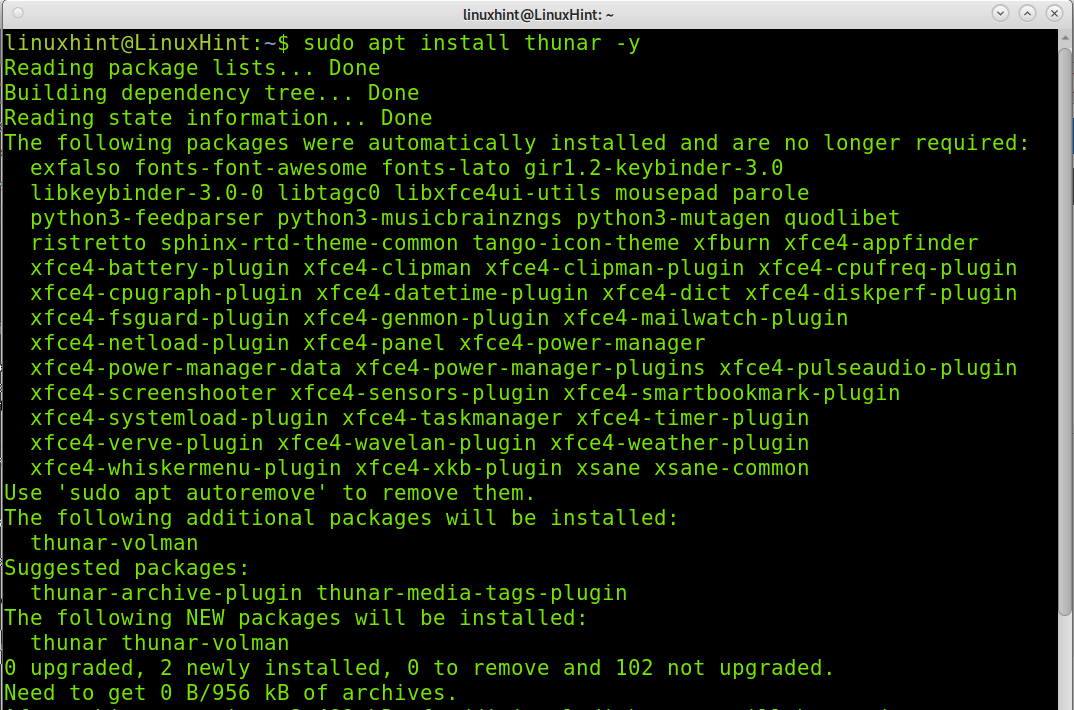
The first example shows how to install the thunar package using the apt command.
To do it, run the following command, as shown in the screenshot below.
Installing Thunar file manager from source code (Linux universal installation):
The process described in this section is long since you will need to install many dependencies. If possible, try to install Thunder using your distribution package manager before trying the source code installation explained below. All Linux distributions allow you to install it without compiling the source and without the need to meet dependencies manually.
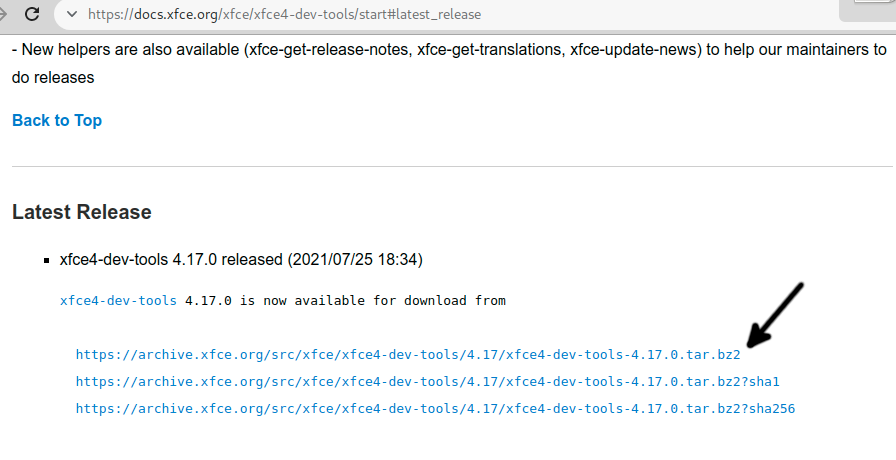
To begin installing the file manager, download xfce-dev-tools from the link
https://docs.xfce.org/xfce/xfce4-dev-tools/start#latest_release
as shown in the screenshot.
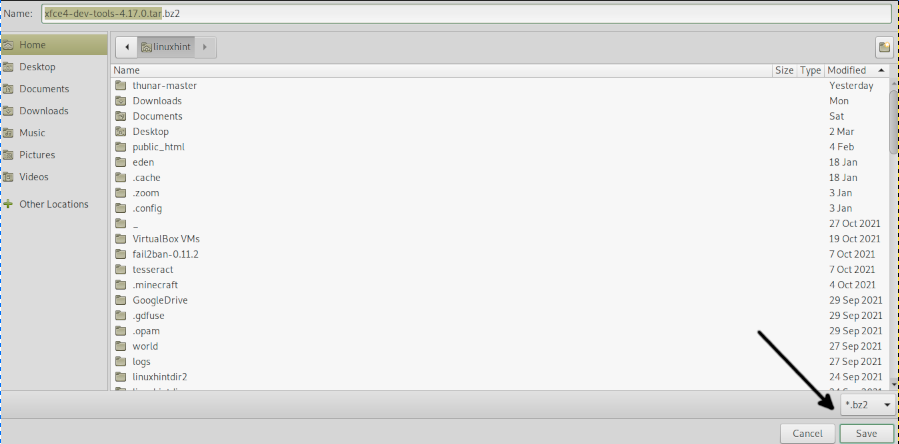
For this tutorial, I’m downloading the .tar.bz2 compressed file.
Save the file on your computer.
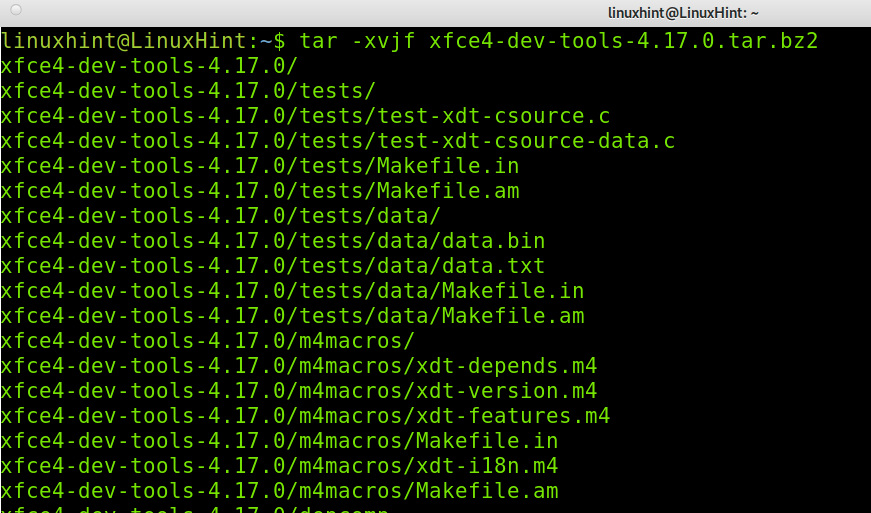
Extract the .bz2 files by running the following command.
Enter the extracted directory by running the command below, where <Version> must be replaced with the actual version you downloaded.
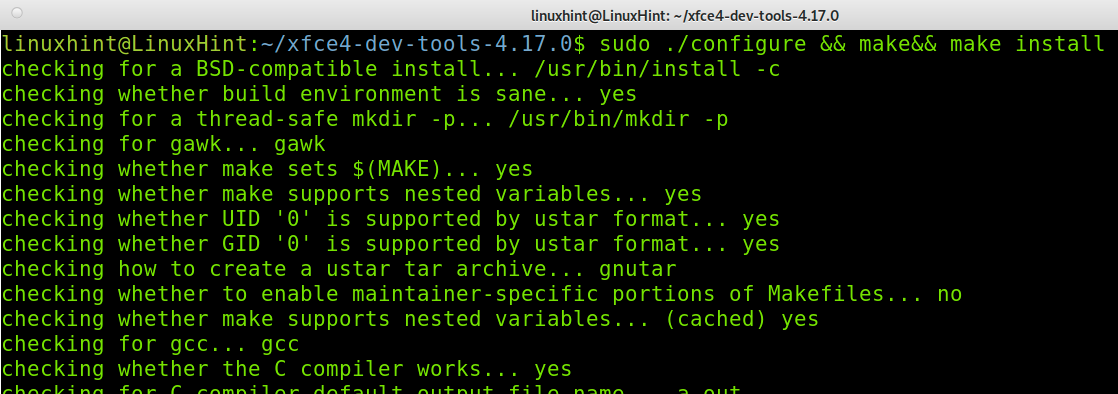
Install from sources by executing the command below.
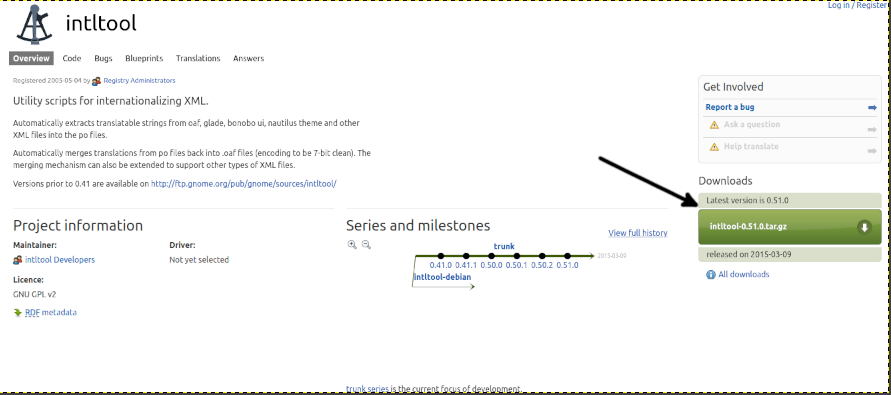
Now you need to download the intitool from the link https://launchpad.net/intltool.
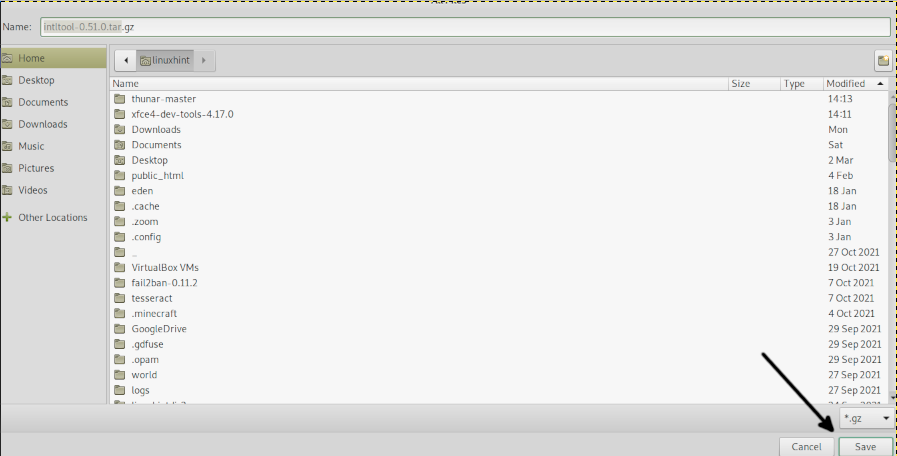
Save the file to your computer.
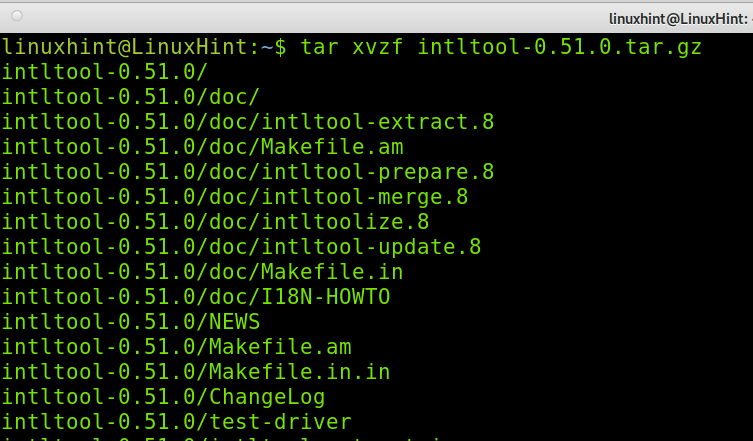
Extract the .tar.gz file by running the command below.
Enter the directory replacing <Version> with the actual version you got.
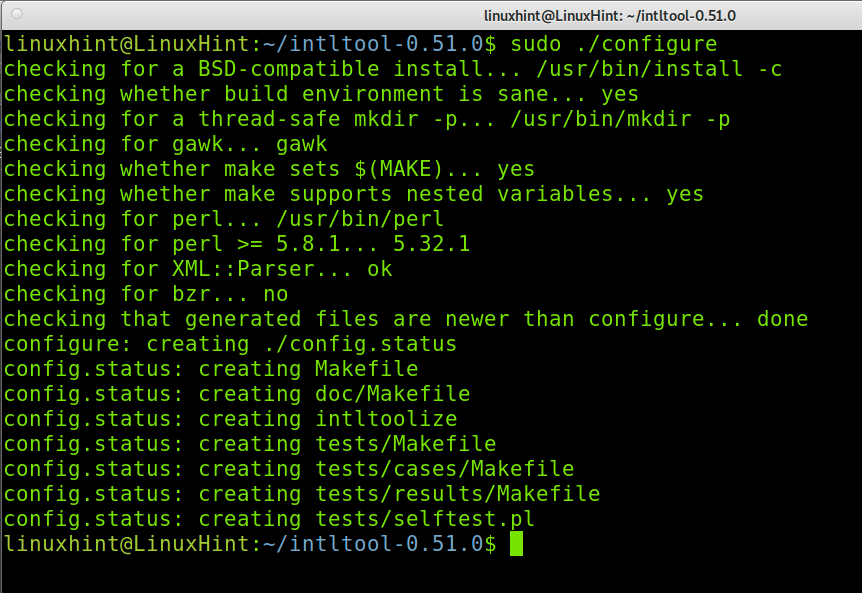
Execute the commands below to begin the program installation.
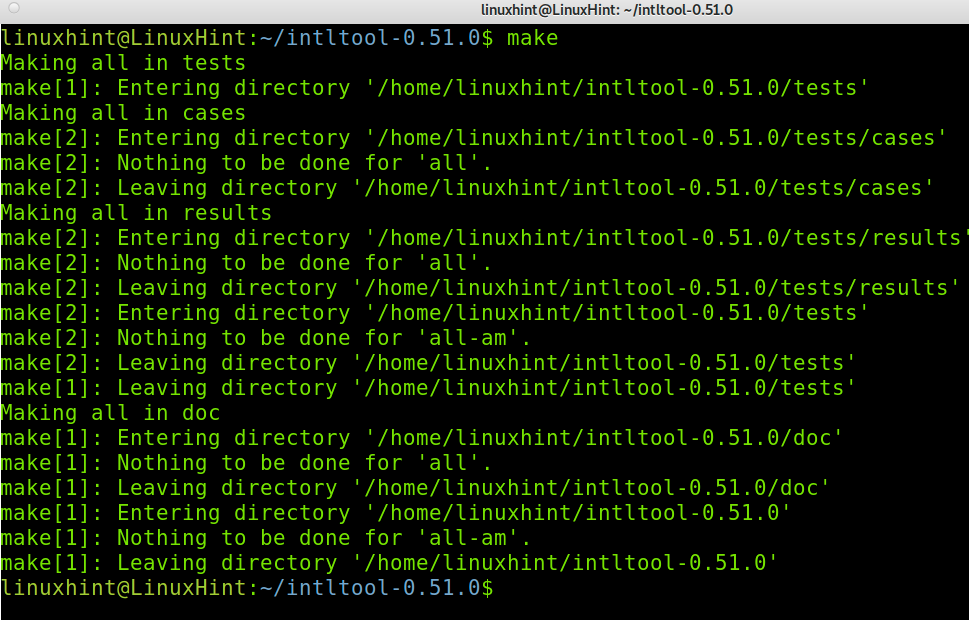
Then run:
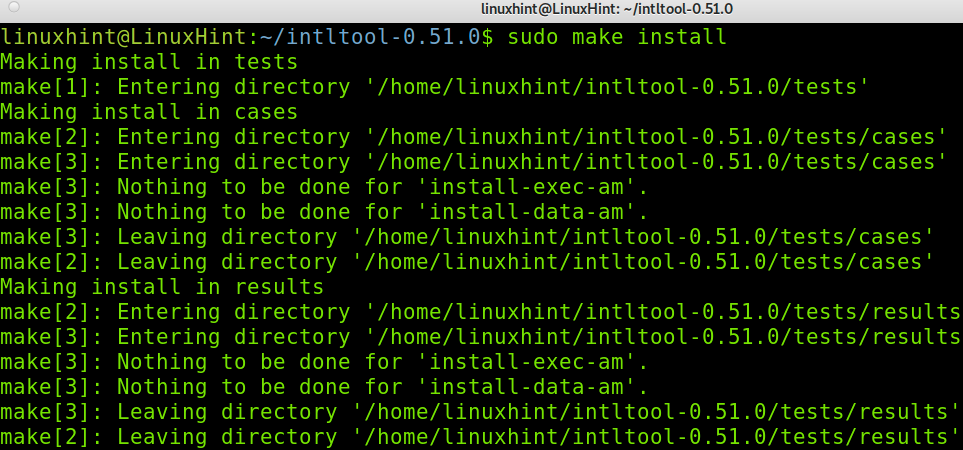
Finish the installation by running the following command.
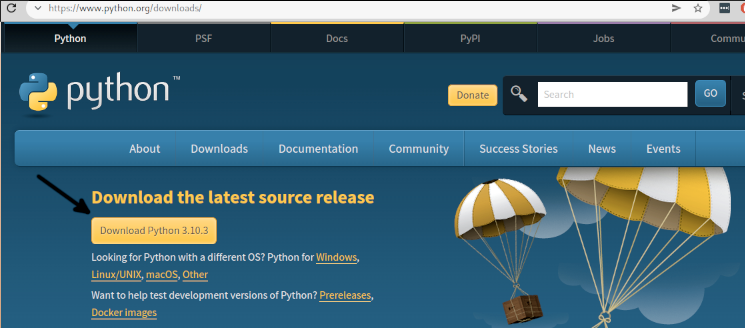
Now download Python from the link https://www.python.org/downloads/.
Extract Python and enter its directory; replace the version shown below with your actual version.
cd Python-3.10.3/
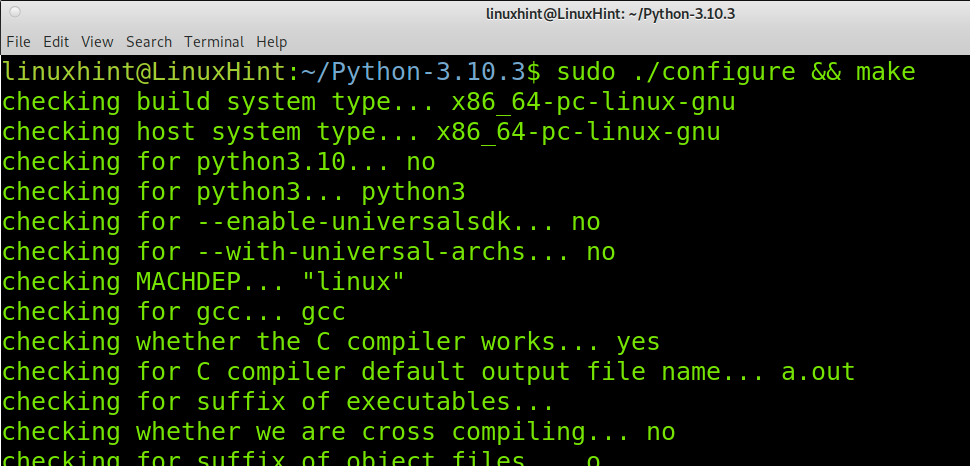
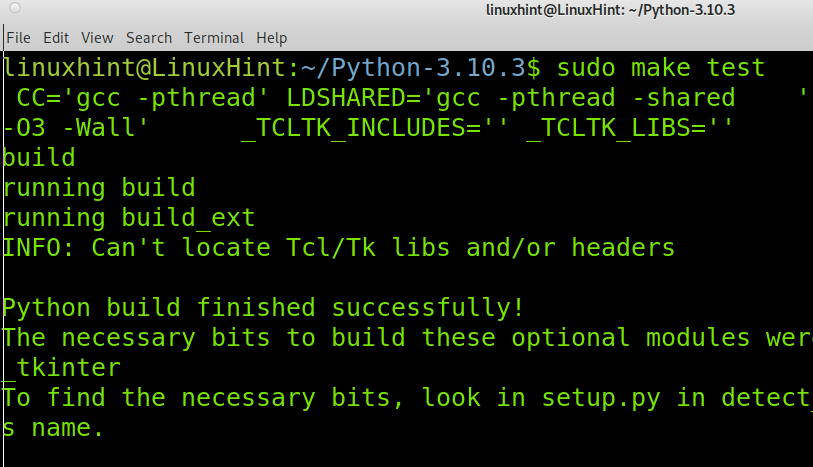
Start installing Python by running the following command.
Then run the command below.
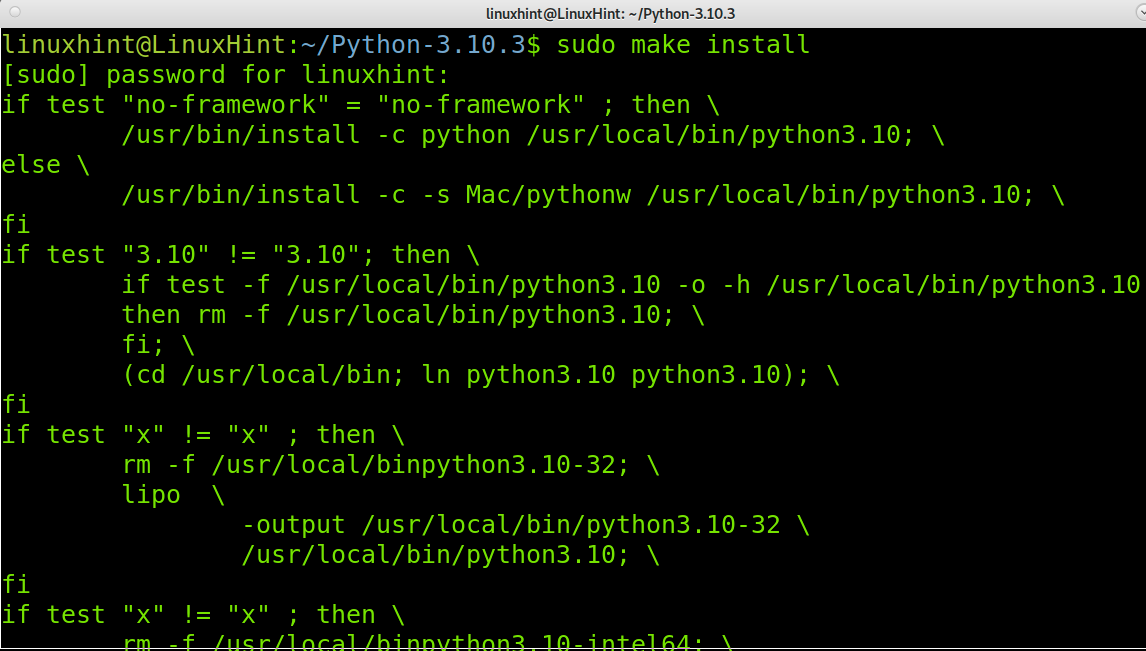
Finish the Python installation process by running the following command.
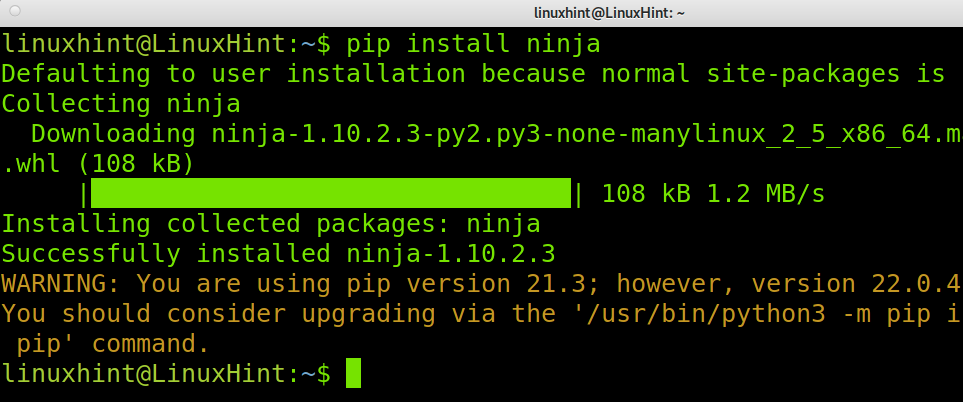
Now install Ninja using pip as shown below.
Another dependency is the Meson package you can install using pip, as shown below.
Install Meson using Python, as shown in the screenshot below.
Note: To make this tutorial more readable, below, I will show you how to install some dependencies using your Linux distribution package manager.
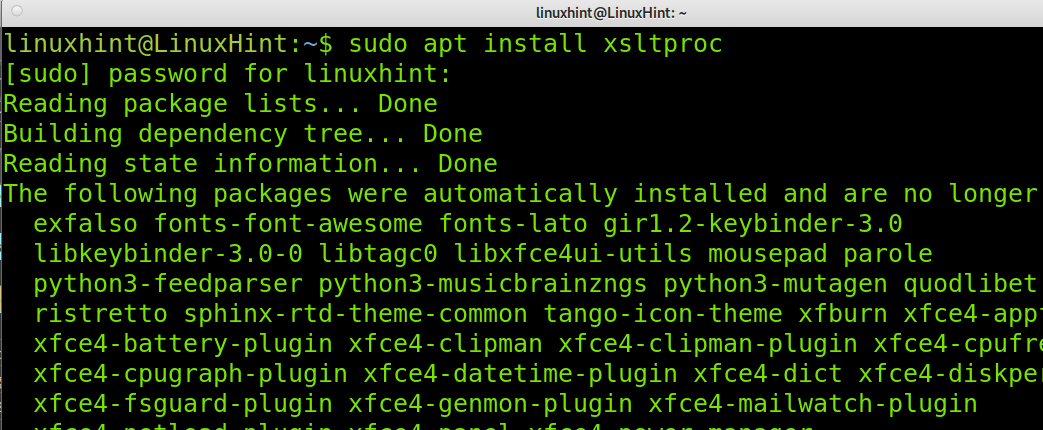
Now you need to install the xsltproc package; in Debian-based Linux distributions, you can run the command below.
You also can install xsltproc using the snap packages manager by following the instructions below. Read this page for snap instructions https://snapcraft.io/install/libxslt/rhel.
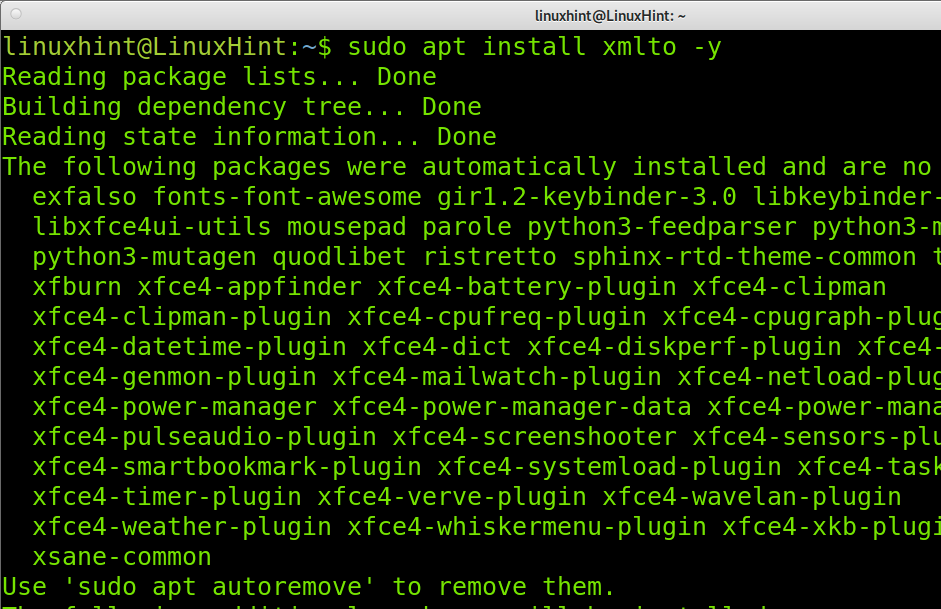
To install the xmlto dependency on Debian-based systems, run the command below.
Note: You can use the yum packages manager for Red Hat-based distributions.
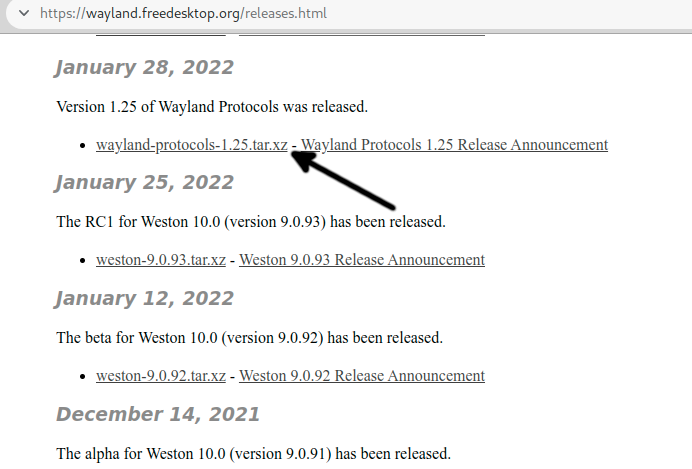
Now let’s download Wayland from the link https://wayland.freedesktop.org/releases/wayland-1.20.0.tar.xz as shown in the following screenshot.
In this example, I’m downloading the .tar.xz compression extension.
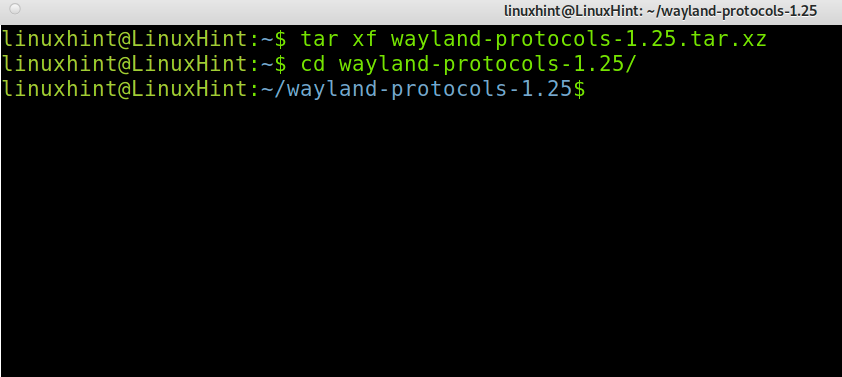
Extract the file you just downloaded and enter the extracted directory below.
cd cd wayland-protocols-1.21/
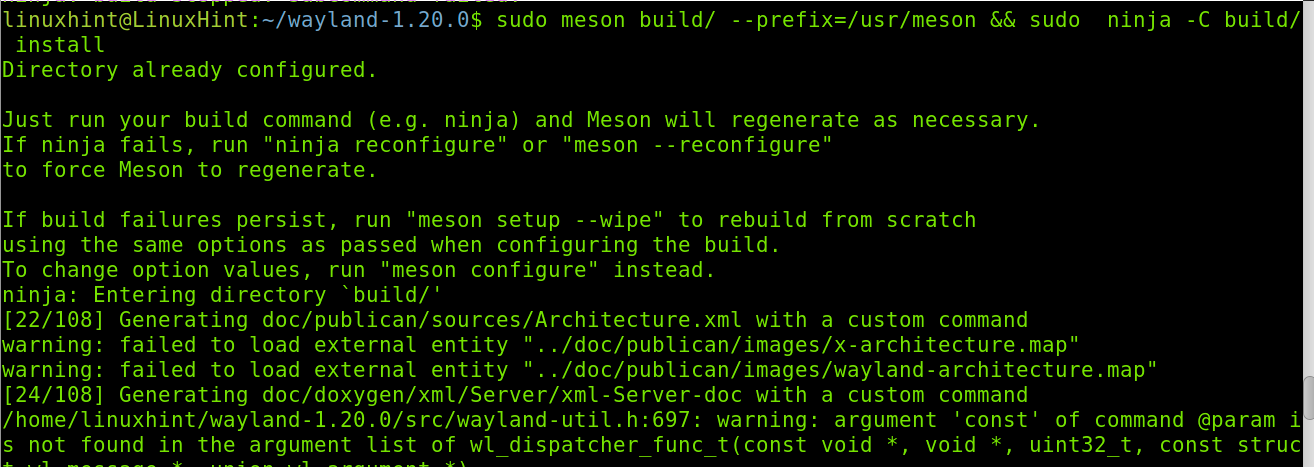
Run the command below.
Now Wayland is installed.
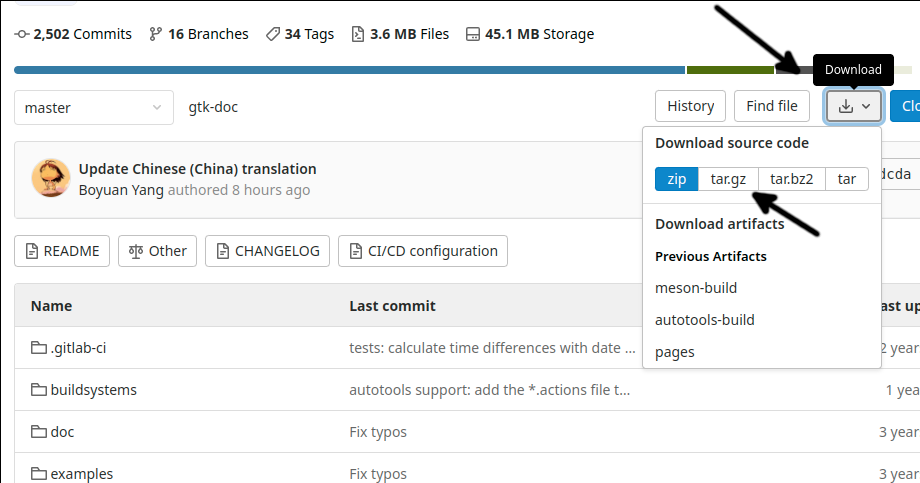
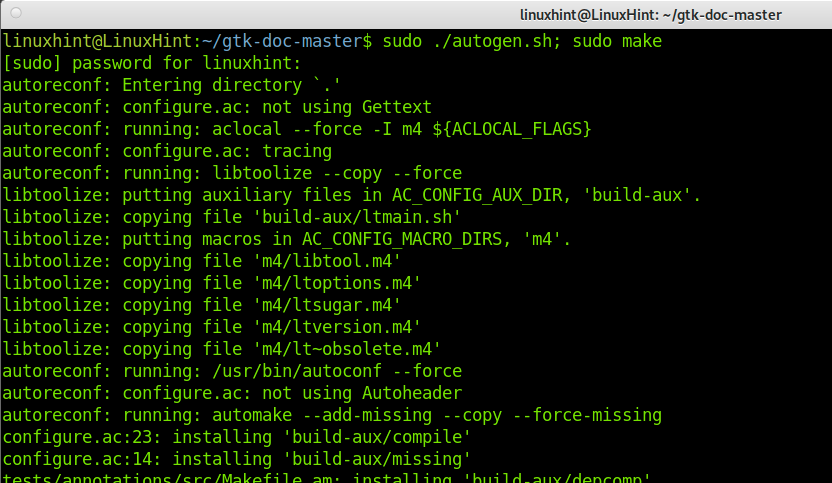
Enter the gtk-doc-master directory as shown below.
Install the package as shown below.
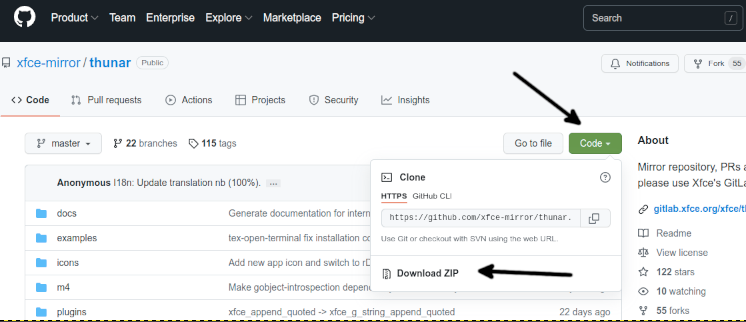
Download Thunar from this link https://github.com/xfce-mirror/thunar as shown below.
Unzip the download file; you can use the command shown in the following screenshot.
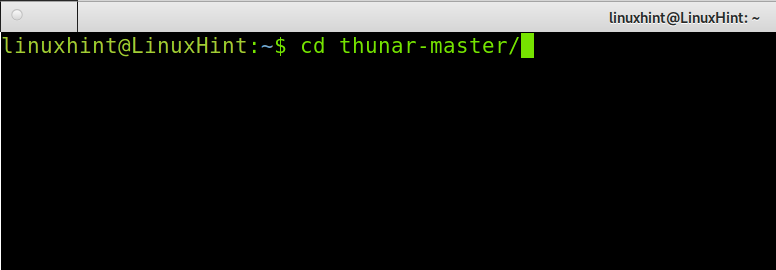
Enter the thunar-master directory created when we ran the previous command.
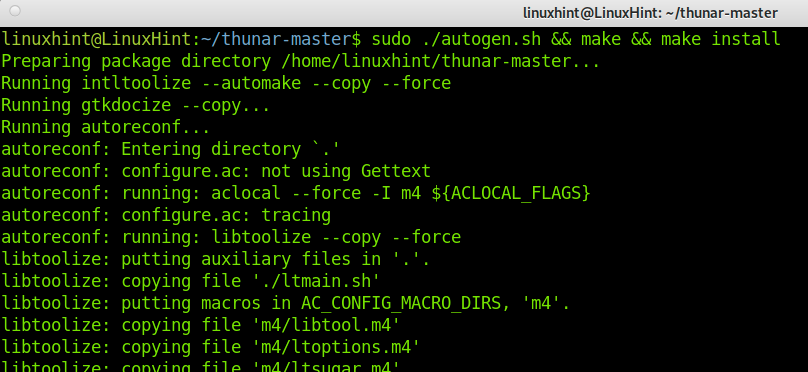
Finally, to install Thunar, run the command below.
Now Thunar is properly installed from sources.
To get additional information on Thunar, visit this link https://docs.xfce.org/xfce/thunar/start.
Thunar alternatives:
The market offers file manager alternatives to Thunar, some of which are listed below.
- Double Commander: Double Commander is a file manager available for Linux, BSD, Windows and Mac systems. It includes two panels and is similar to the Total Commander file manager for Microsoft Windows.
- Dolphin File Manager: Dolphin file manager was developed for KDE. It allows you to browse all your files in your system and attached devices. Like most file managers, it also allows creating, deleting, and moving directories visually. Dolphin supports multiple tabs and the possibility to drag and drop files. It is a lightweight file manager.
- Midnight Commander: Midnight commander is another file manager licensed under GNU General Public Licence. It is a Ncurses and S-lang-based text mode interface. You can use it from a terminal even through an SSH connection.
There are more Thunar alternatives you can explore, some of which are the previously listed.
Conclusion:
As you can see, installing Thunar on Debian is pretty easy and can be done by any user by just running a command. Compiling Thunar from sources is difficult because of the large amount of dependencies. This happens in many cases when trying to install a program from sources. Thunar is a great option to manage files, and it is the default file manager in Xfce. Yet, you can get it working in other window managers.
Thank you for reading this tutorial explaining how to install the Thunar file manager on Debian. I hope it was useful. Keep following LinuxHint for additional Linux tips and tutorials.

