[adthrive-in-post-video-player video-id=”u3418PZx” upload-date=”2023-01-03T14:34:06.000Z” name=”How to Install the Latest ImageMagick on Ubuntu 20.04.mp4″ description=”How to Install the Latest ImageMagick on Ubuntu 20.04″ player-type=”collapse” override-embed=”true”]
The ImageMagick is a very popular open-source software suite that is used to edit bitmap images. It can read and write around 100+ types of images like PNG, SVG, JPG, TIFF, GIF, and many more. It provides various functionalities like adjusting image colors, resizing, mirroring, rotating, shearing the images, and drawing lines such as ellipses, Bezier curves, and polygons. It is a multi-platform application that can run on Windows and Mac OS, as well as on Android OS and iOS. In this post, we will learn how to install the latest version of ImageMagick on Ubuntu 20.04 LTS system.
Installing ImageMagick on Ubuntu 20.04
Imagemagick can be installed on Ubuntu 20.04 using these two methods:
- Using the apt package repository
- From the source file
Install ImageMagick using the APT Package Repository
By using this method, we can install the latest stable version of Image magick from the official ubuntu’s APT package repository.
First of all, update your system’s APT cache repository by typing the command given below:
After updating your system’s package repository, install ImageMagick using the command given below:
Type “y” and click “Enter” to grant additional disk space and continue the installation process of ImageMagick.
Once ImageMagick is installed, confirm the installation by typing the command provided below:
This command will create a logo.gif file in your “Home” directory.
If a logo file of ImageMagick is also created in your “Home” directory, it means that the ImageMagick is successfully installed on your system.
How to install ImageMagick from the source file
By following this process, you can download and install the latest release of ImageMagick on your Ubuntu 20.04 system.
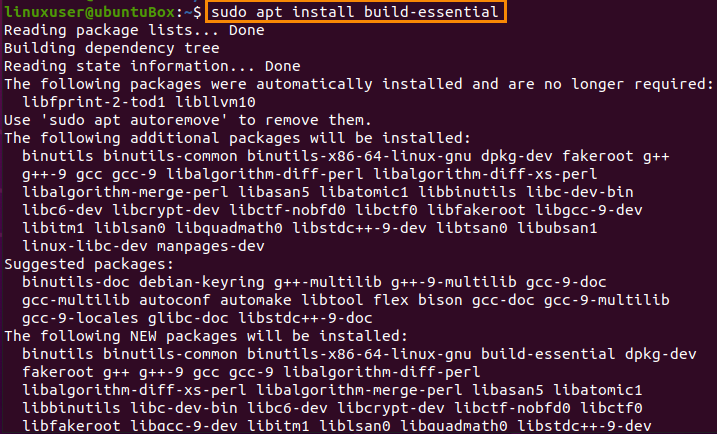
First of all, before even downloading the source files of ImageMagick, a development environment is required by the ImageMagick like a compiler and other required development tools, so you need to install build-essentials tools using the command given below:
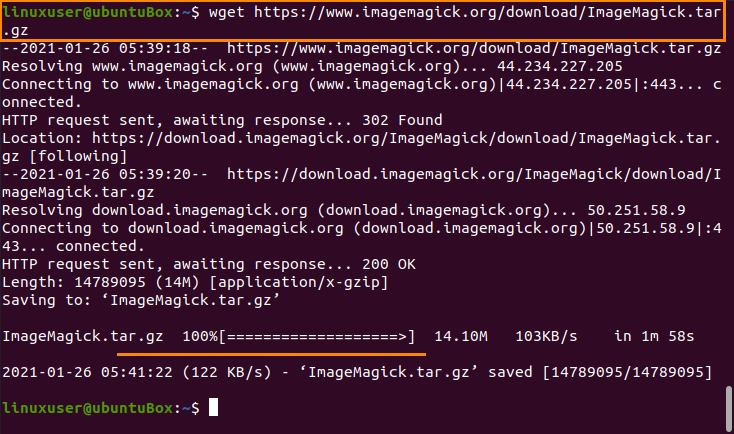
The next step is to download the source files of ImageMagick from the official website of ImageMagick by typing the command provided below:
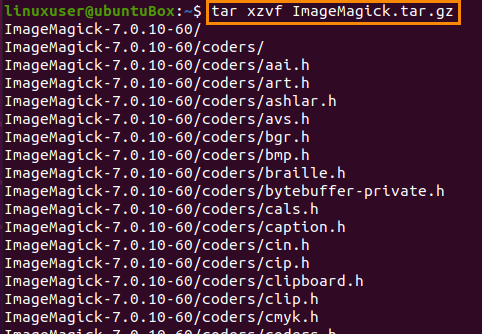
After downloading the ImageMagick source file is completed, extract it using the command given below:
After the extraction of the ImageMagick package, move to the ImageMagick directory by using the “cd” command:
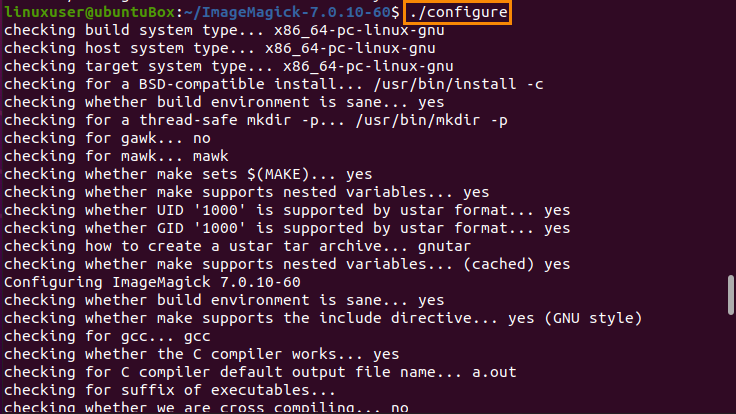
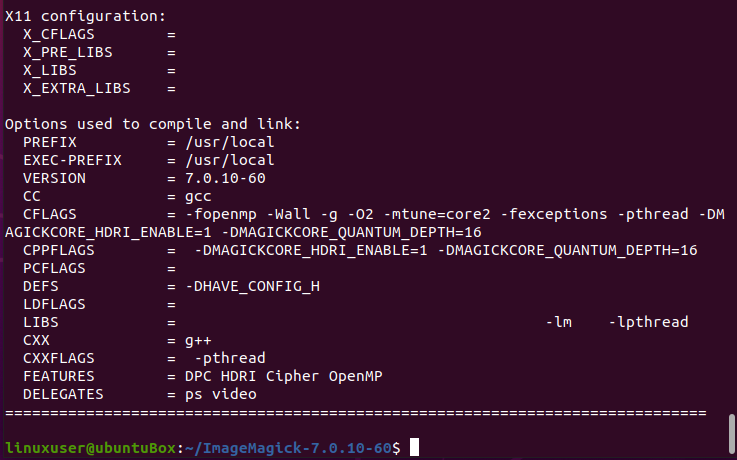
Alright, now to perform the compilation of ImageMagick and configuration, type the command given below:
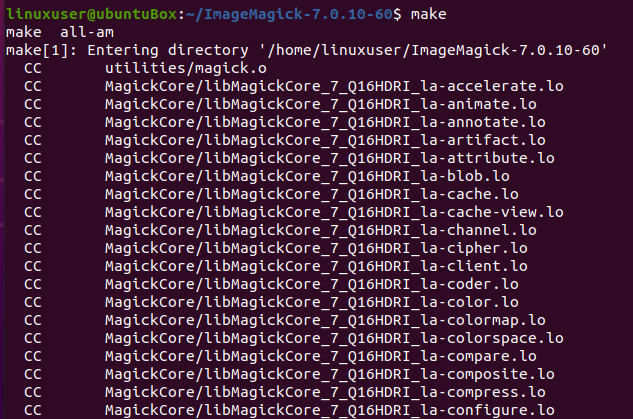
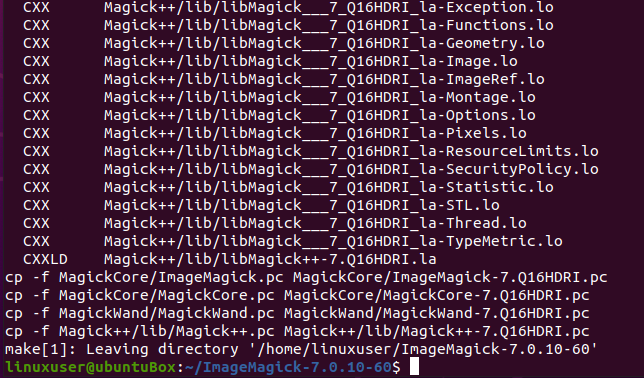
And run the “make” command:
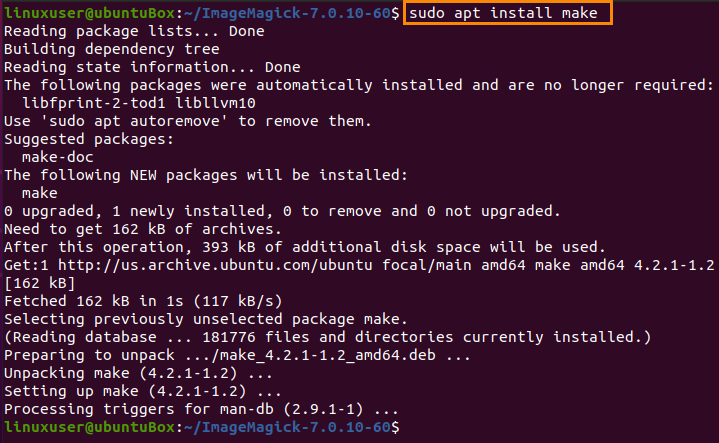
If “make” is not installed, install it using the command given below:
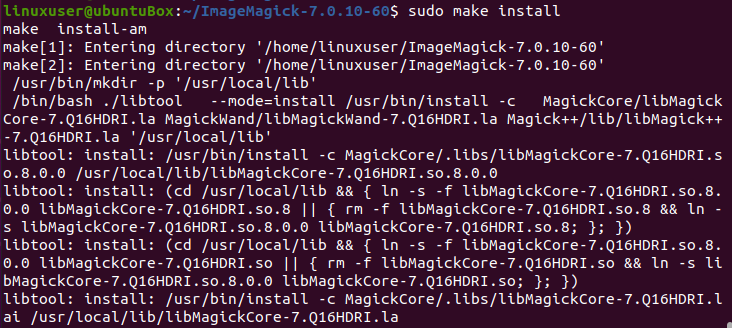
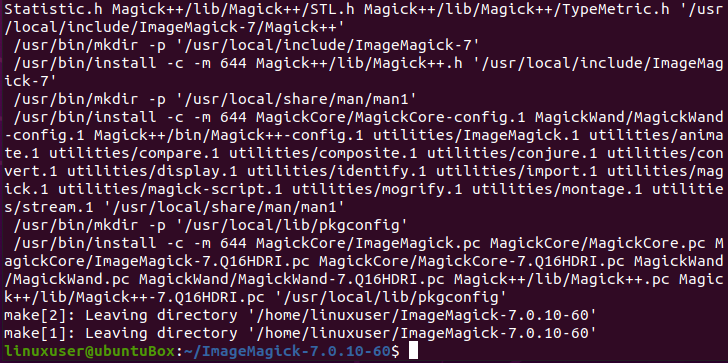
After the successful compilation of ImageMagick, install it via the following command:
Now, after the installation process of ImageMagick, the last step is to configure the dynamic linker run-time bindings.
Once all the above-given processes are followed and completed successfully, you can verify the installation of ImageMagick by typing the command provided below:
You can see that the latest version 7.0.10-60 is installed successfully on Ubuntu 20.04 LTS system.
Conclusion
ImageMagick is an old yet potent tool used by its community across the world, and this post has shown you how to install its latest version on the Ubuntu 20.04 LTS operating system.


